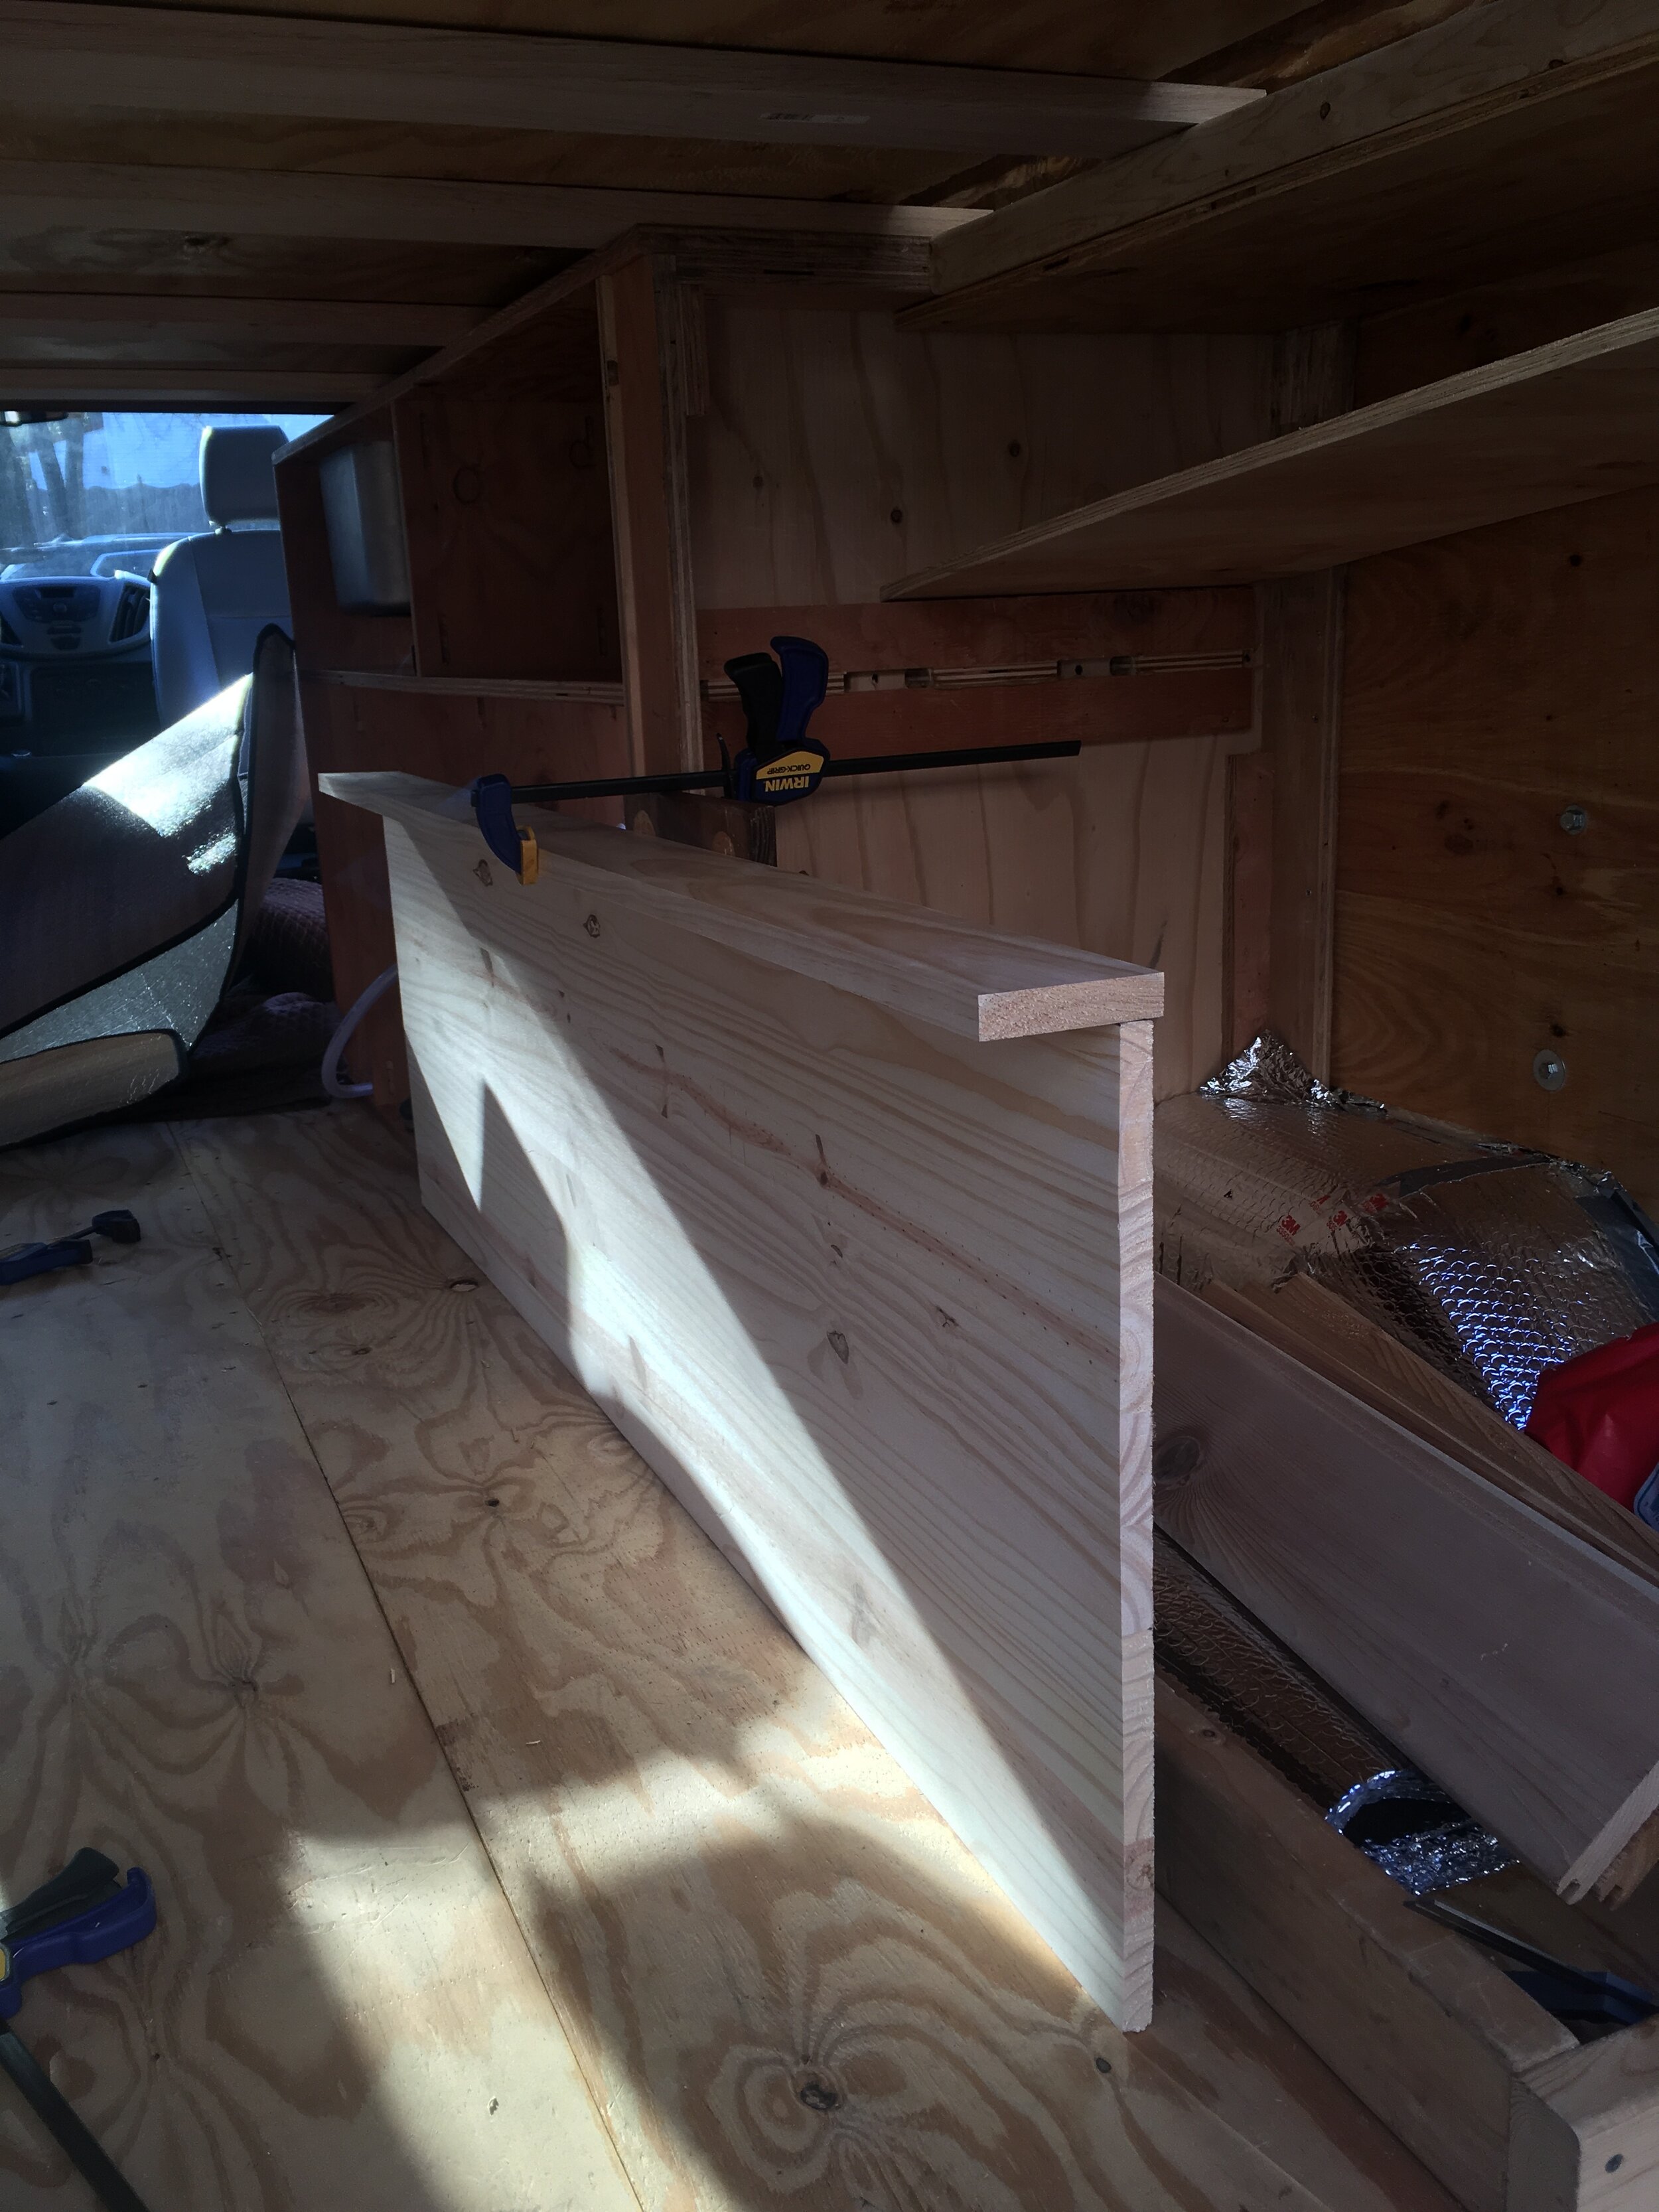
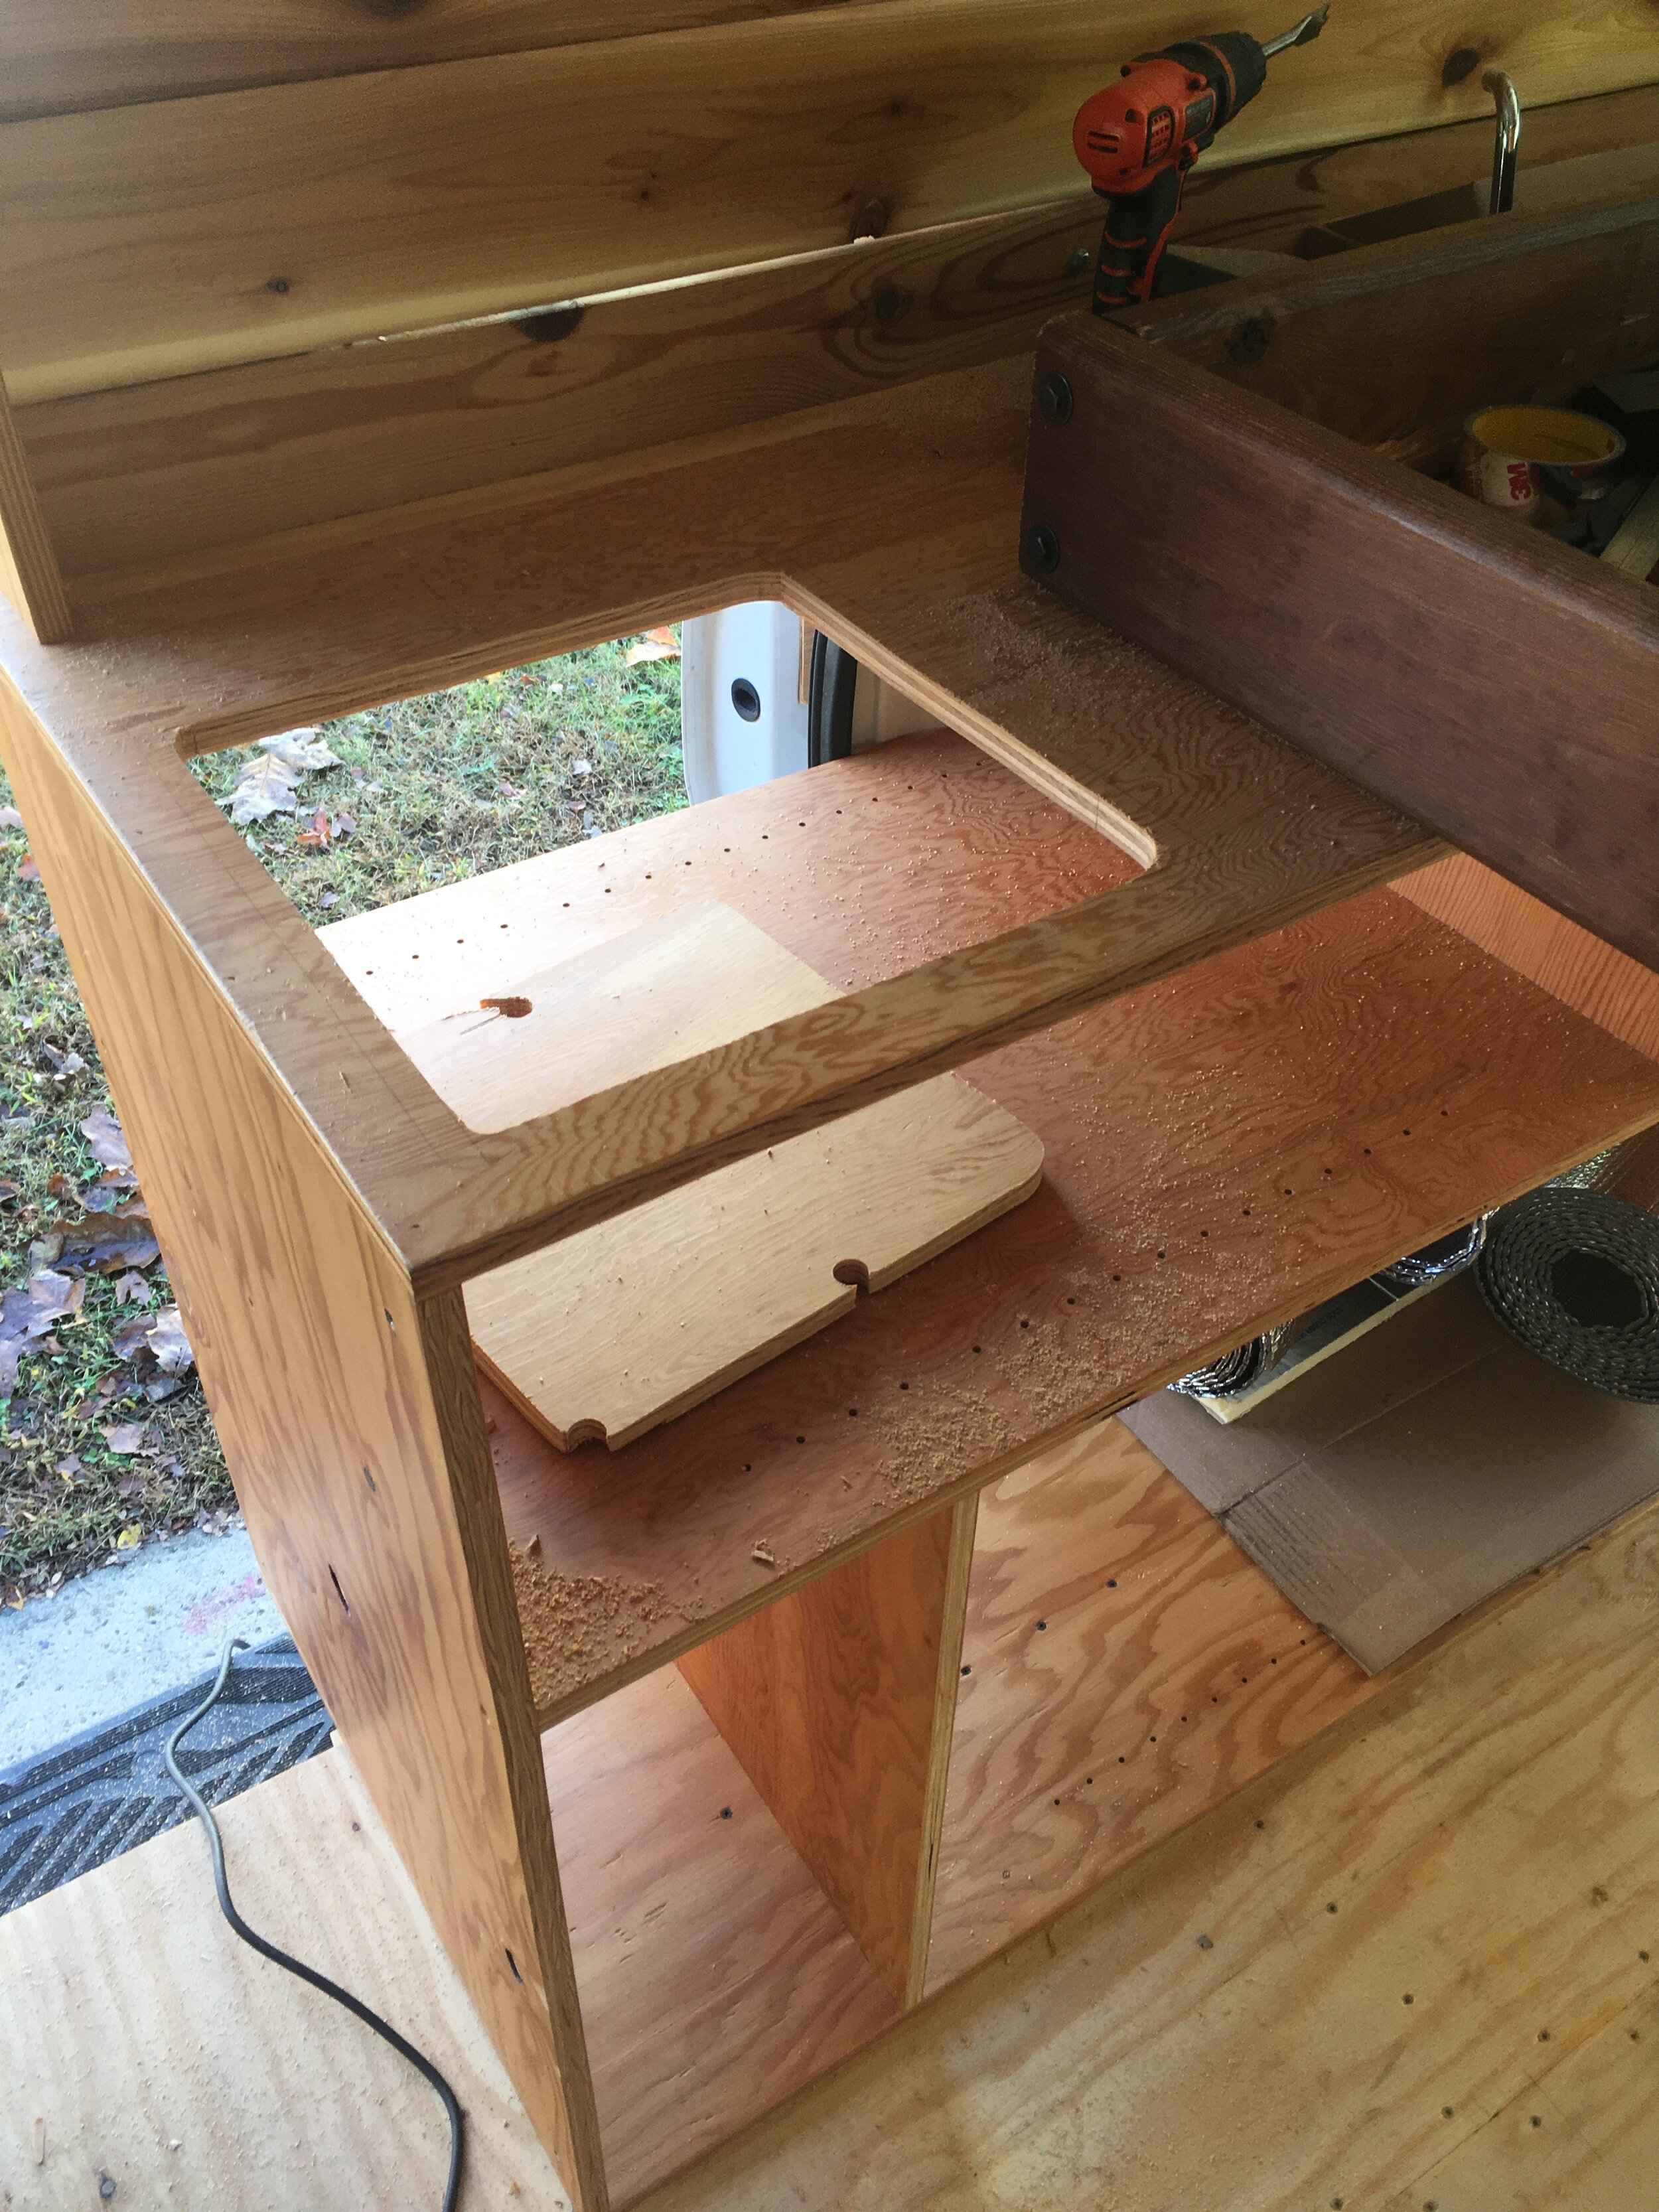
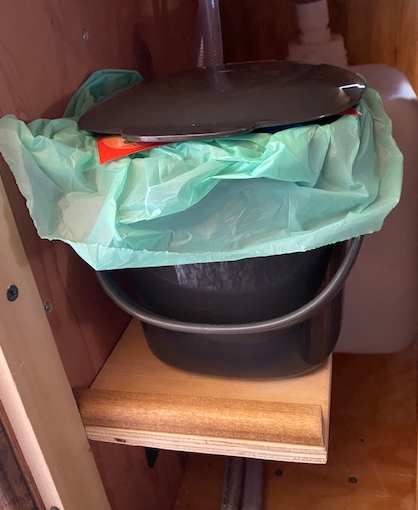
shelves

Doug says: It was interesting to watch other videos and see what other people’s priorities were, y’know? There’s people that need their surfboards in their vans, there’s people that need — I saw a van with two people living out of it and they had two desktop monitors. If you’re a social media person, you need drones. Stuff like that. All throughout your build, you have a list of priorities. For my van — and then our van — the priories went like this:

  • have our own style

  • natural wood feel

  • bicycle storage underneath the bed  

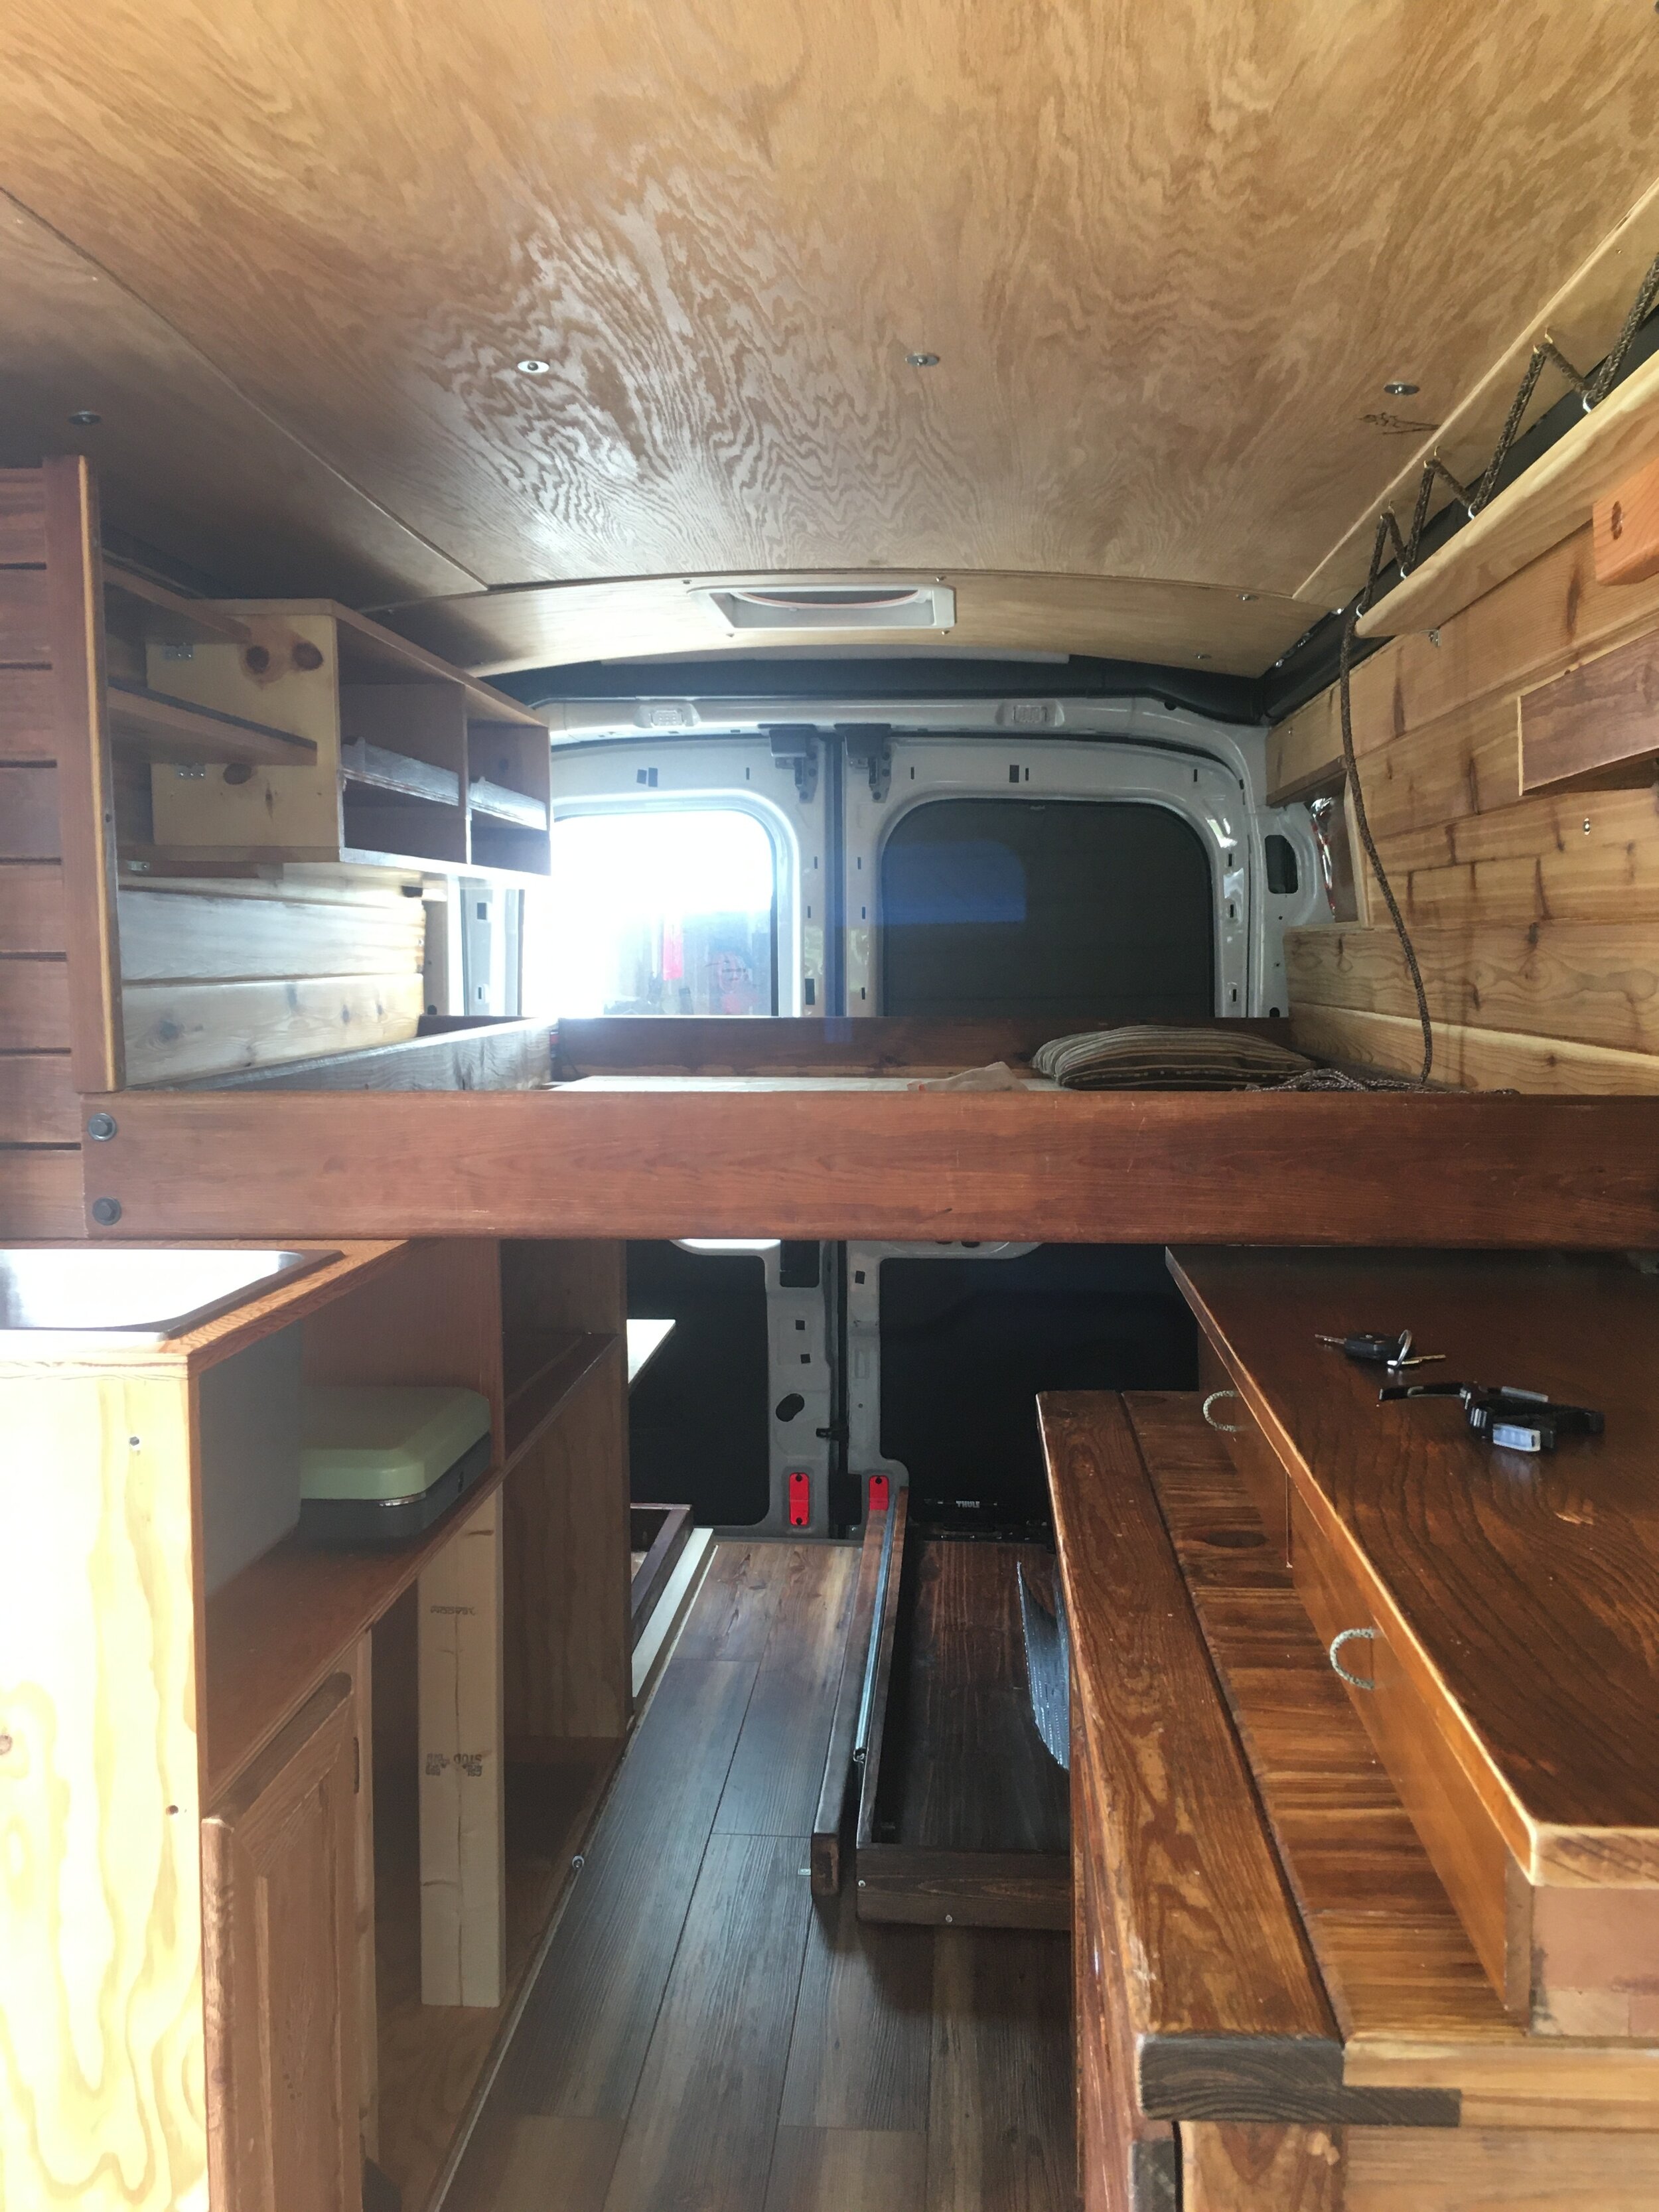
From there, it gets practical. I wanted us to have as much headspace and not feel like everything was closed in, ’cause I’ve seen a lot of builds where they have all the overhead cabinets, but they’re working with a foot and a half of actual headspace from the bed to the seats. I wanted it to feel like a comfy, open home as much as possible. And especially when we started dating, I was like, fuck how can I maximize movable room?

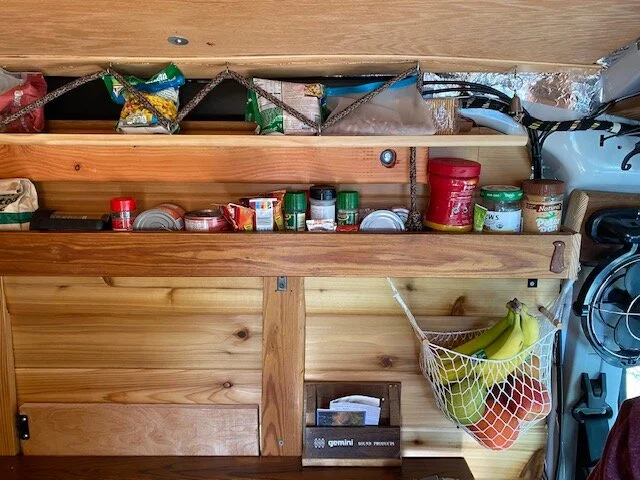
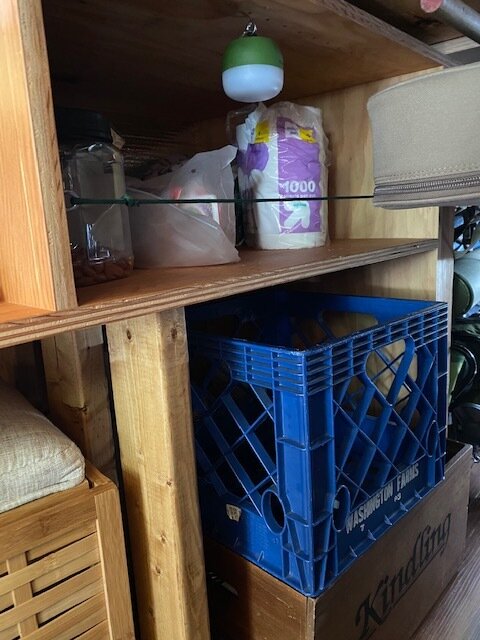
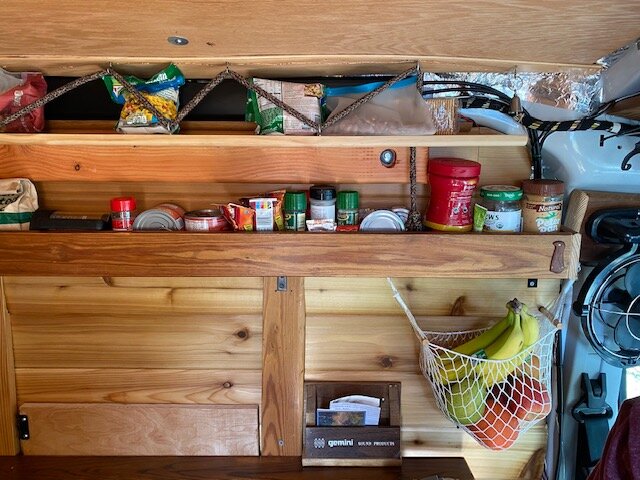
Brooke says: Ah, the joys of dating an amazon. I was apprehensive about the shelves at first. I wasn’t sure what we were gonna fit on them. But we found ways to fit the items to the space. Trying to measure commonly used items or whathaveyou would have driven us both insane.

We didn’t measure, but everything we need found a place.

We didn’t measure, but everything we need found a place.

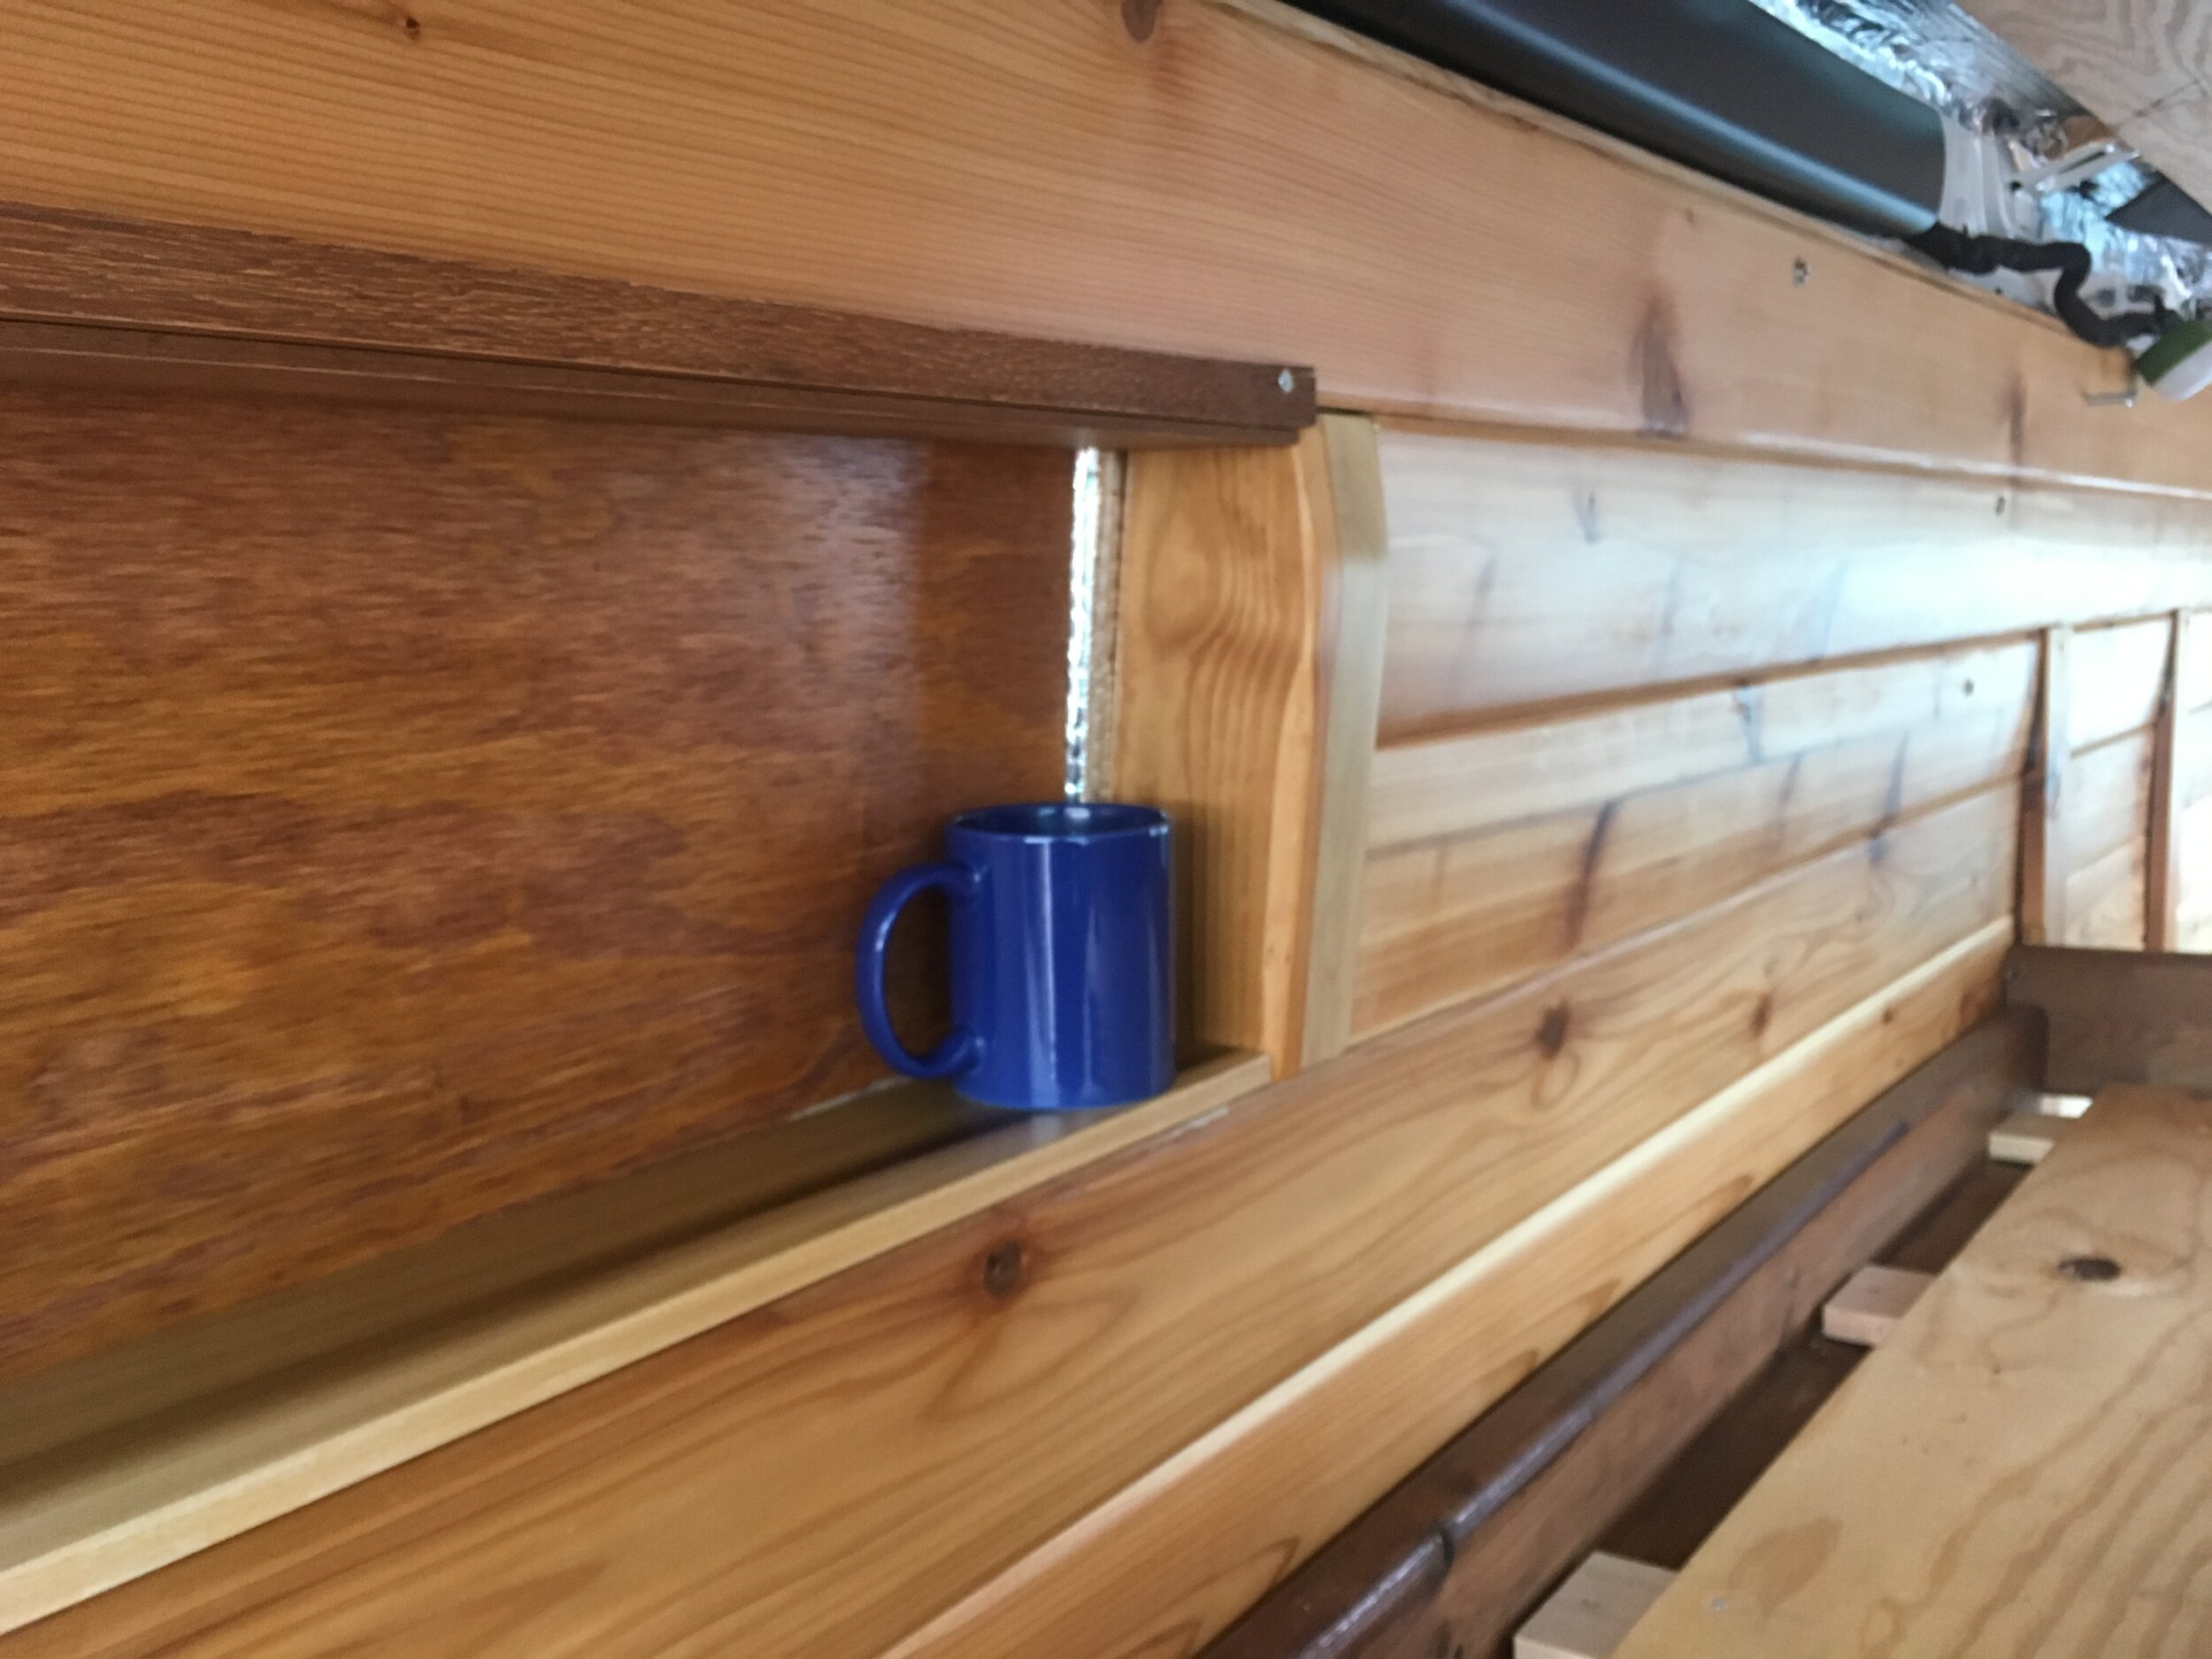
Brooke writes: Same deal with our garage area. Before Doug built it out, I gathered all our outdoor adventure gear and spread it out on the floor and tried to visualize the ideal storage solution. Turns out, there really isn’t one. Once again, we didn’t measure, but everything we need found a place. The last and in my opinion most beautiful shelf is this one right here:

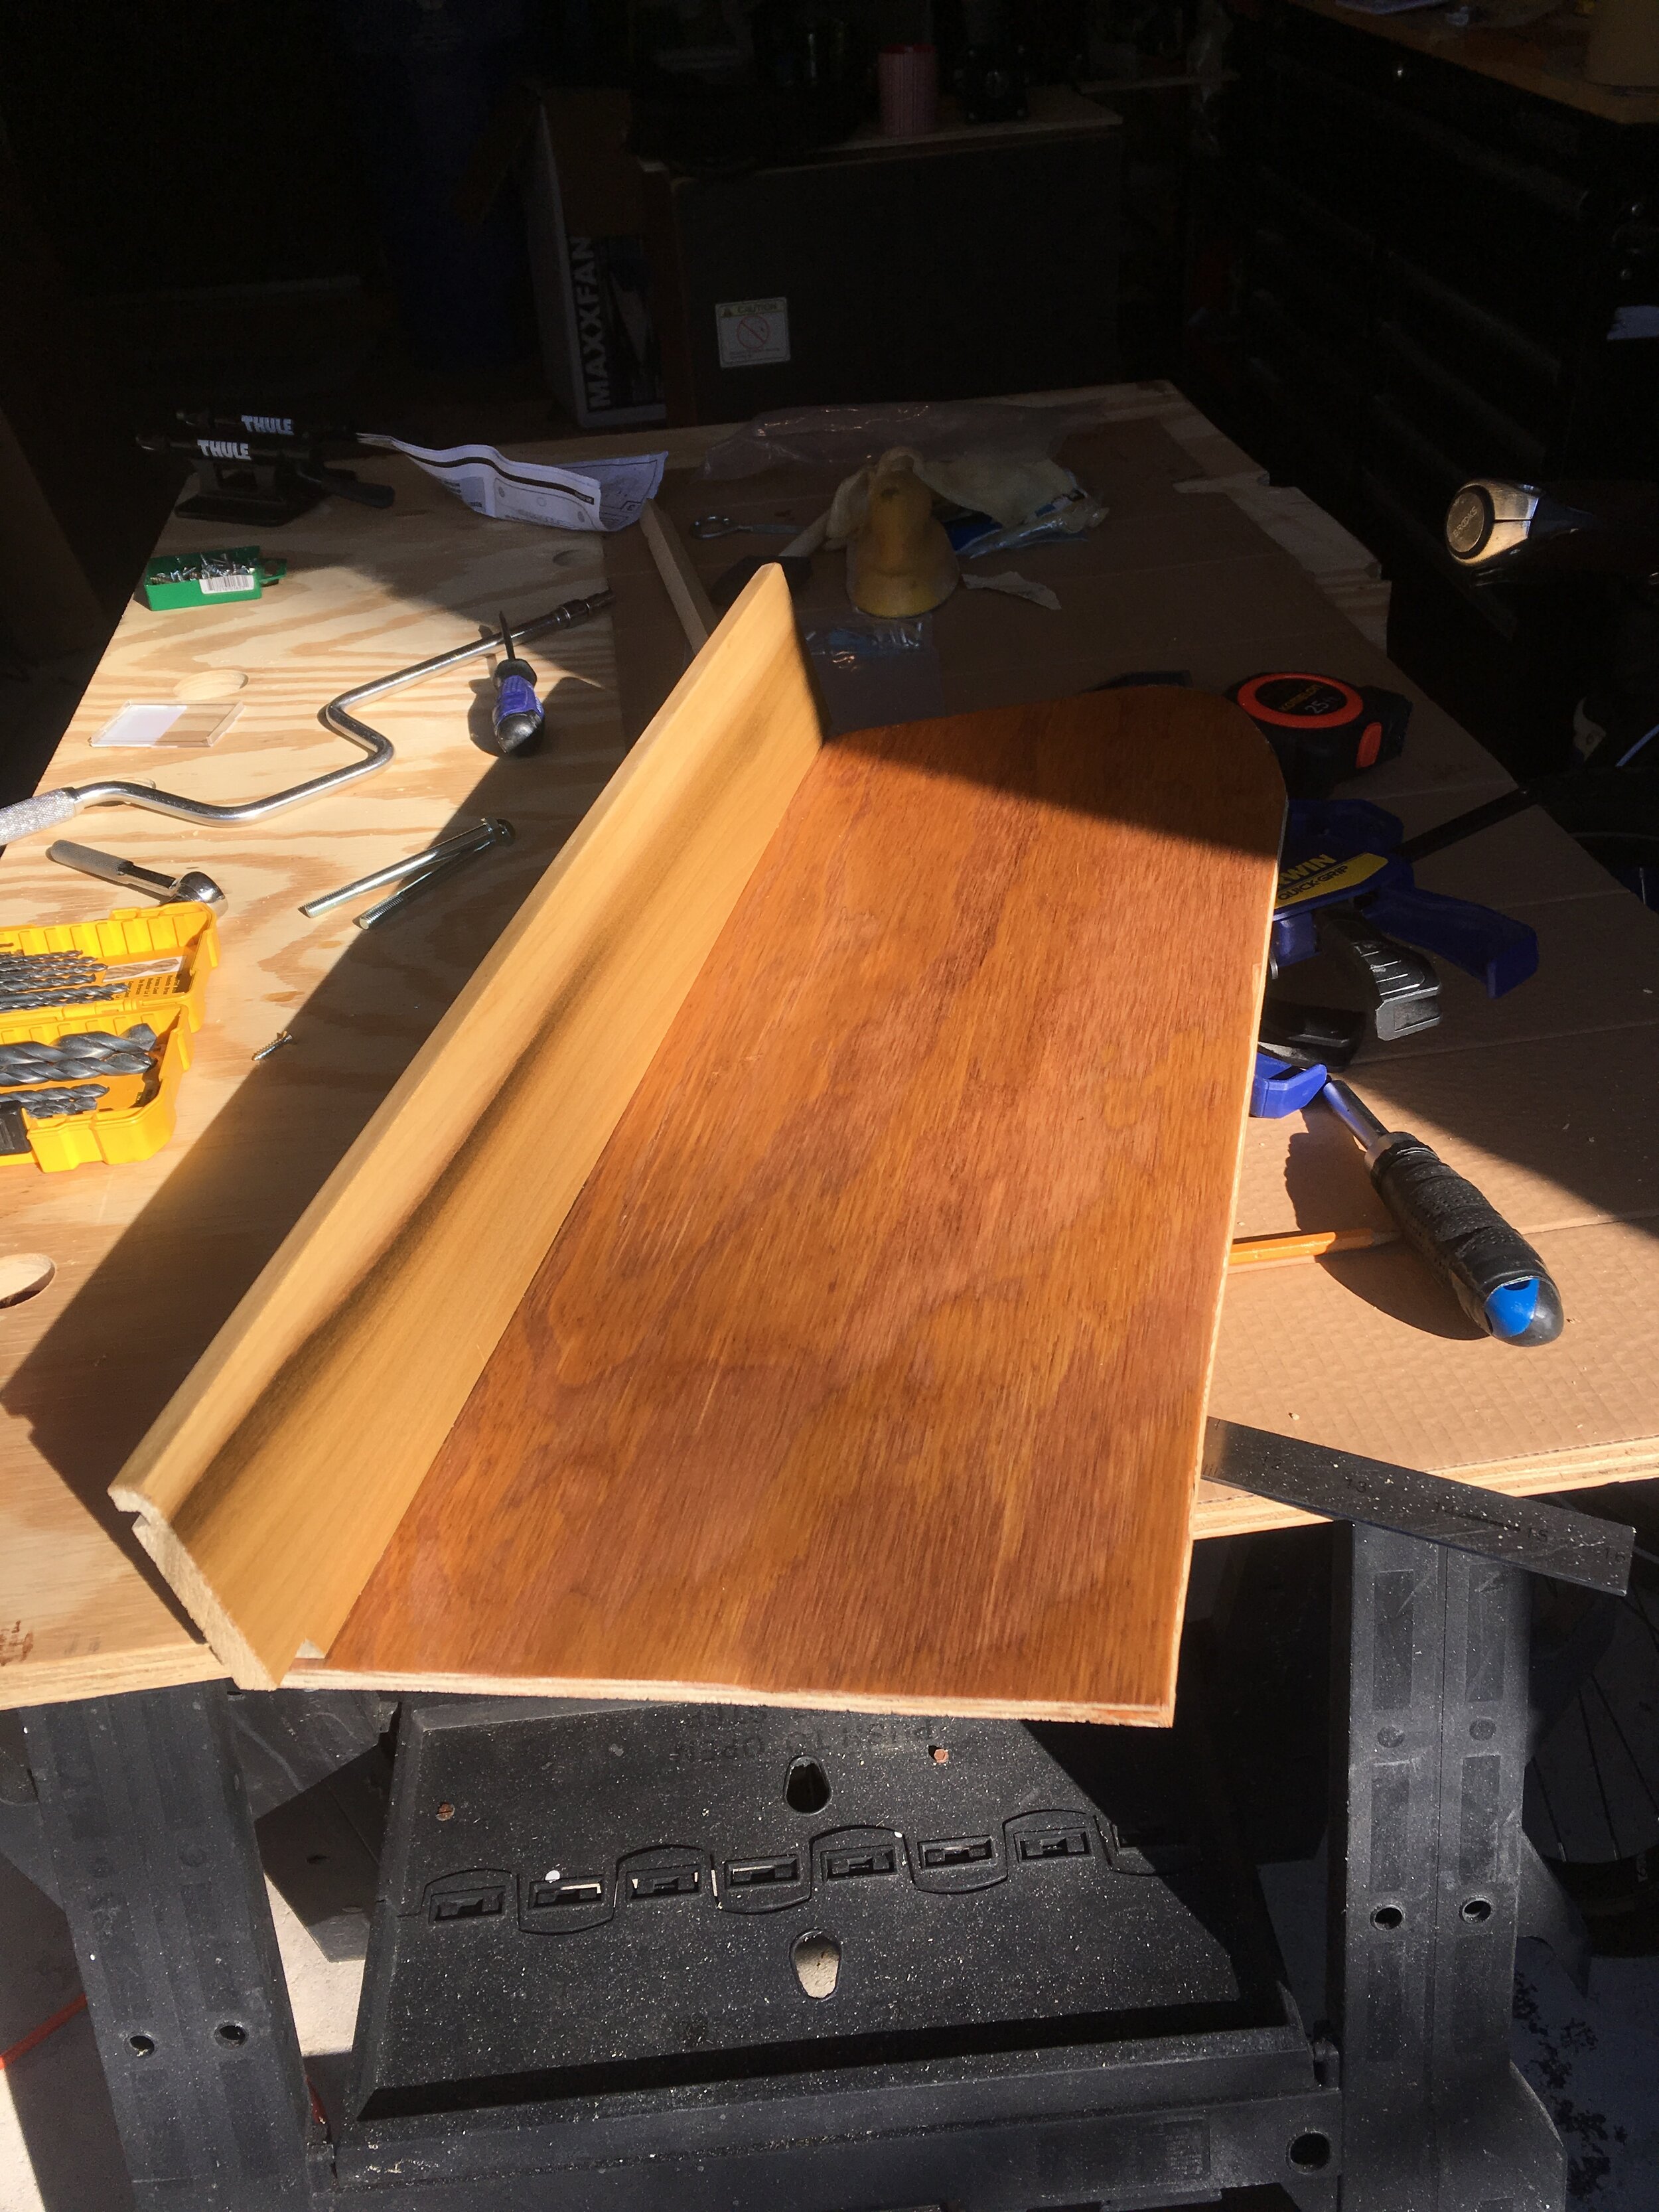
Doug explains: I just wanted you to have a little spot to put your stuff next to you while you were sleeping. I wanted to use part of that back void for a purpose. It’s good enough for a book or a cup of coffee. So there’s no insulation behind that shelf.

Brooke concludes: Admittedly there’s not a whole lot of coffee drinking going on in bed, and anything I put on this shelf would fall off as soon as we get moving, but part of a successful van build is staying open to possibilities for the space. Who knows, maybe in Season 3 we’ll figure out a function for this shelf that’s totally integral and we’ll wonder how we ever got along without it. Or maybe it’ll always just be a beautiful place to put my Nalgene. That’s good enough for me.
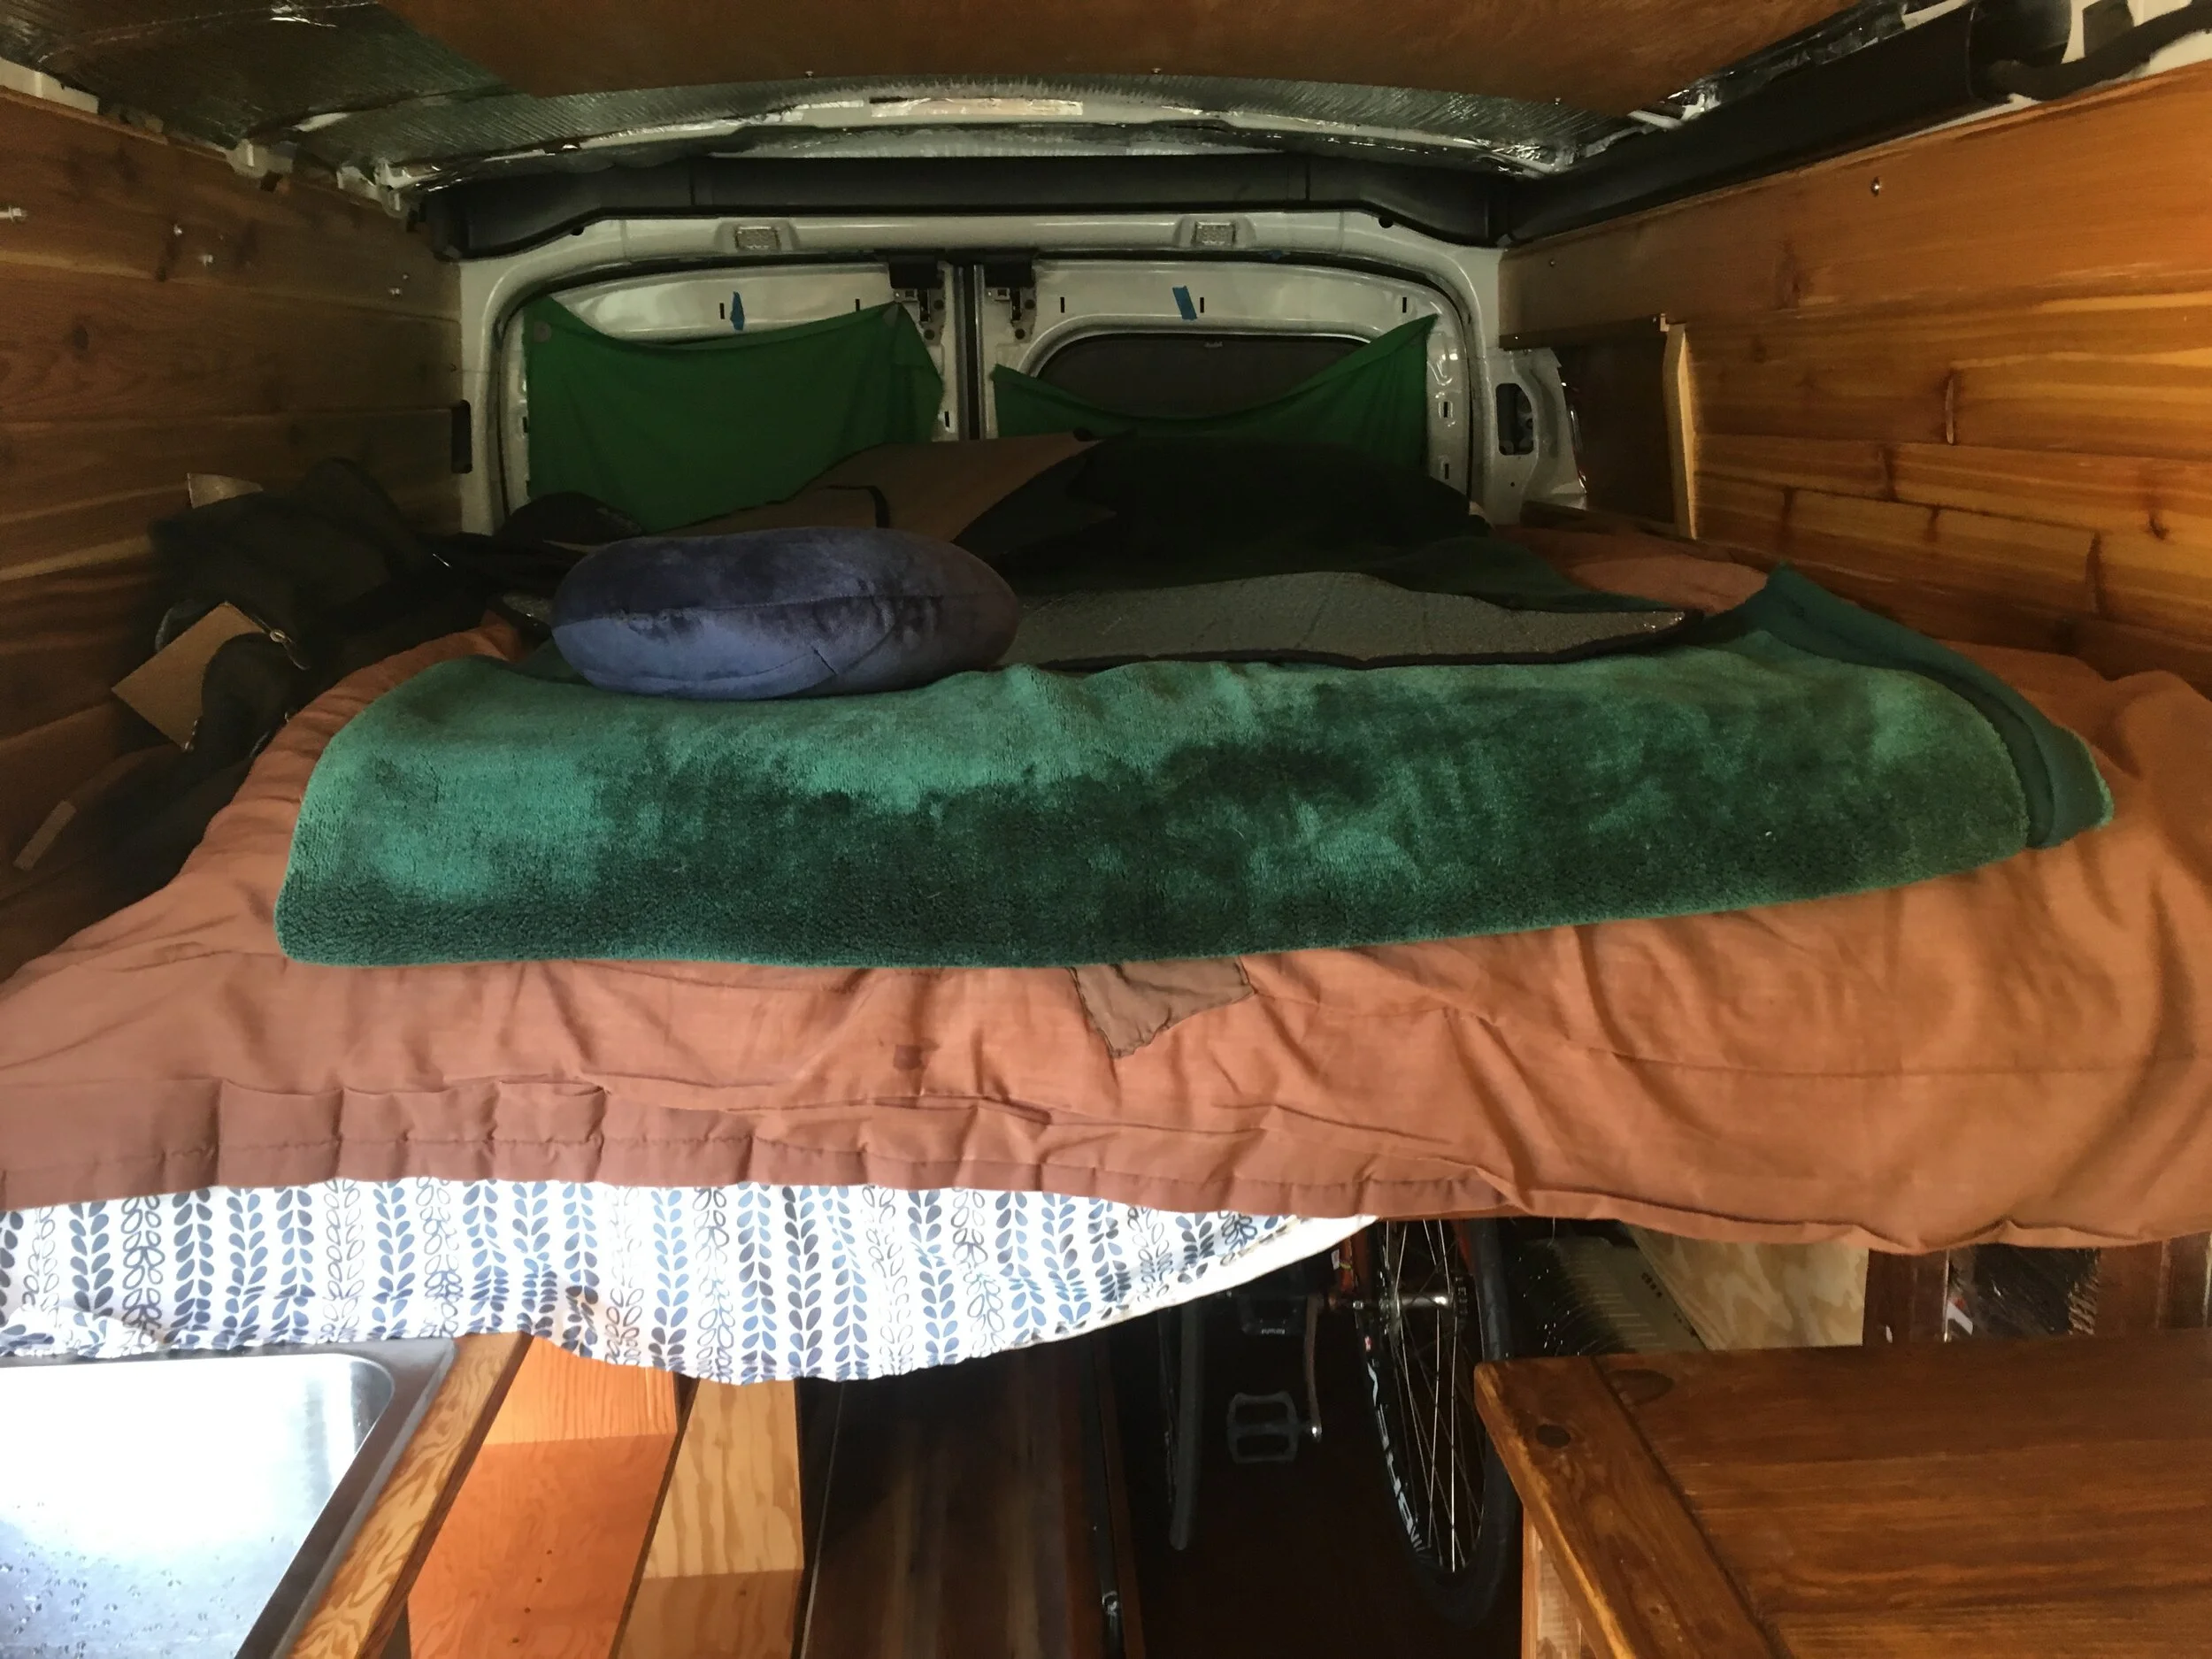
lofted bed frame

IMG_7183.JPG

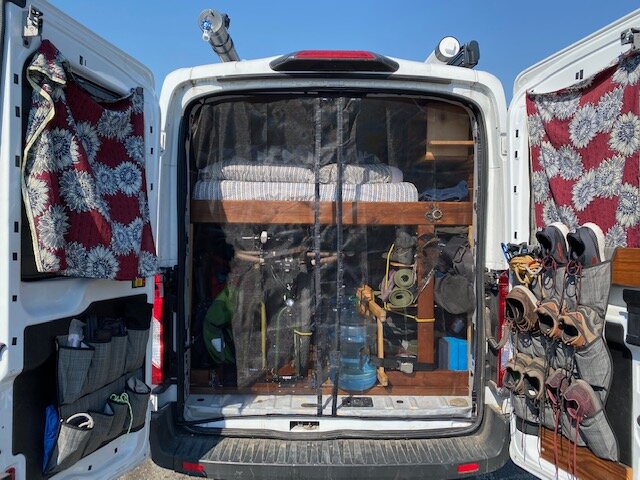
Doug says: The bed frame is built directly around us having bike storage. Storing them outside could damage them, make them a target for theft, and advertise the fact that we’re van lifers.

Brooke asks: Did you follow plans for the bed frame?

Doug says: No, I just had a picture.

Photo courtesy of Seek Dry Goods.

Photo courtesy of Seek Dry Goods.

Here’s what went into it:

  • Stanchions: Six 2x4s

  • Slats: A combination of pine and oak, with the oak slats under the areas that support the most weight

  • Under the mattress: ¾” plywood 

Everything’s bolted together, and the stanchions are bolted into the walls of the van (don’t forget —  anchor nuts are basically your best friend!). The bed frame itself it attached to the top of the stanchions with a pocket jig.

Underneath the mattress, with spooky green lighting.

Underneath the mattress, with spooky green lighting.

If you’re building a frame from raw materials, you’re fine to go with pine — it’s sturdy enough, and hardwoods like oak would add a lot of weight to your build. However, in classic Doug fashion, he repurposed an old yellow pine bed frame from the bunk beds he and his sister shared when they were kids. Not only did this give new life to an old piece of furniture that would have just been gathering dust otherwise, it also made the building process easier.

Notice I said “easier” and not “easy:”

10.8.20 mistake.JPG

Doug’s got a story about this picture. Take it away, babe:

Doug says: Building a home of any kind can get frustrating. Building a home within such a small space with no 90-degree angles, I constantly had to think about the step I was on to make sure that it wasn’t gonna impede any further step down the line. This picture’s a great instance of that.

I Googled dimensions for a full-size bed, and then built the bedframe to those dimensions. Turns out, haha, the mattress* that I got was a little smaller. So I wasted a whole lot of room, ‘cause there was this big gap between the side of the mattress and the end of the bedframe.

My mom came out and asked how I was doing, and I went off about this mistake I had made. And she said, ‘Can’t you just undo it?’ And that was all I needed to hear.

Fixing it entailed unbolting the sideboard, moving it to the correct location, and then covering up the holes.

And now it’s a really cool flaw, ‘cause it has your gears on it.

He’s talking, of course, about original gear ring from my bike Lucky, which I rode across the country back in 2018.

He’s talking, of course, about original gear ring from my bike Lucky, which I rode across the country back in 2018.

*Let’s talk about this mattress! Doug and I both have screwed-up spines, but the Casper has remained comfortable for both of us our entire trip. Highly recommend!

the desk

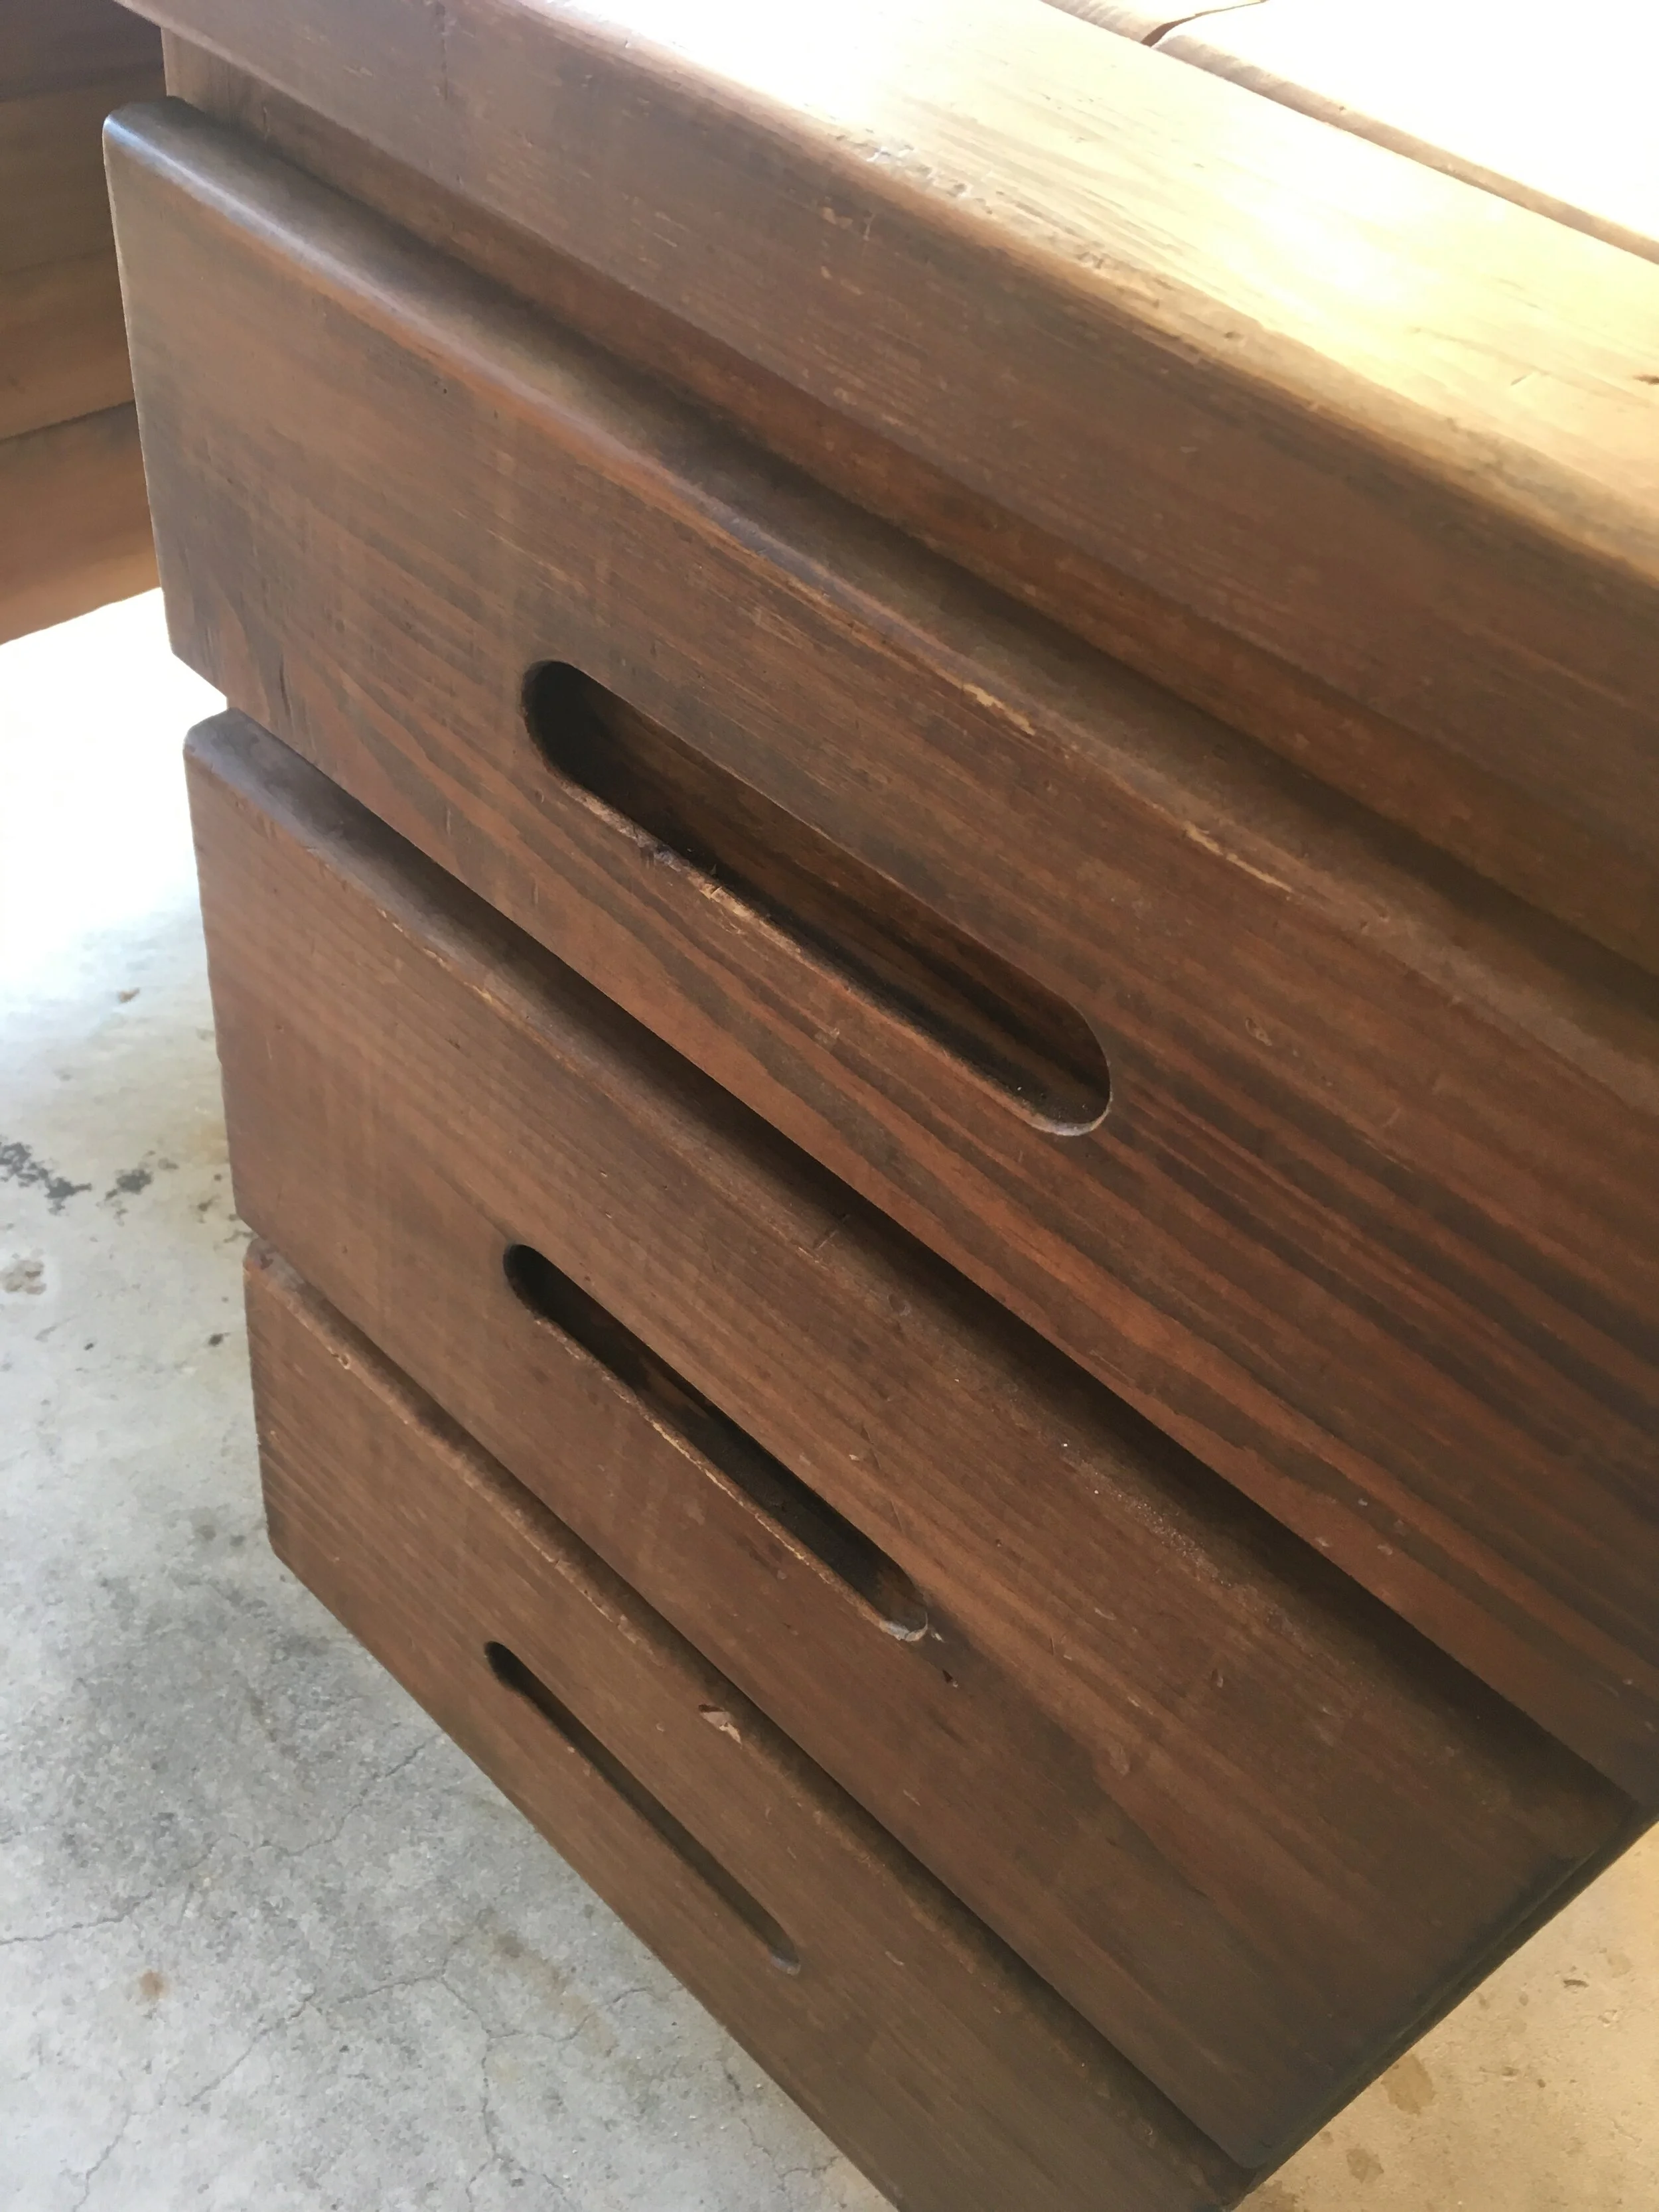
7.21.20 drawers.jpeg

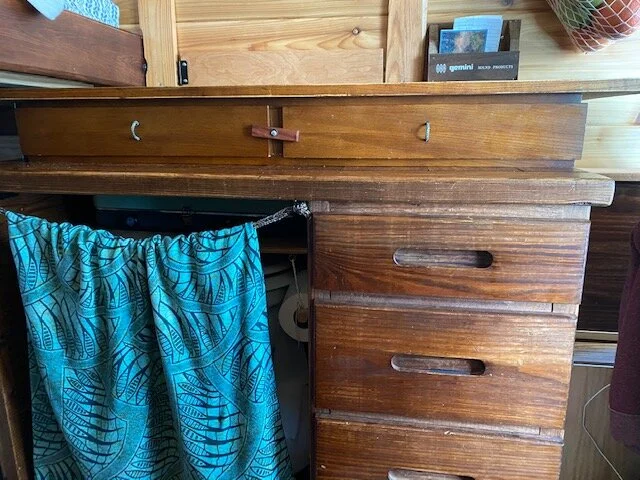
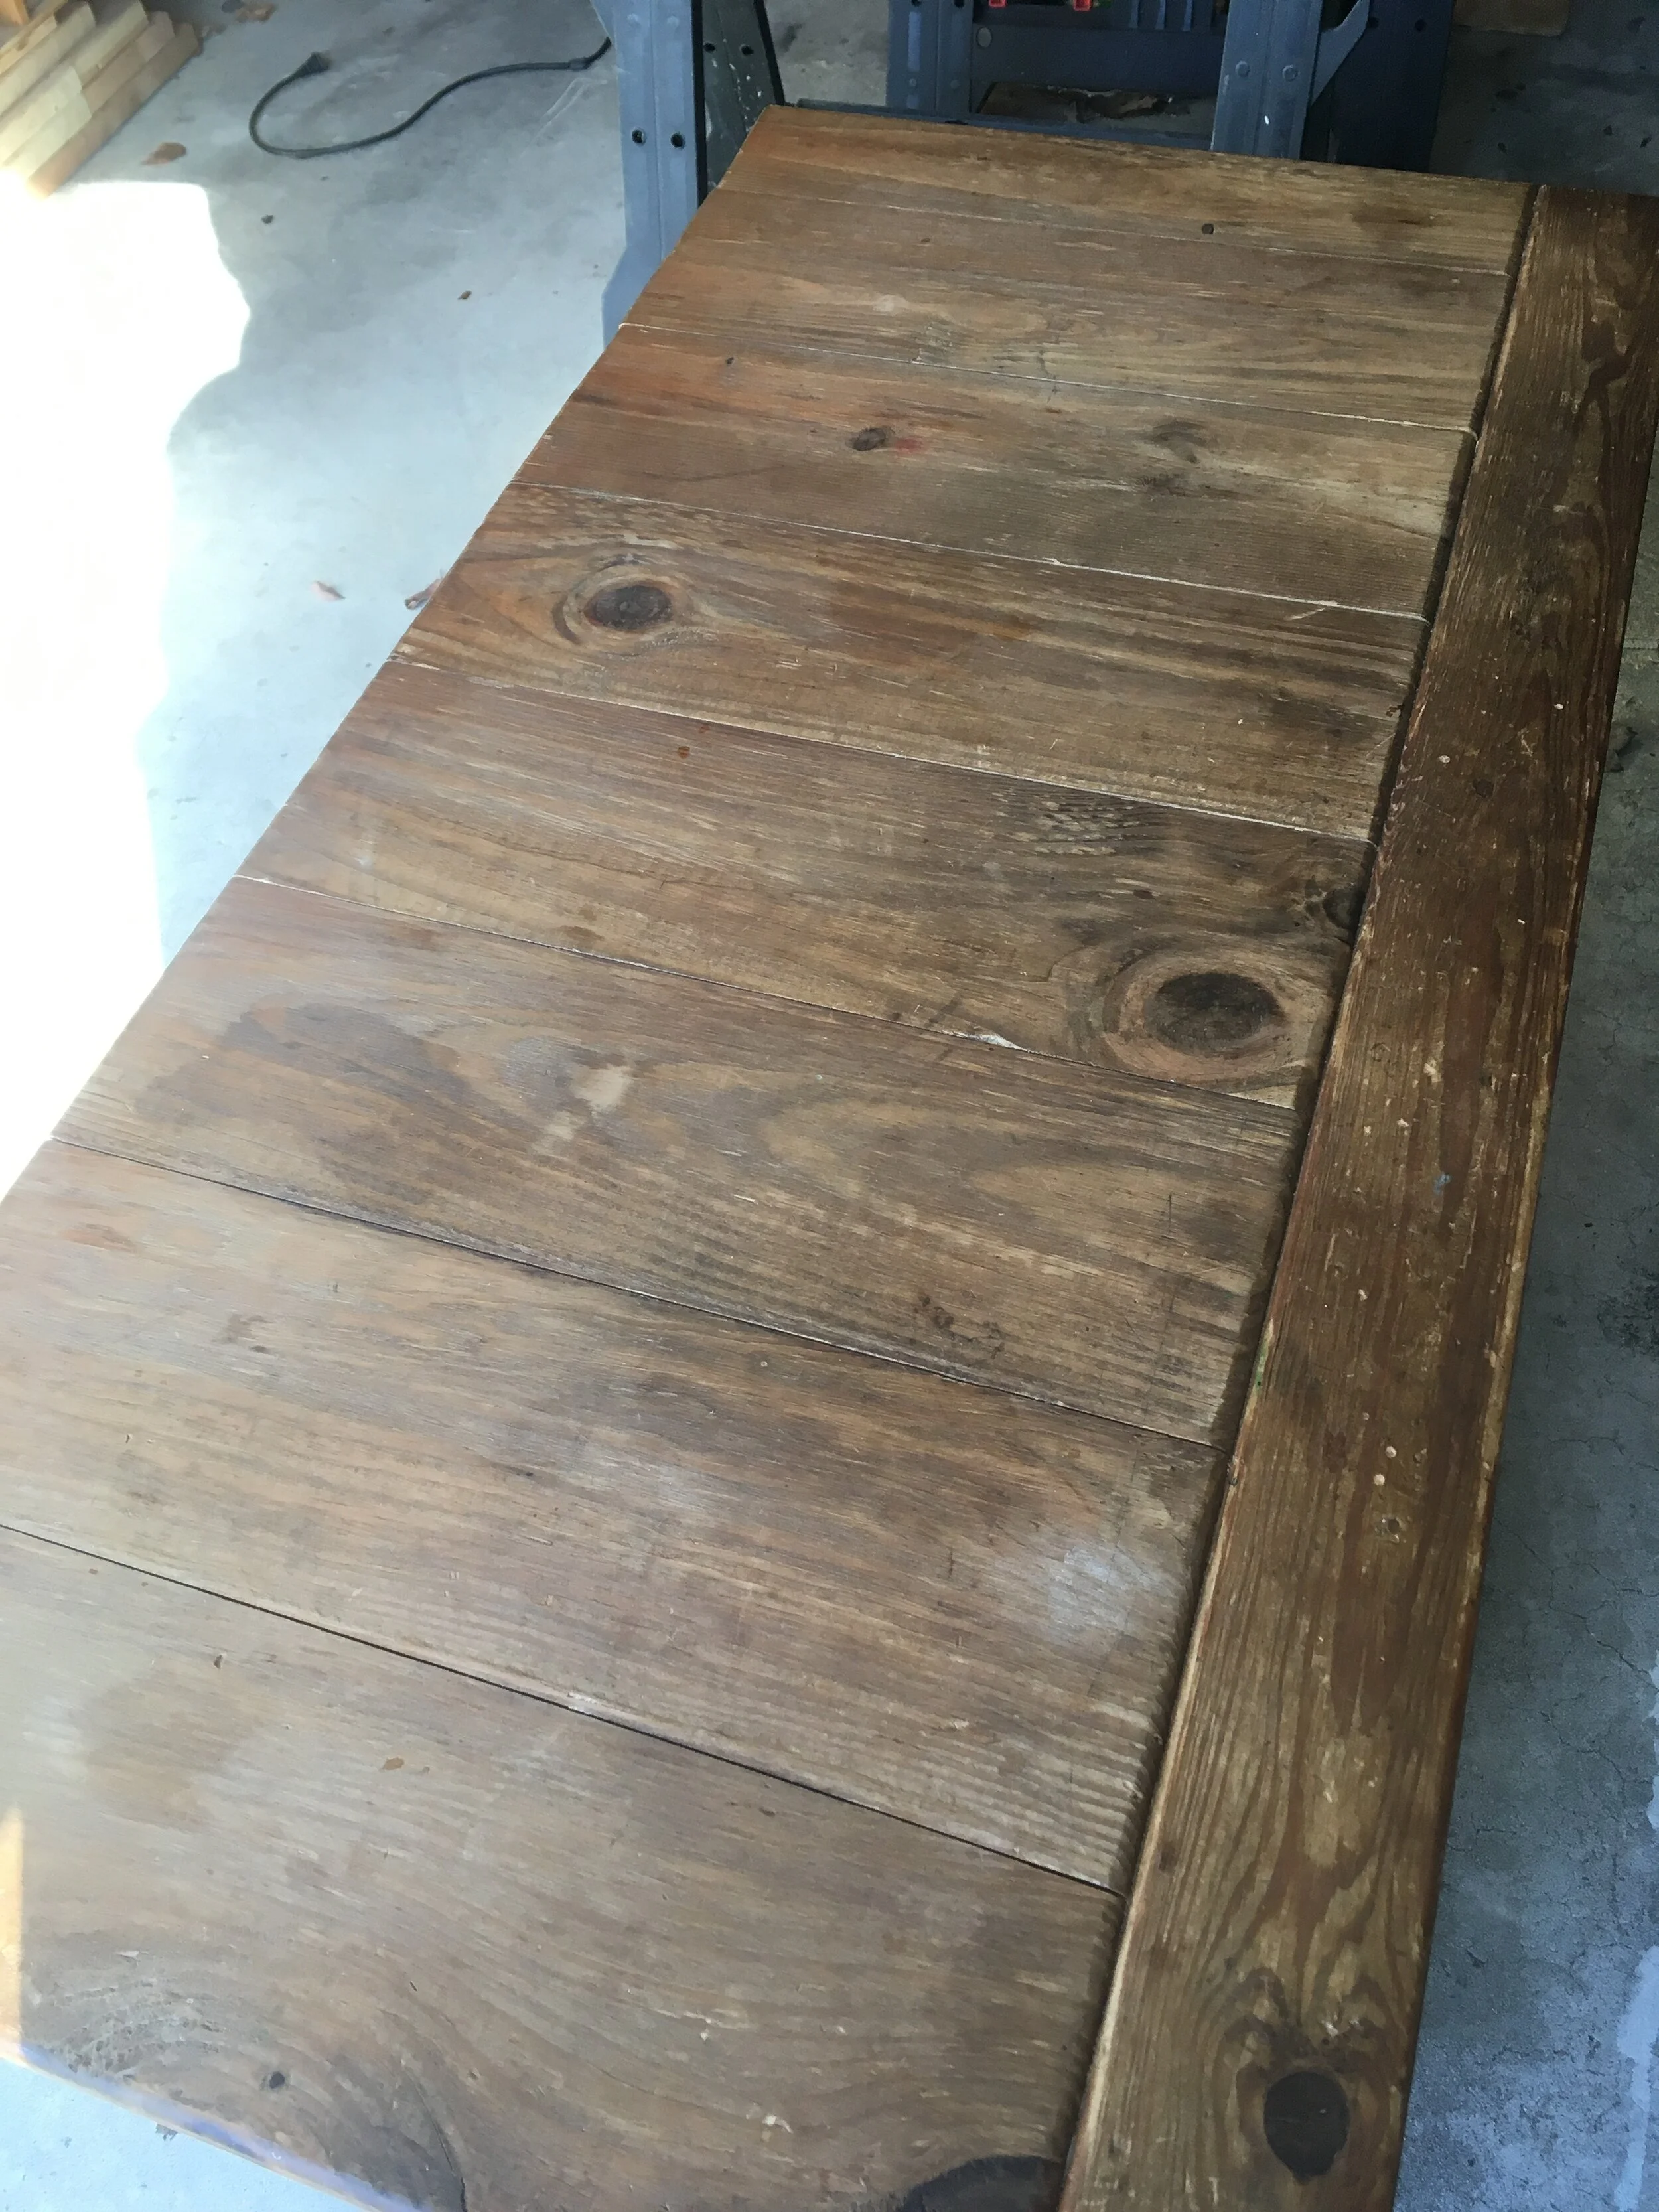
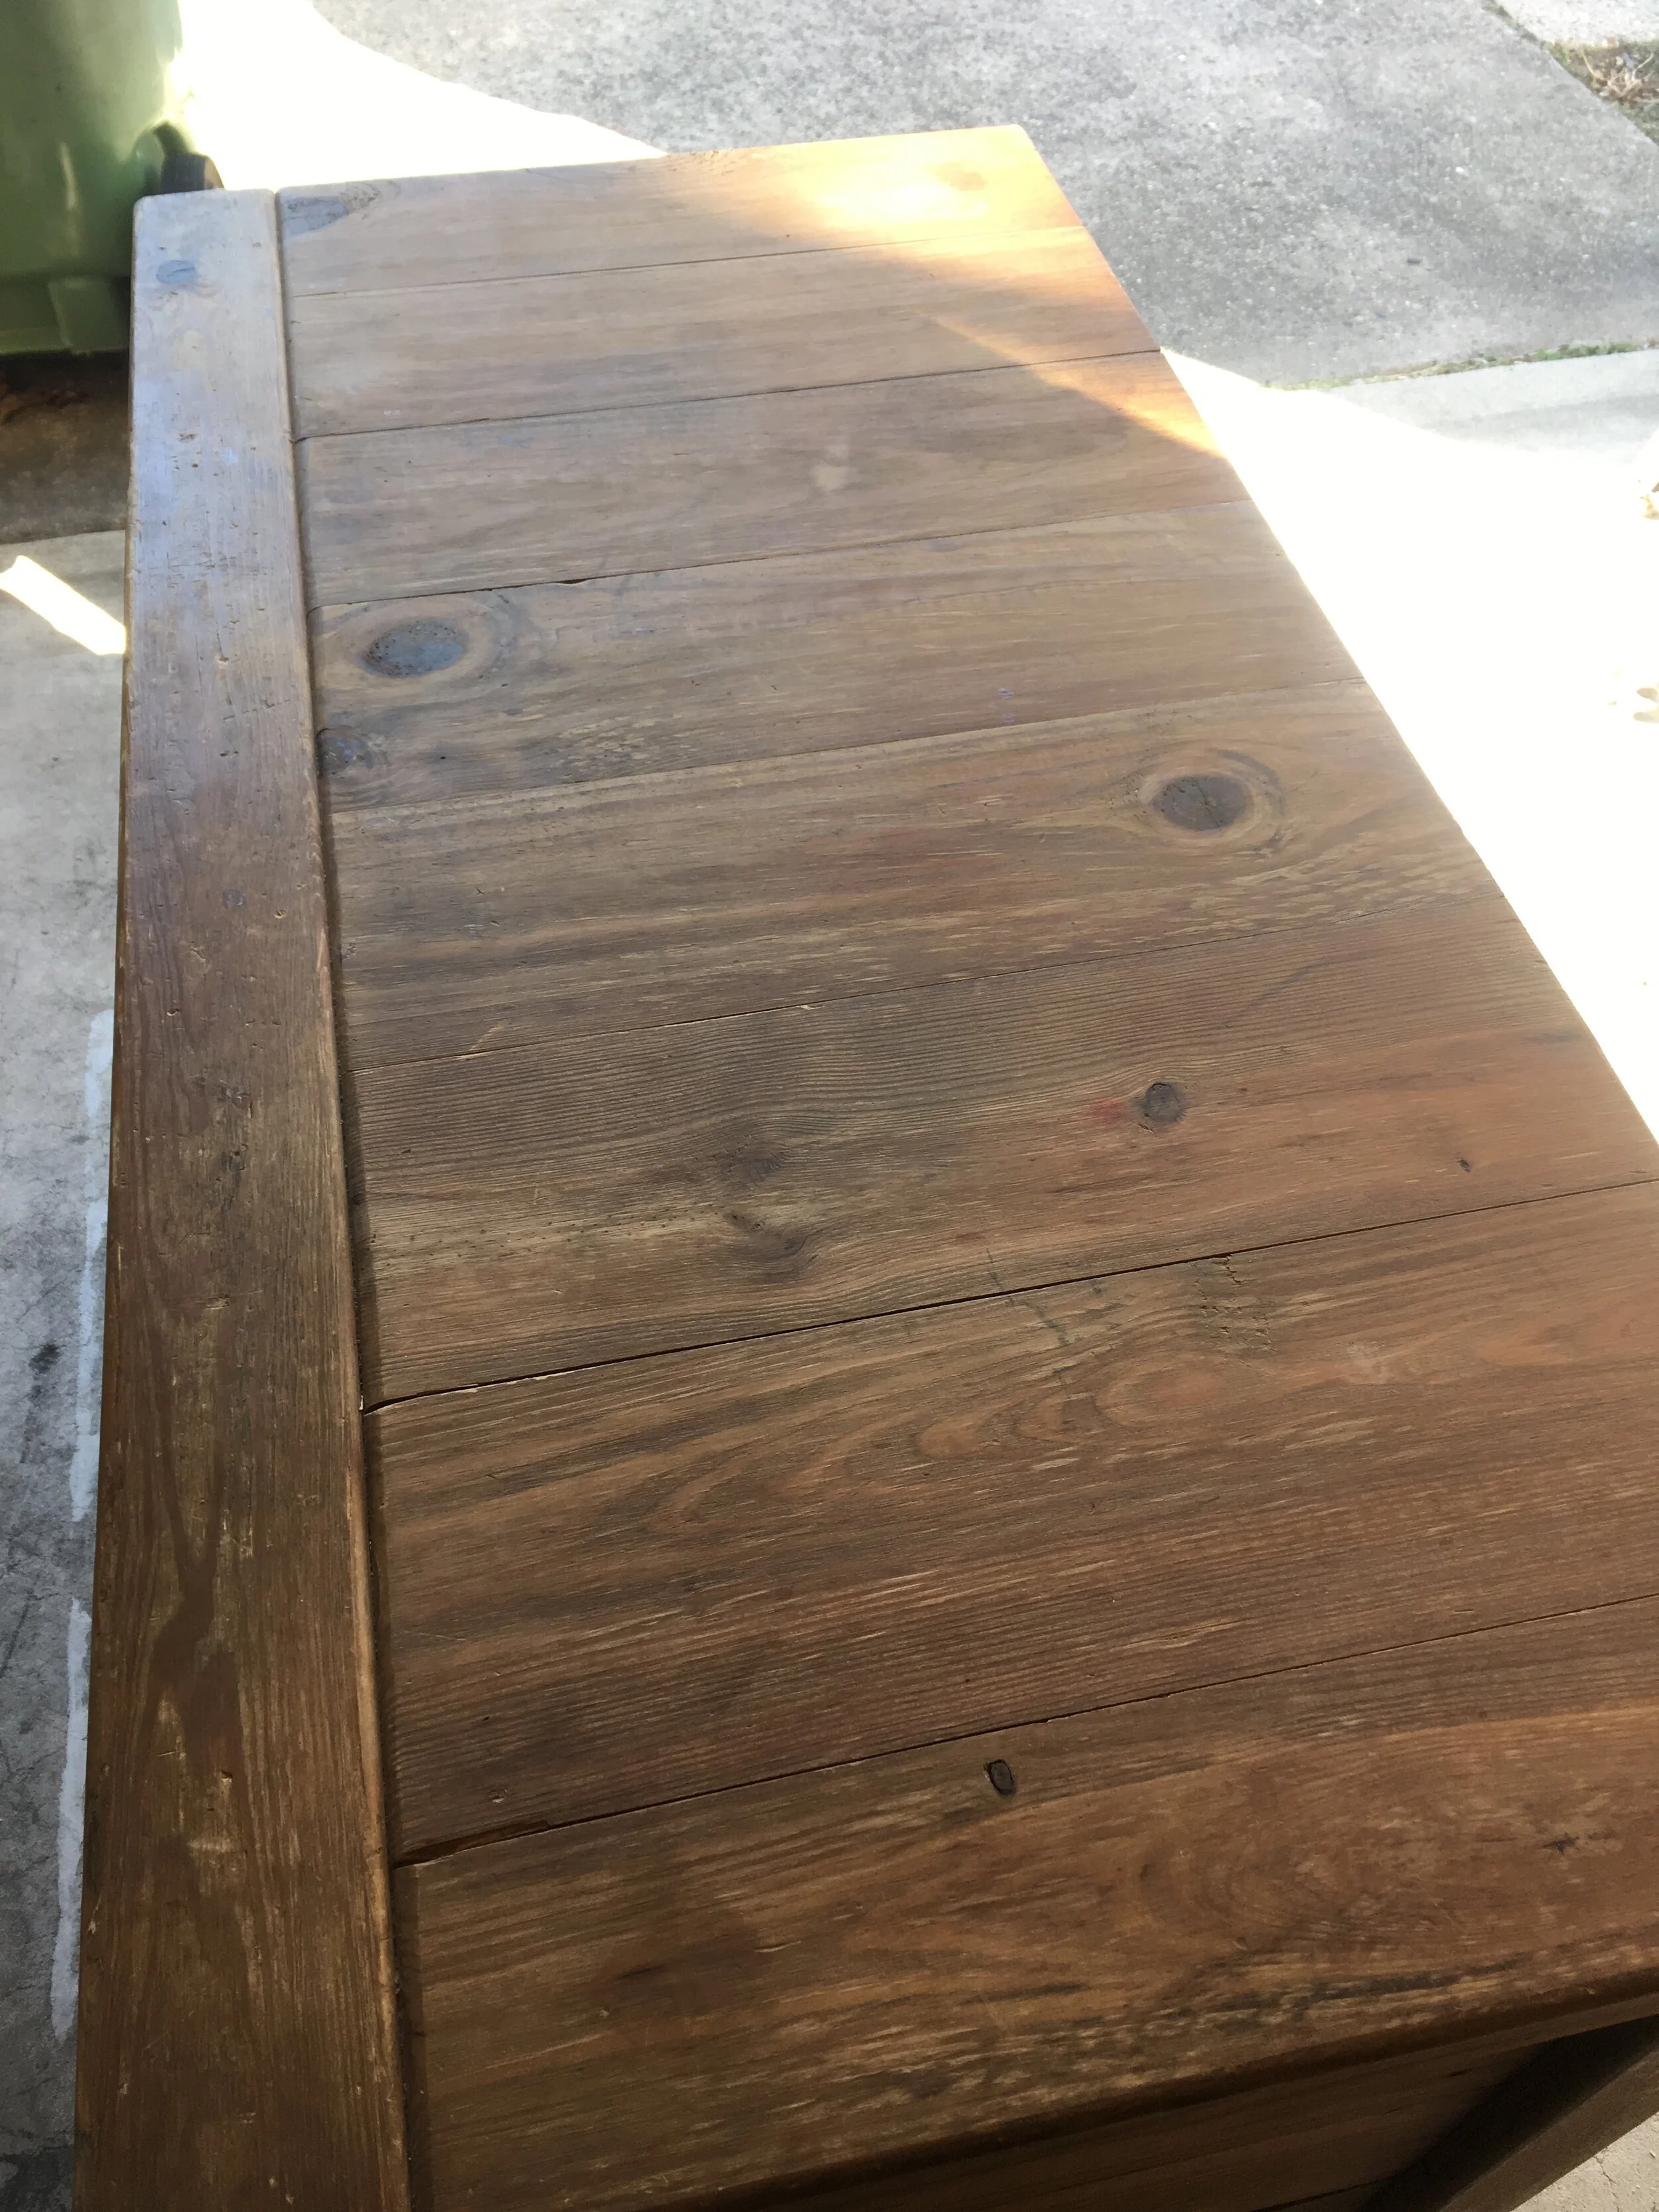
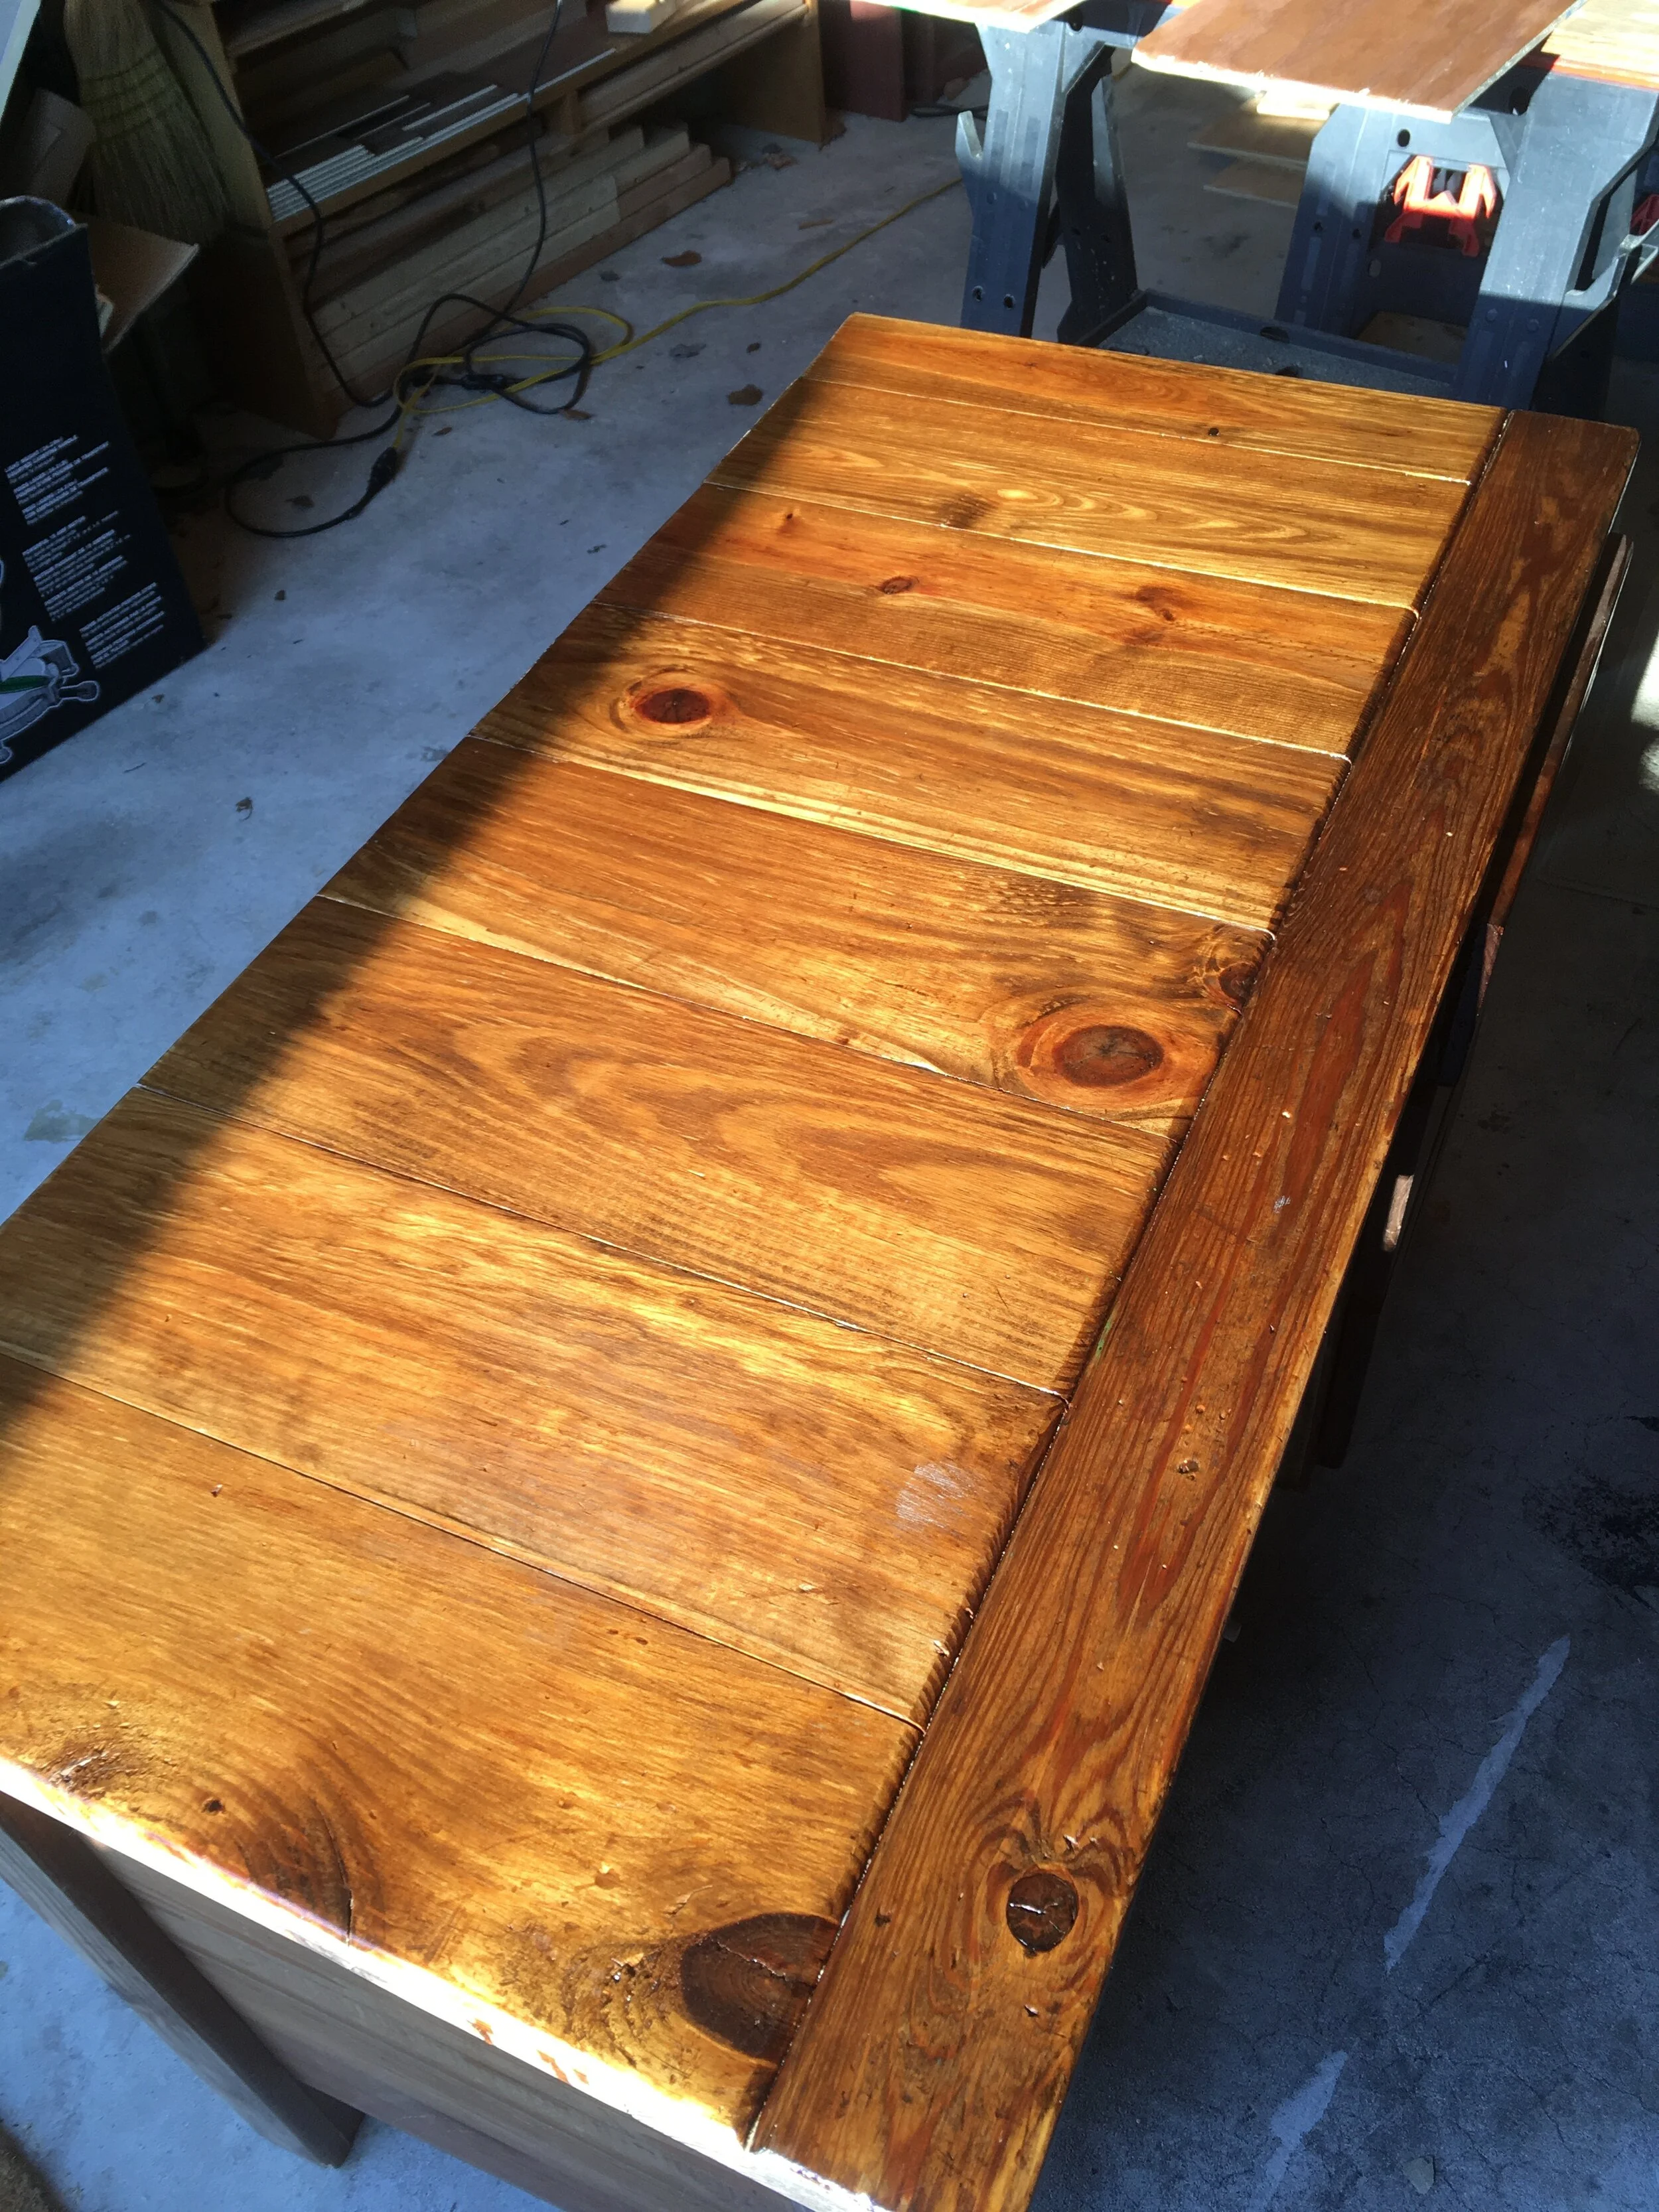
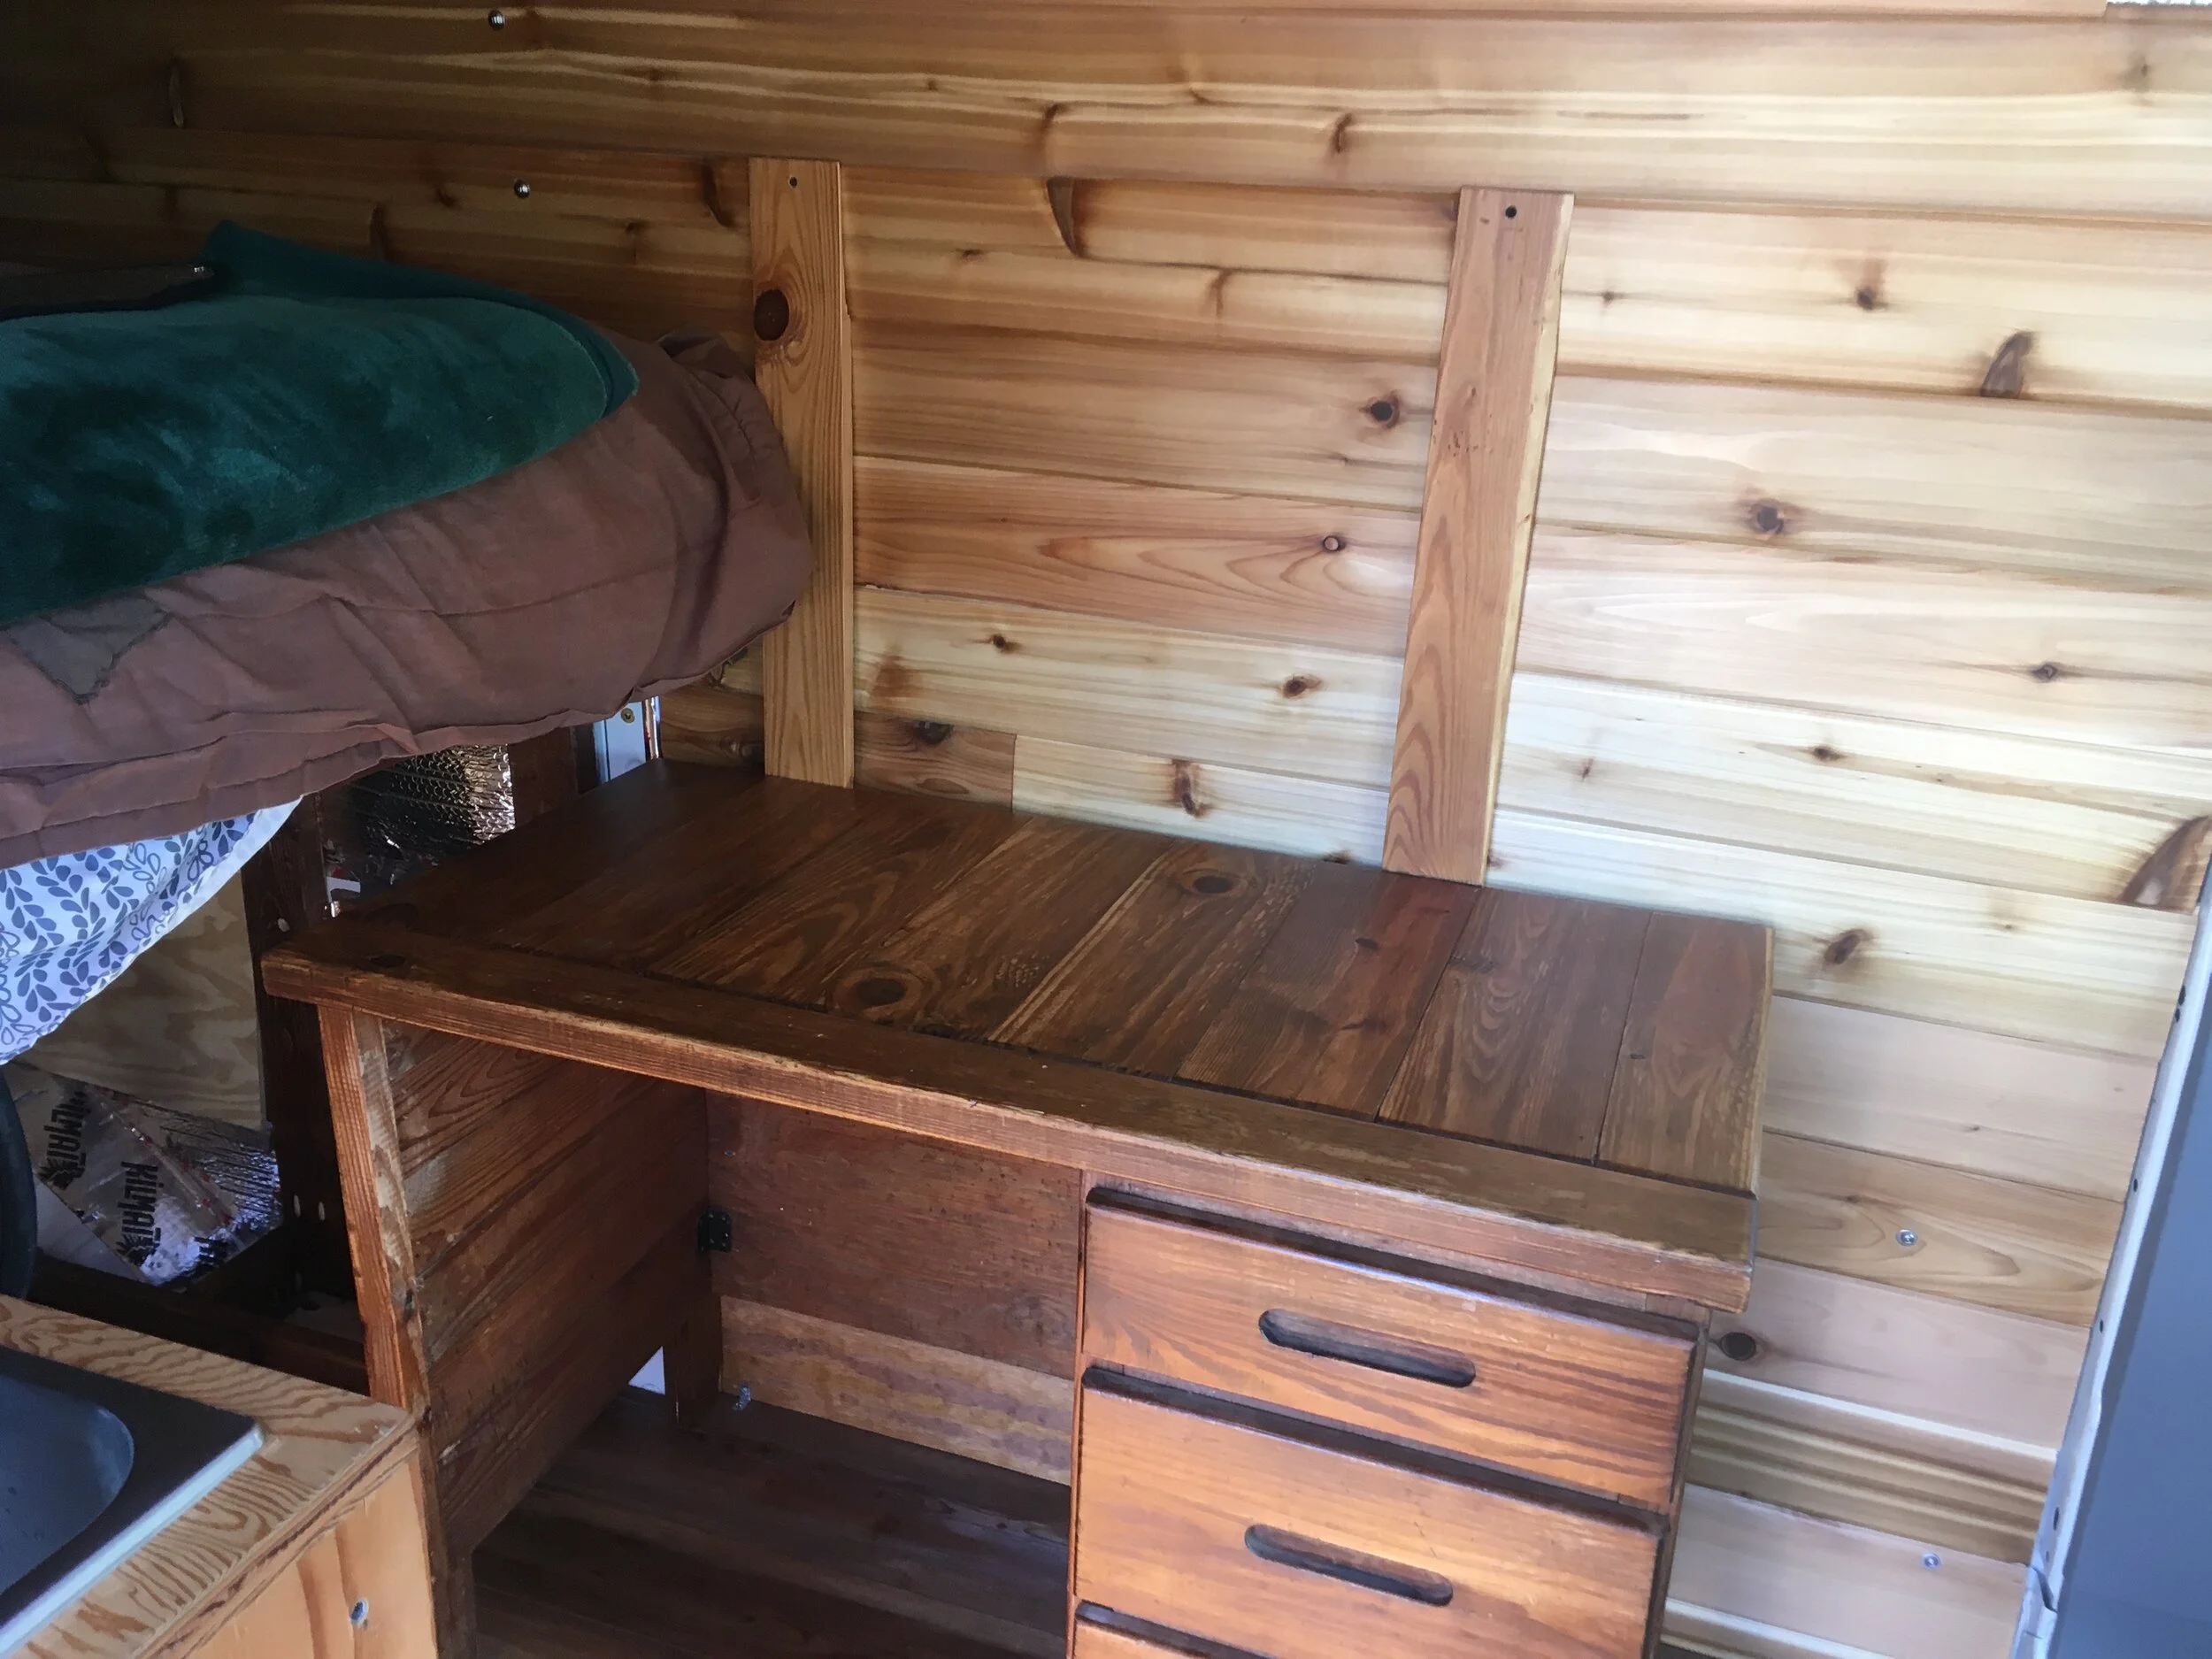
I’ve written about this desk elsewhere. It works really well as a kitchen/storage area. Using an existing piece of furniture was less expensive and time-consuming than building something from scratch. And now this desk that has sentimental value for Doug (his dad gave it to him when he was a kid) gets a new life in our home.

First, Doug refinished all the surfaces — sanding it and putting on a couple fresh coats of polyurethane. “It’s just so satisfying,” he said. “It just shines and brings out all the natural beauty of the wood.”

Next came the actual installation.

IMG_6983.JPG

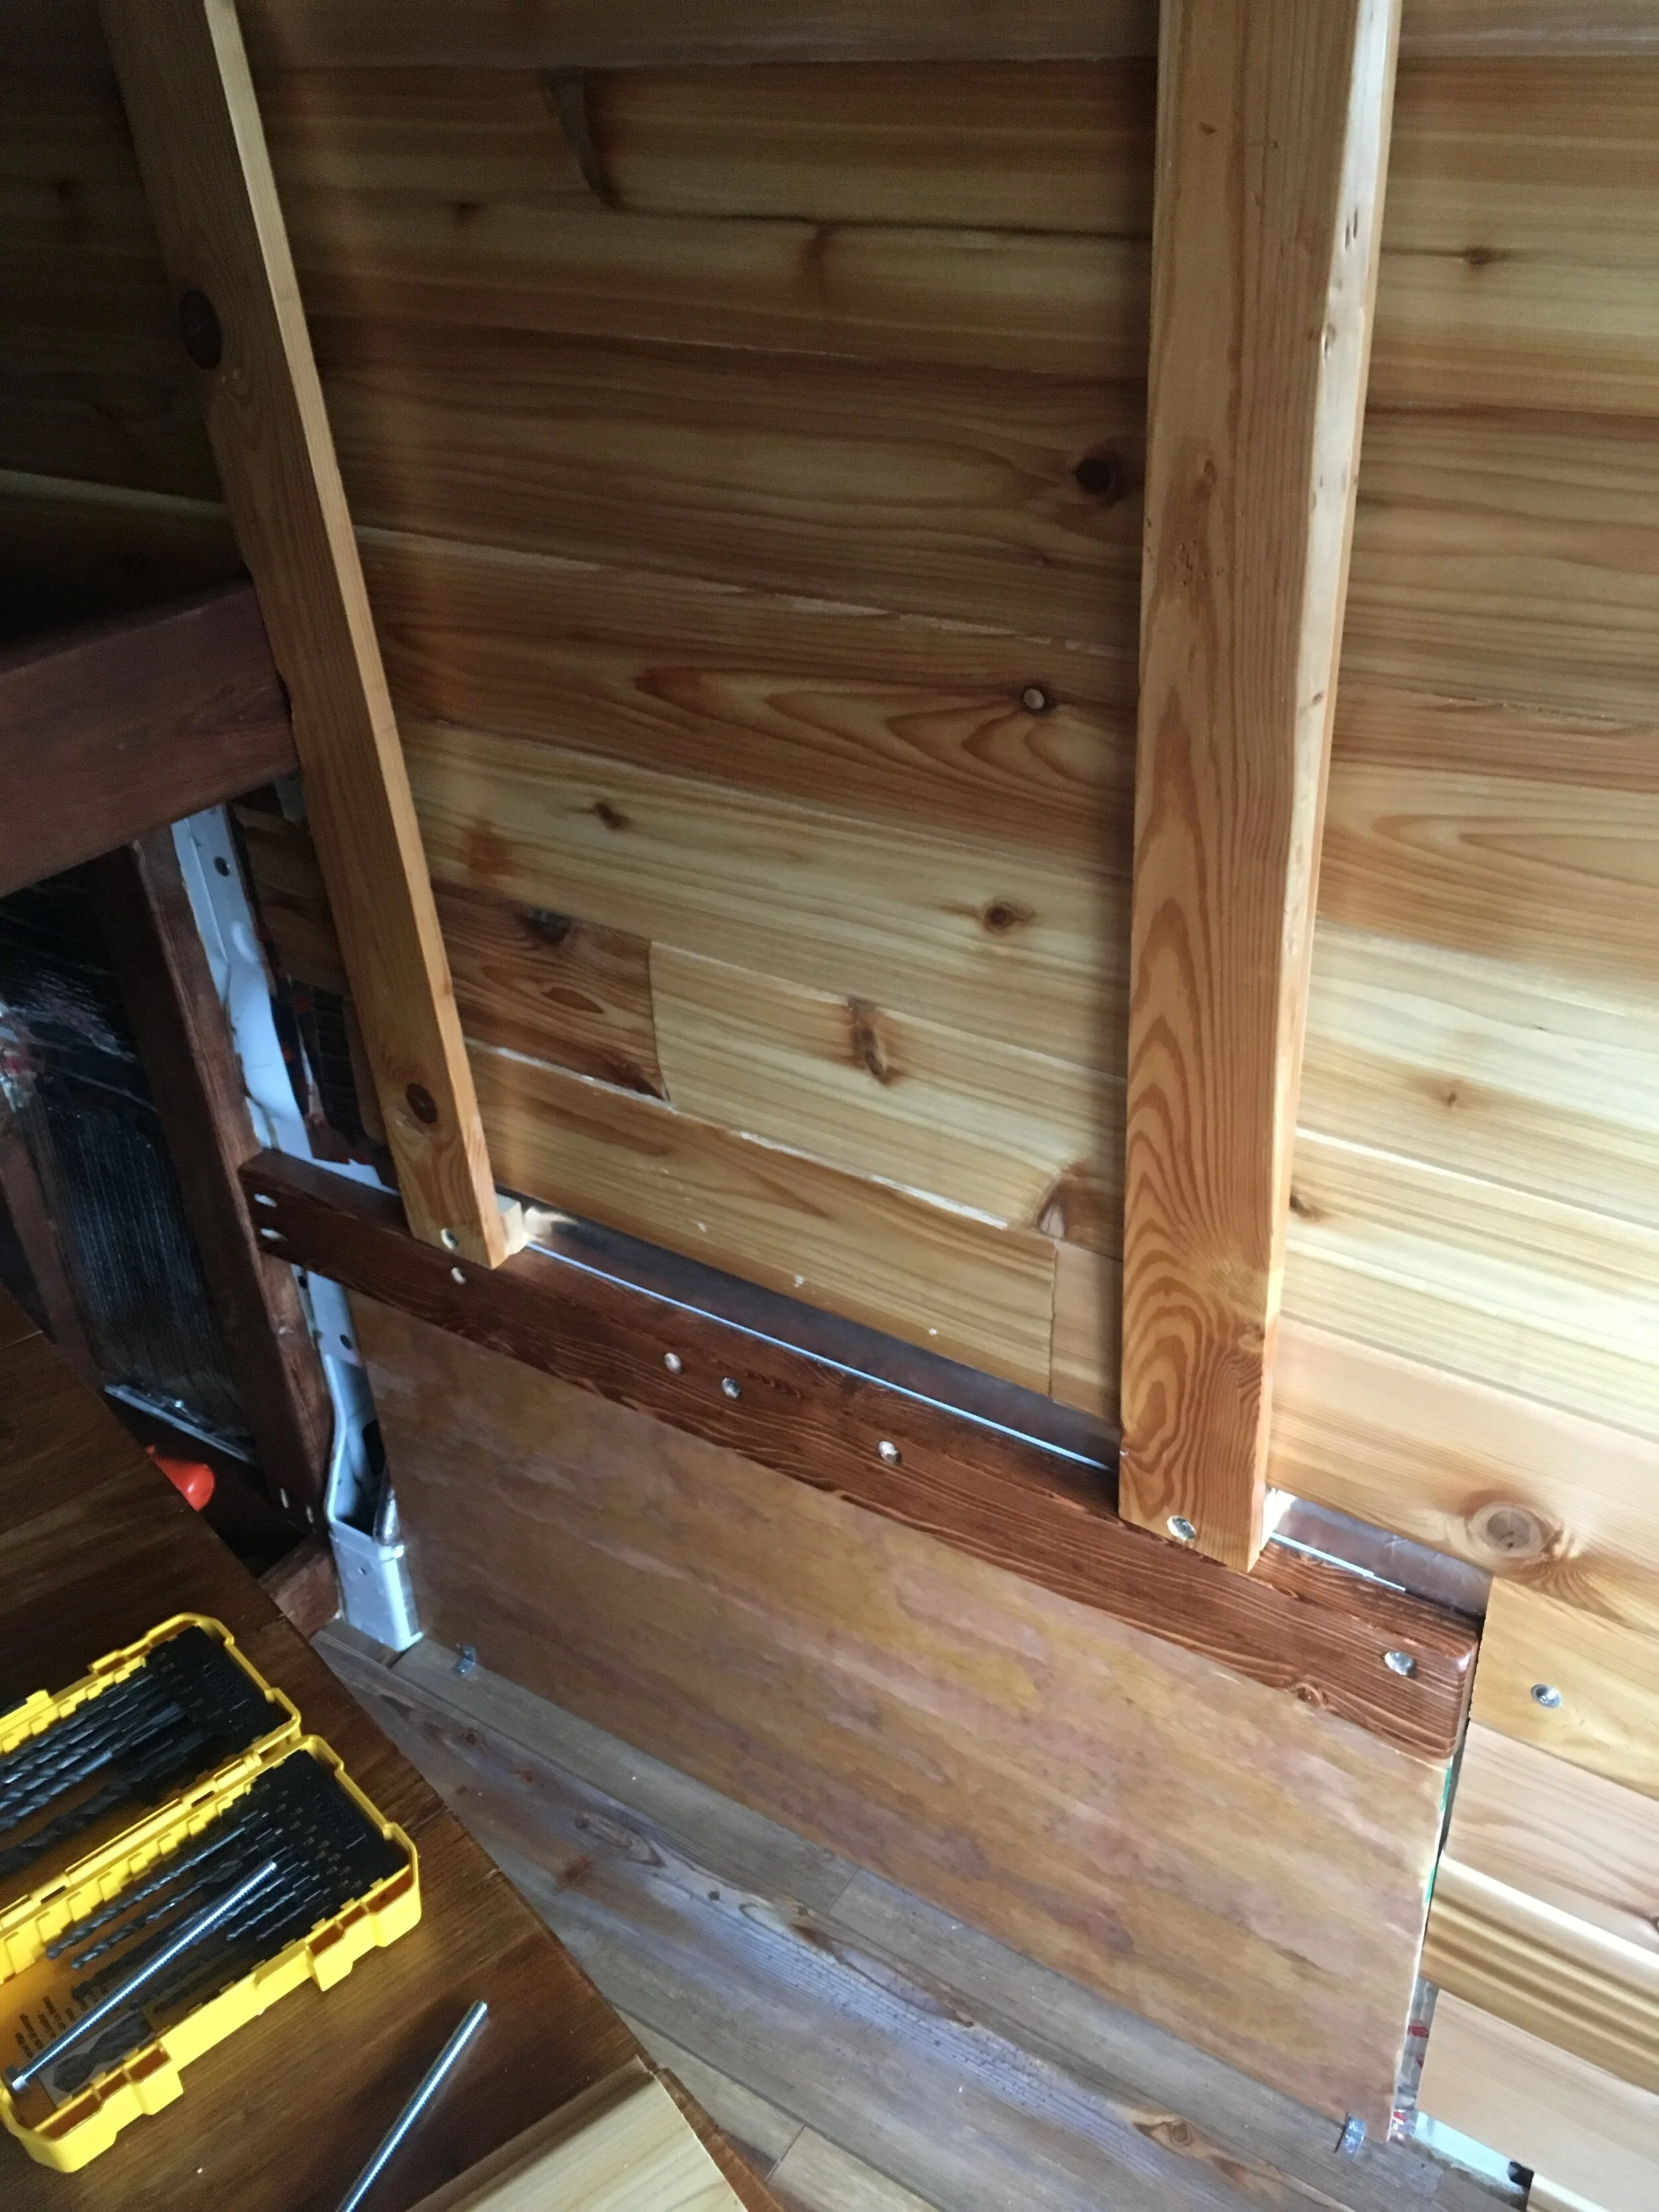
Doug says: I put a stud directly into the van wall to screw the desk into. I could have put anchor nuts into the wall and bolted right in. But making holes line up between two surfaces is an endeavor, especially when it’s the inside of a desk that doesn’t come apart, cause you can’t reach around and measure.

In other words, work smarter not harder. The next step was accounting for the inward slant of the van walls. Doug did this with a pair of stanchions that fill the gap and make a flat surface for the desk to sit flush against.

IMG_7182.JPG

Doug says: I feel like I could have done this more efficiently, but it kind of just attests to how I never really drew up any kind of complex plans for the layout. But now these stanchions help hold up very useful pantry shelves.

7.21.20 rope and eyelet.jpeg

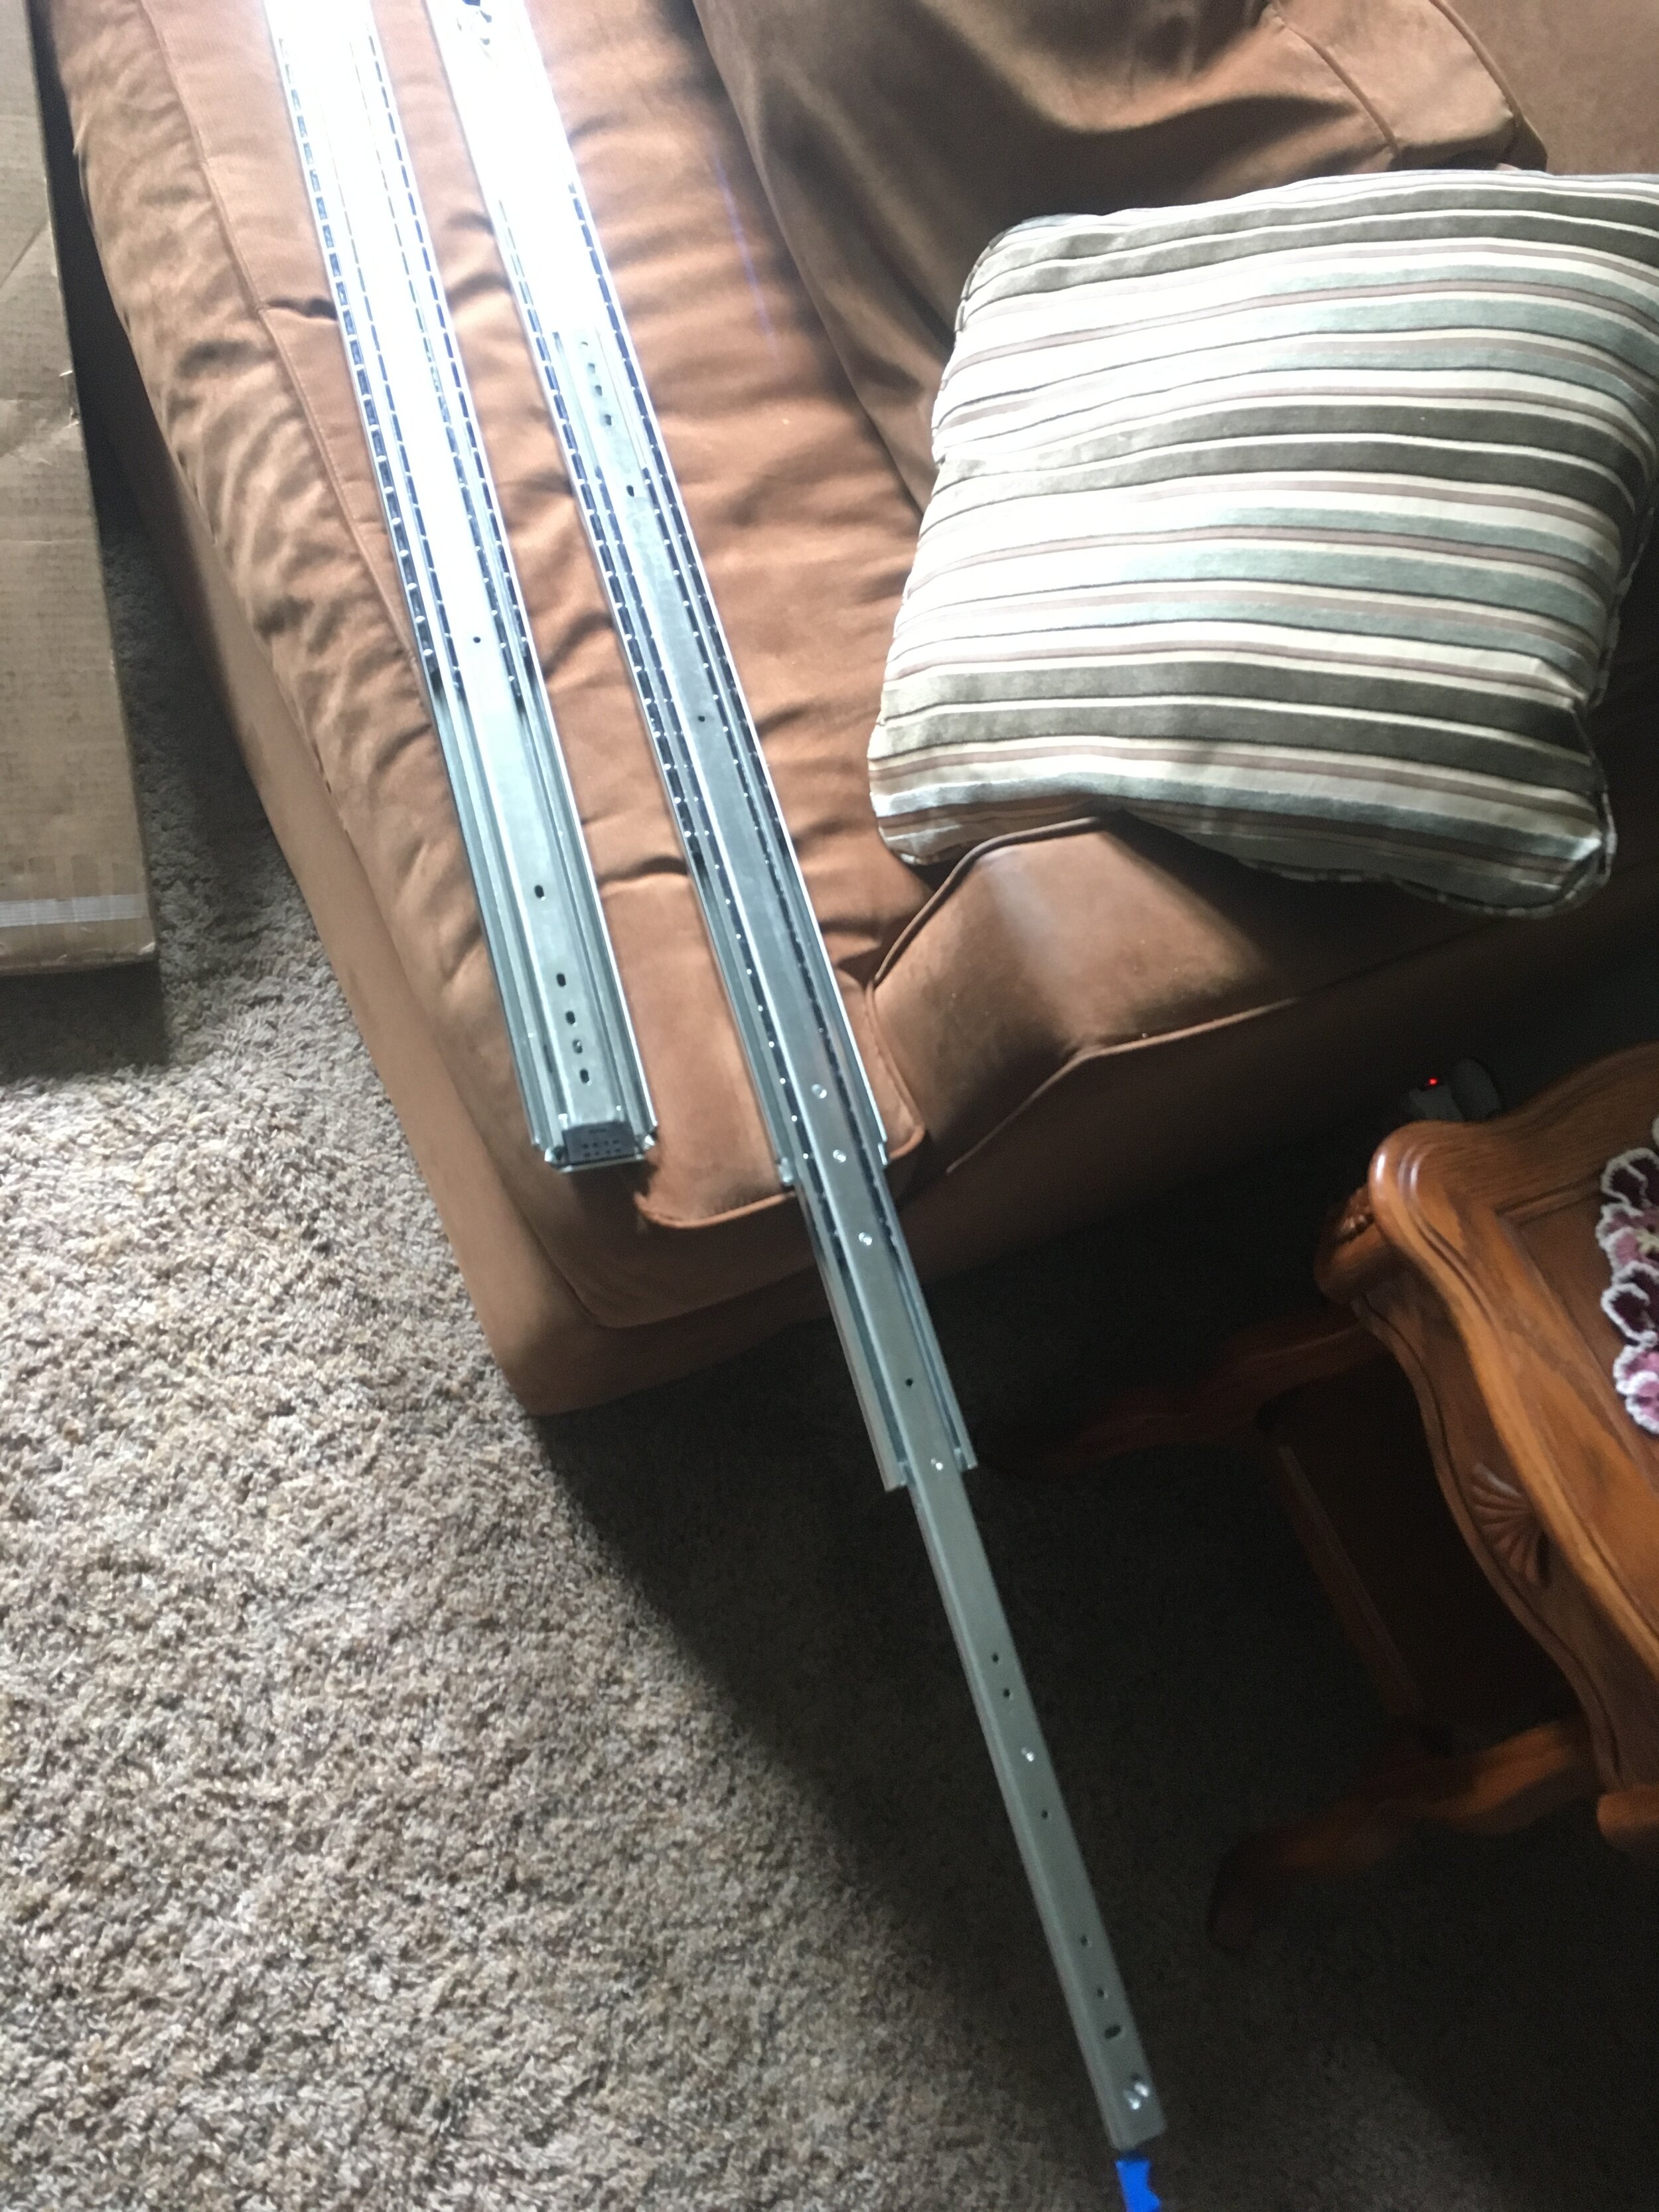
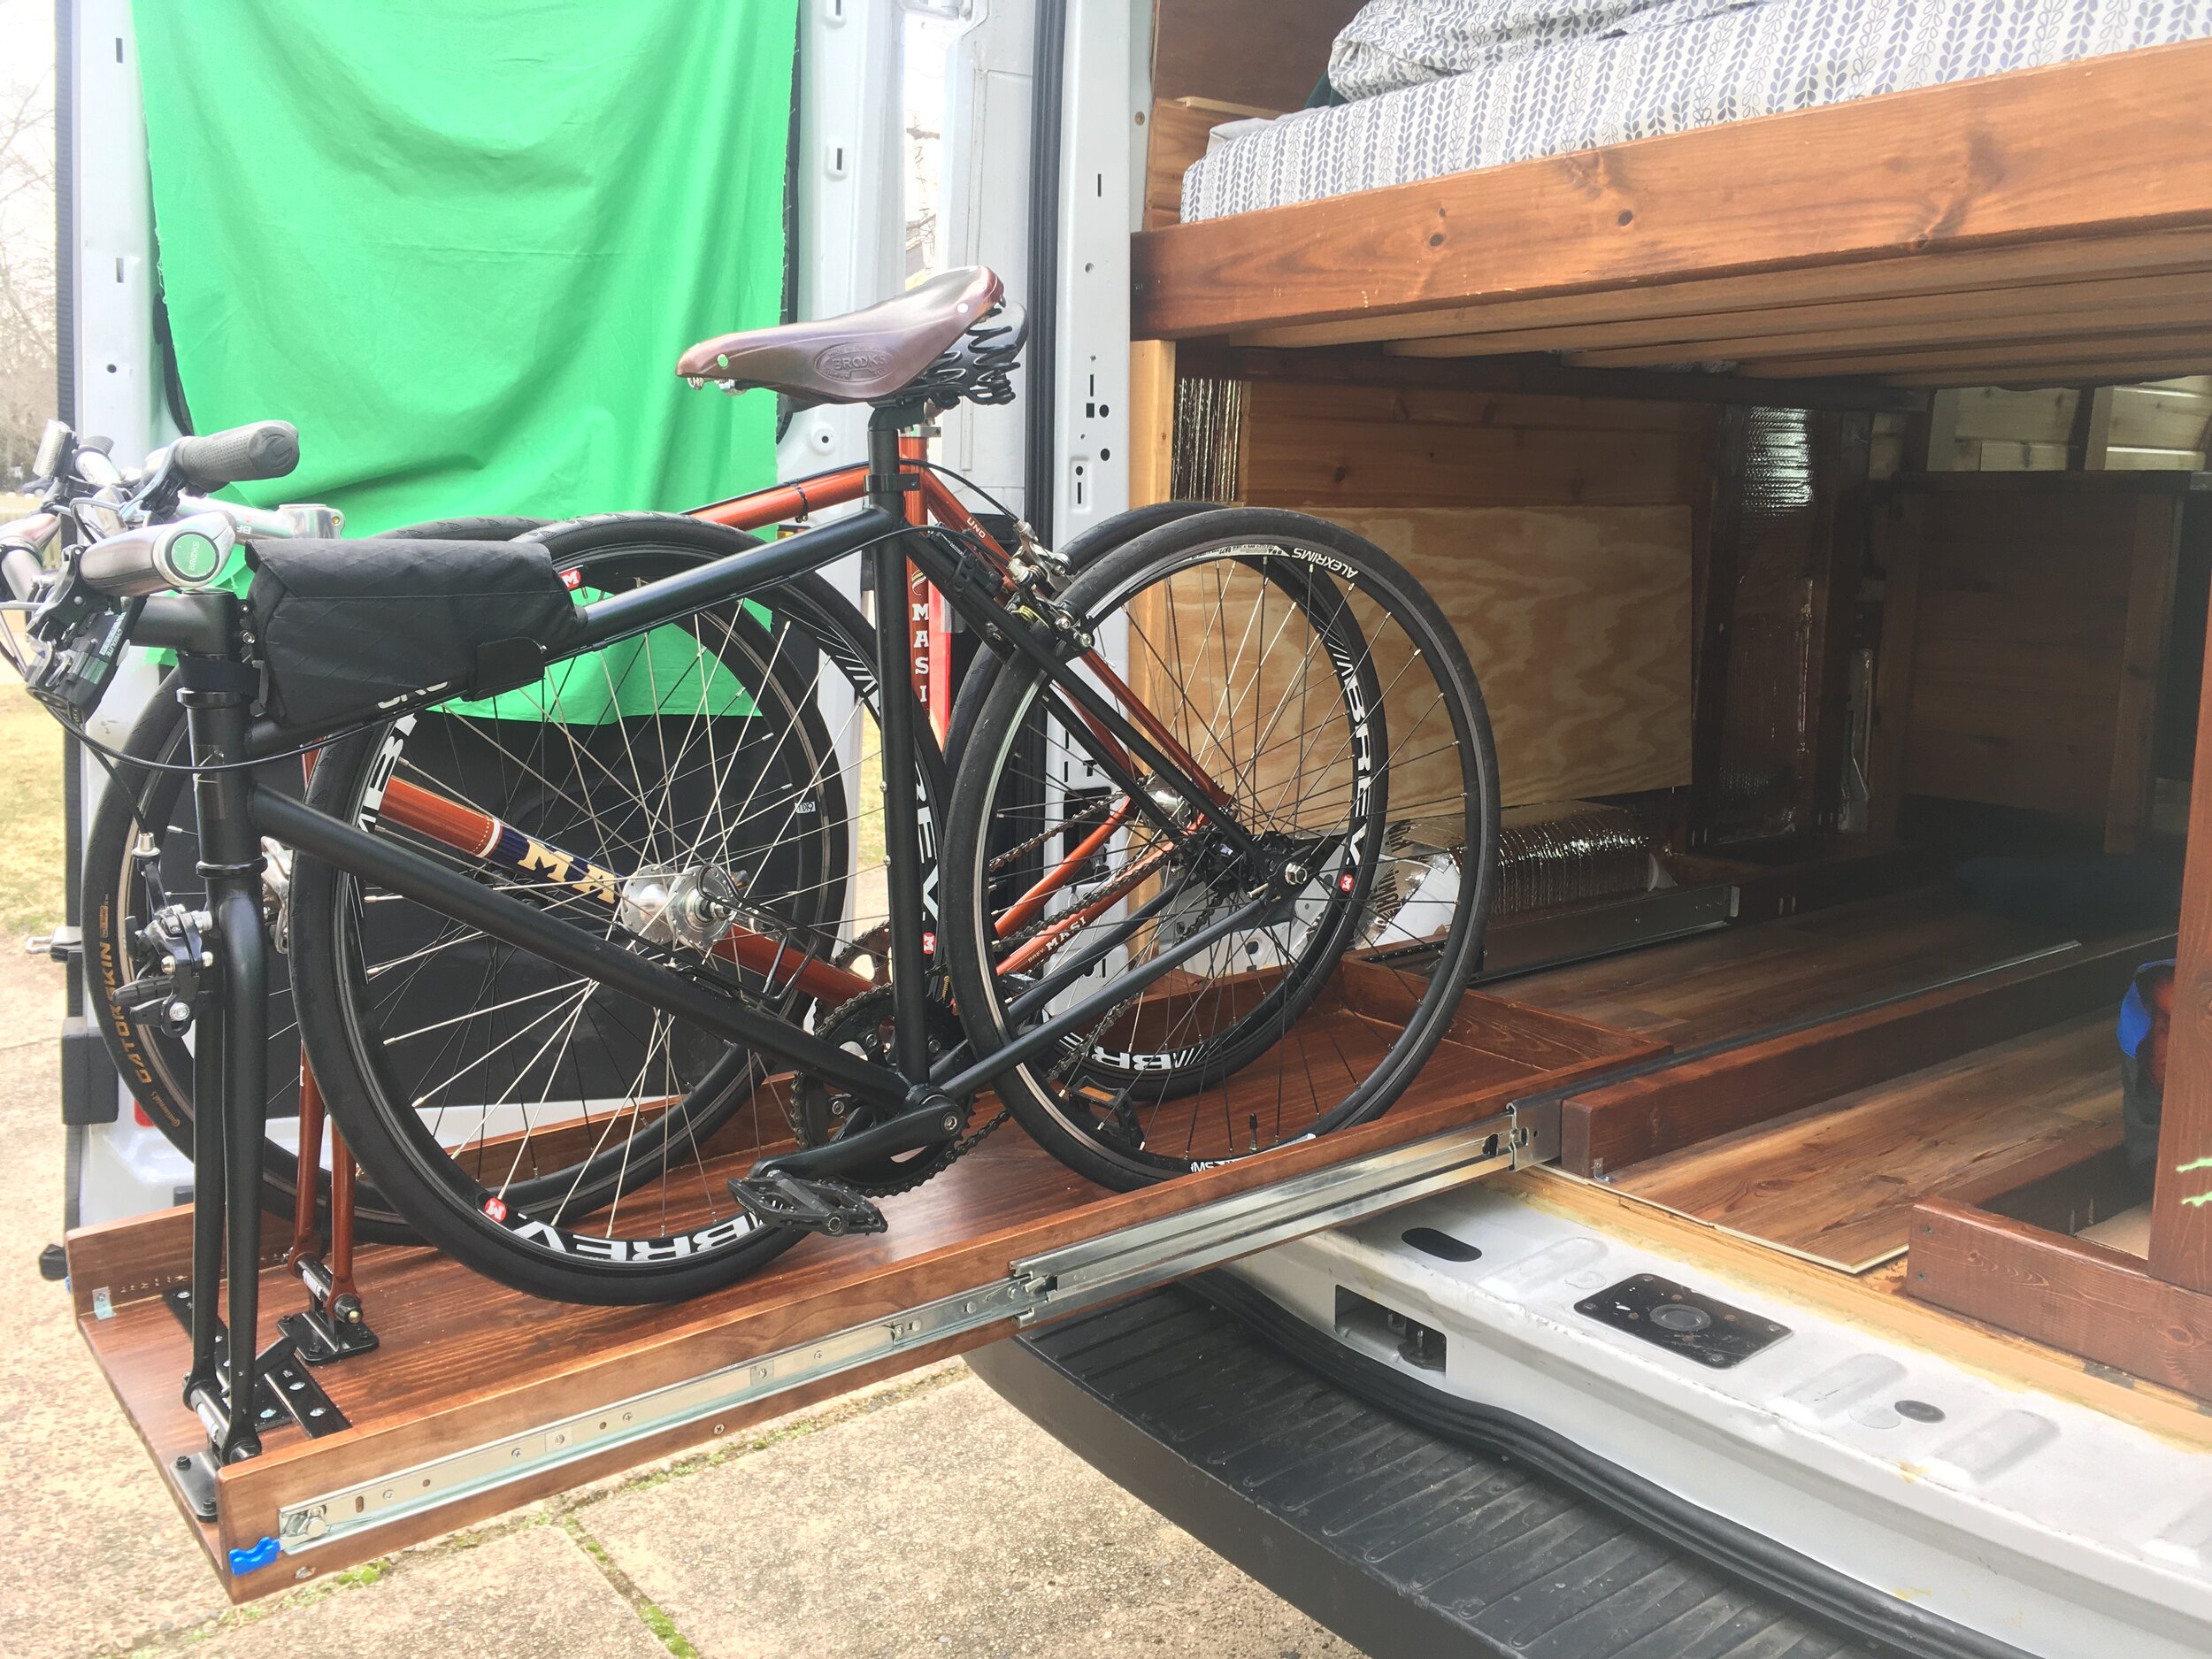
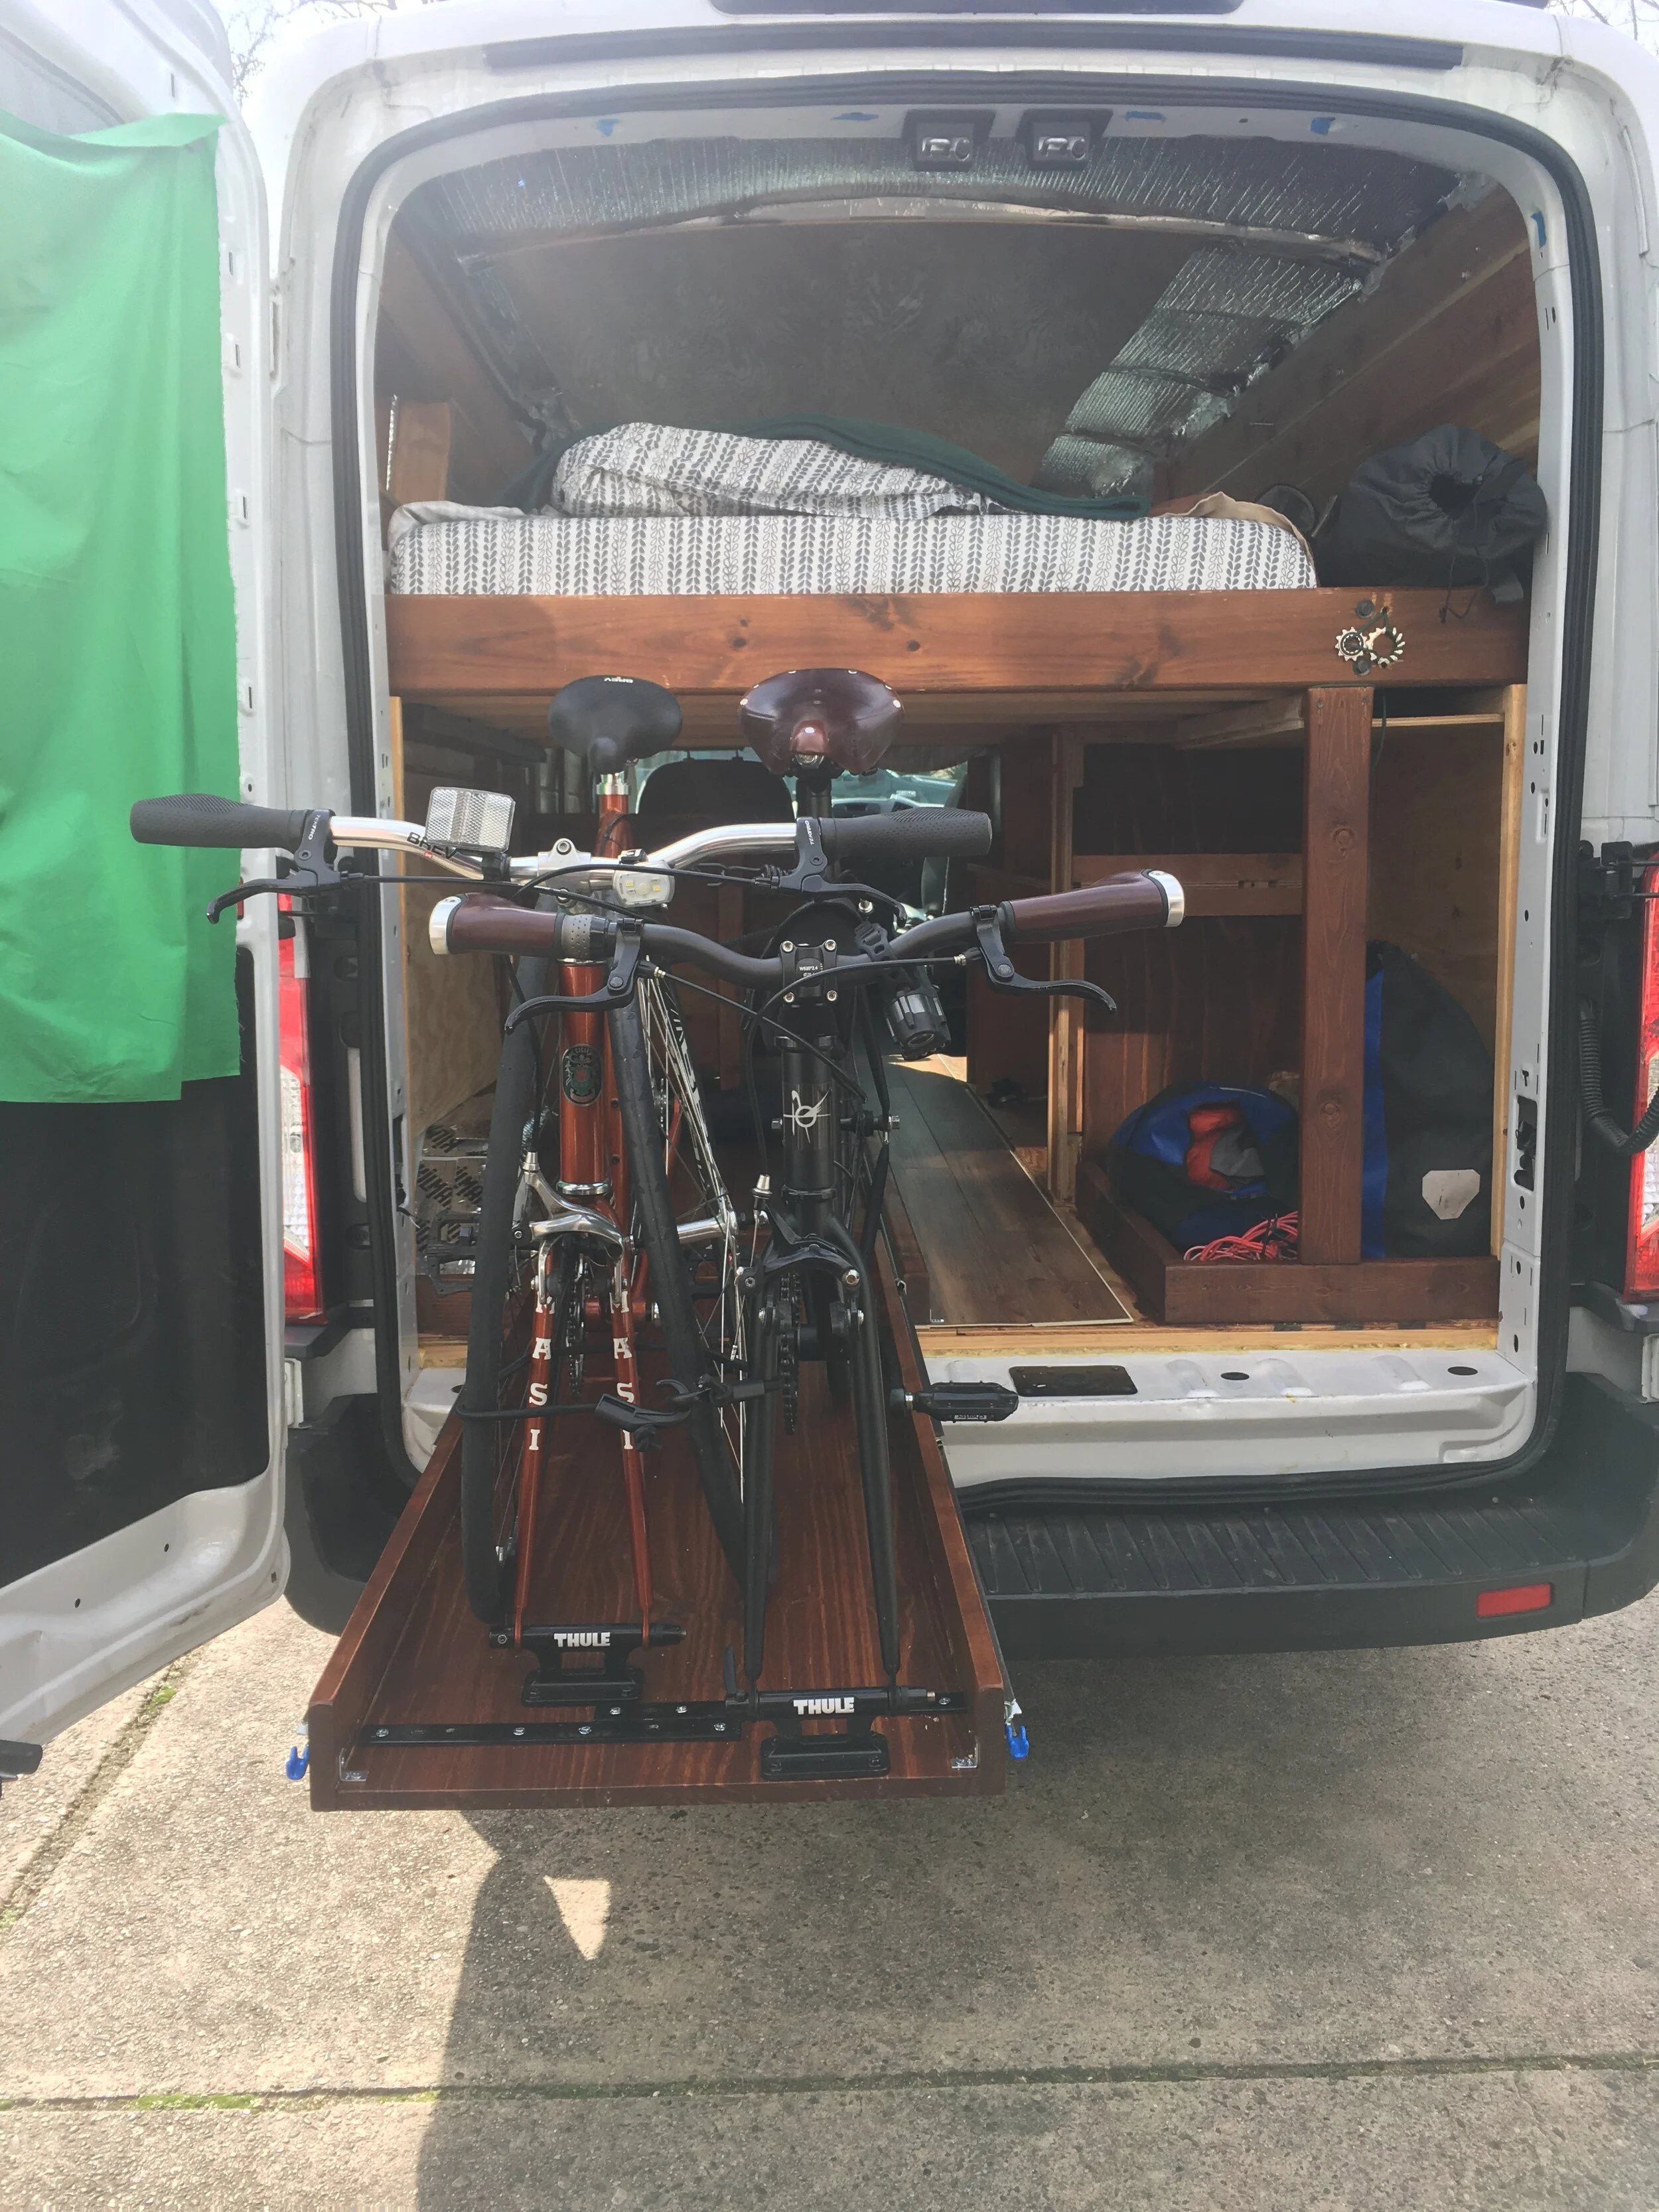
bike slider

image0.jpeg

Thank you thank you thank you Far Out Ride for the plans for this bike slider. It’s been essential. I cannot imagine how jacked up our backs would be if we had to wrestle our bikes out of the back of the van, or how jacked up our bikes would be if we stored them outside. (We once saw van lifers with their bikes stored on the front of their rig, like on a bus. It was unspeakable. Like, do you enjoy scraping an inch of dead bug carcasses off your bike every time you want to use it?) 

Bridget and Lucky in action.

Anyway, just a few words about our experience with the slider and what we’d do differently:

  1. Use a hardwood — definitely harder than pine.

  2. Consider reinforcing the mounts with metal brackets.

  3. Use bolts rather than screws to attach the mounts.

Just a few images from the construction of the slider

Doug’s gonna elaborate on this. Take it away, babe:

Doug takes it away: The sliders were really sturdy, but upon the later stages of construction, I realized I had used quite a soft wood — pine.

This structure is going to take a lot of torsion. I mean, the bikes swing on it. They test its lateral strength every single time we take a turn. I saw evidence of this pretty quickly when I was first testing the bikes out after I put the mounts on the front. The wood was kind of waving.

So I knew I had to reinforce it with metal brackets. And it’s held up tremendously so far.

image1.jpeg

Bridget’s mount was screwed in so close to the edge of the slider that it moved enough to pull the threads out of the wood. Thankfully, I had saved as much space as I could by making the bike slider extend out over the floor a little bit — basically as close to the rear doors as I could get it. So I drilled holes straight through the bottom of the slider and then used bolts instead of screws. If it happens with Lucky, it’s fixable too — I could route out a half an inch in the bottom of the bike slider to account for the nut.

IMG_8331.jpg

Happy biking!

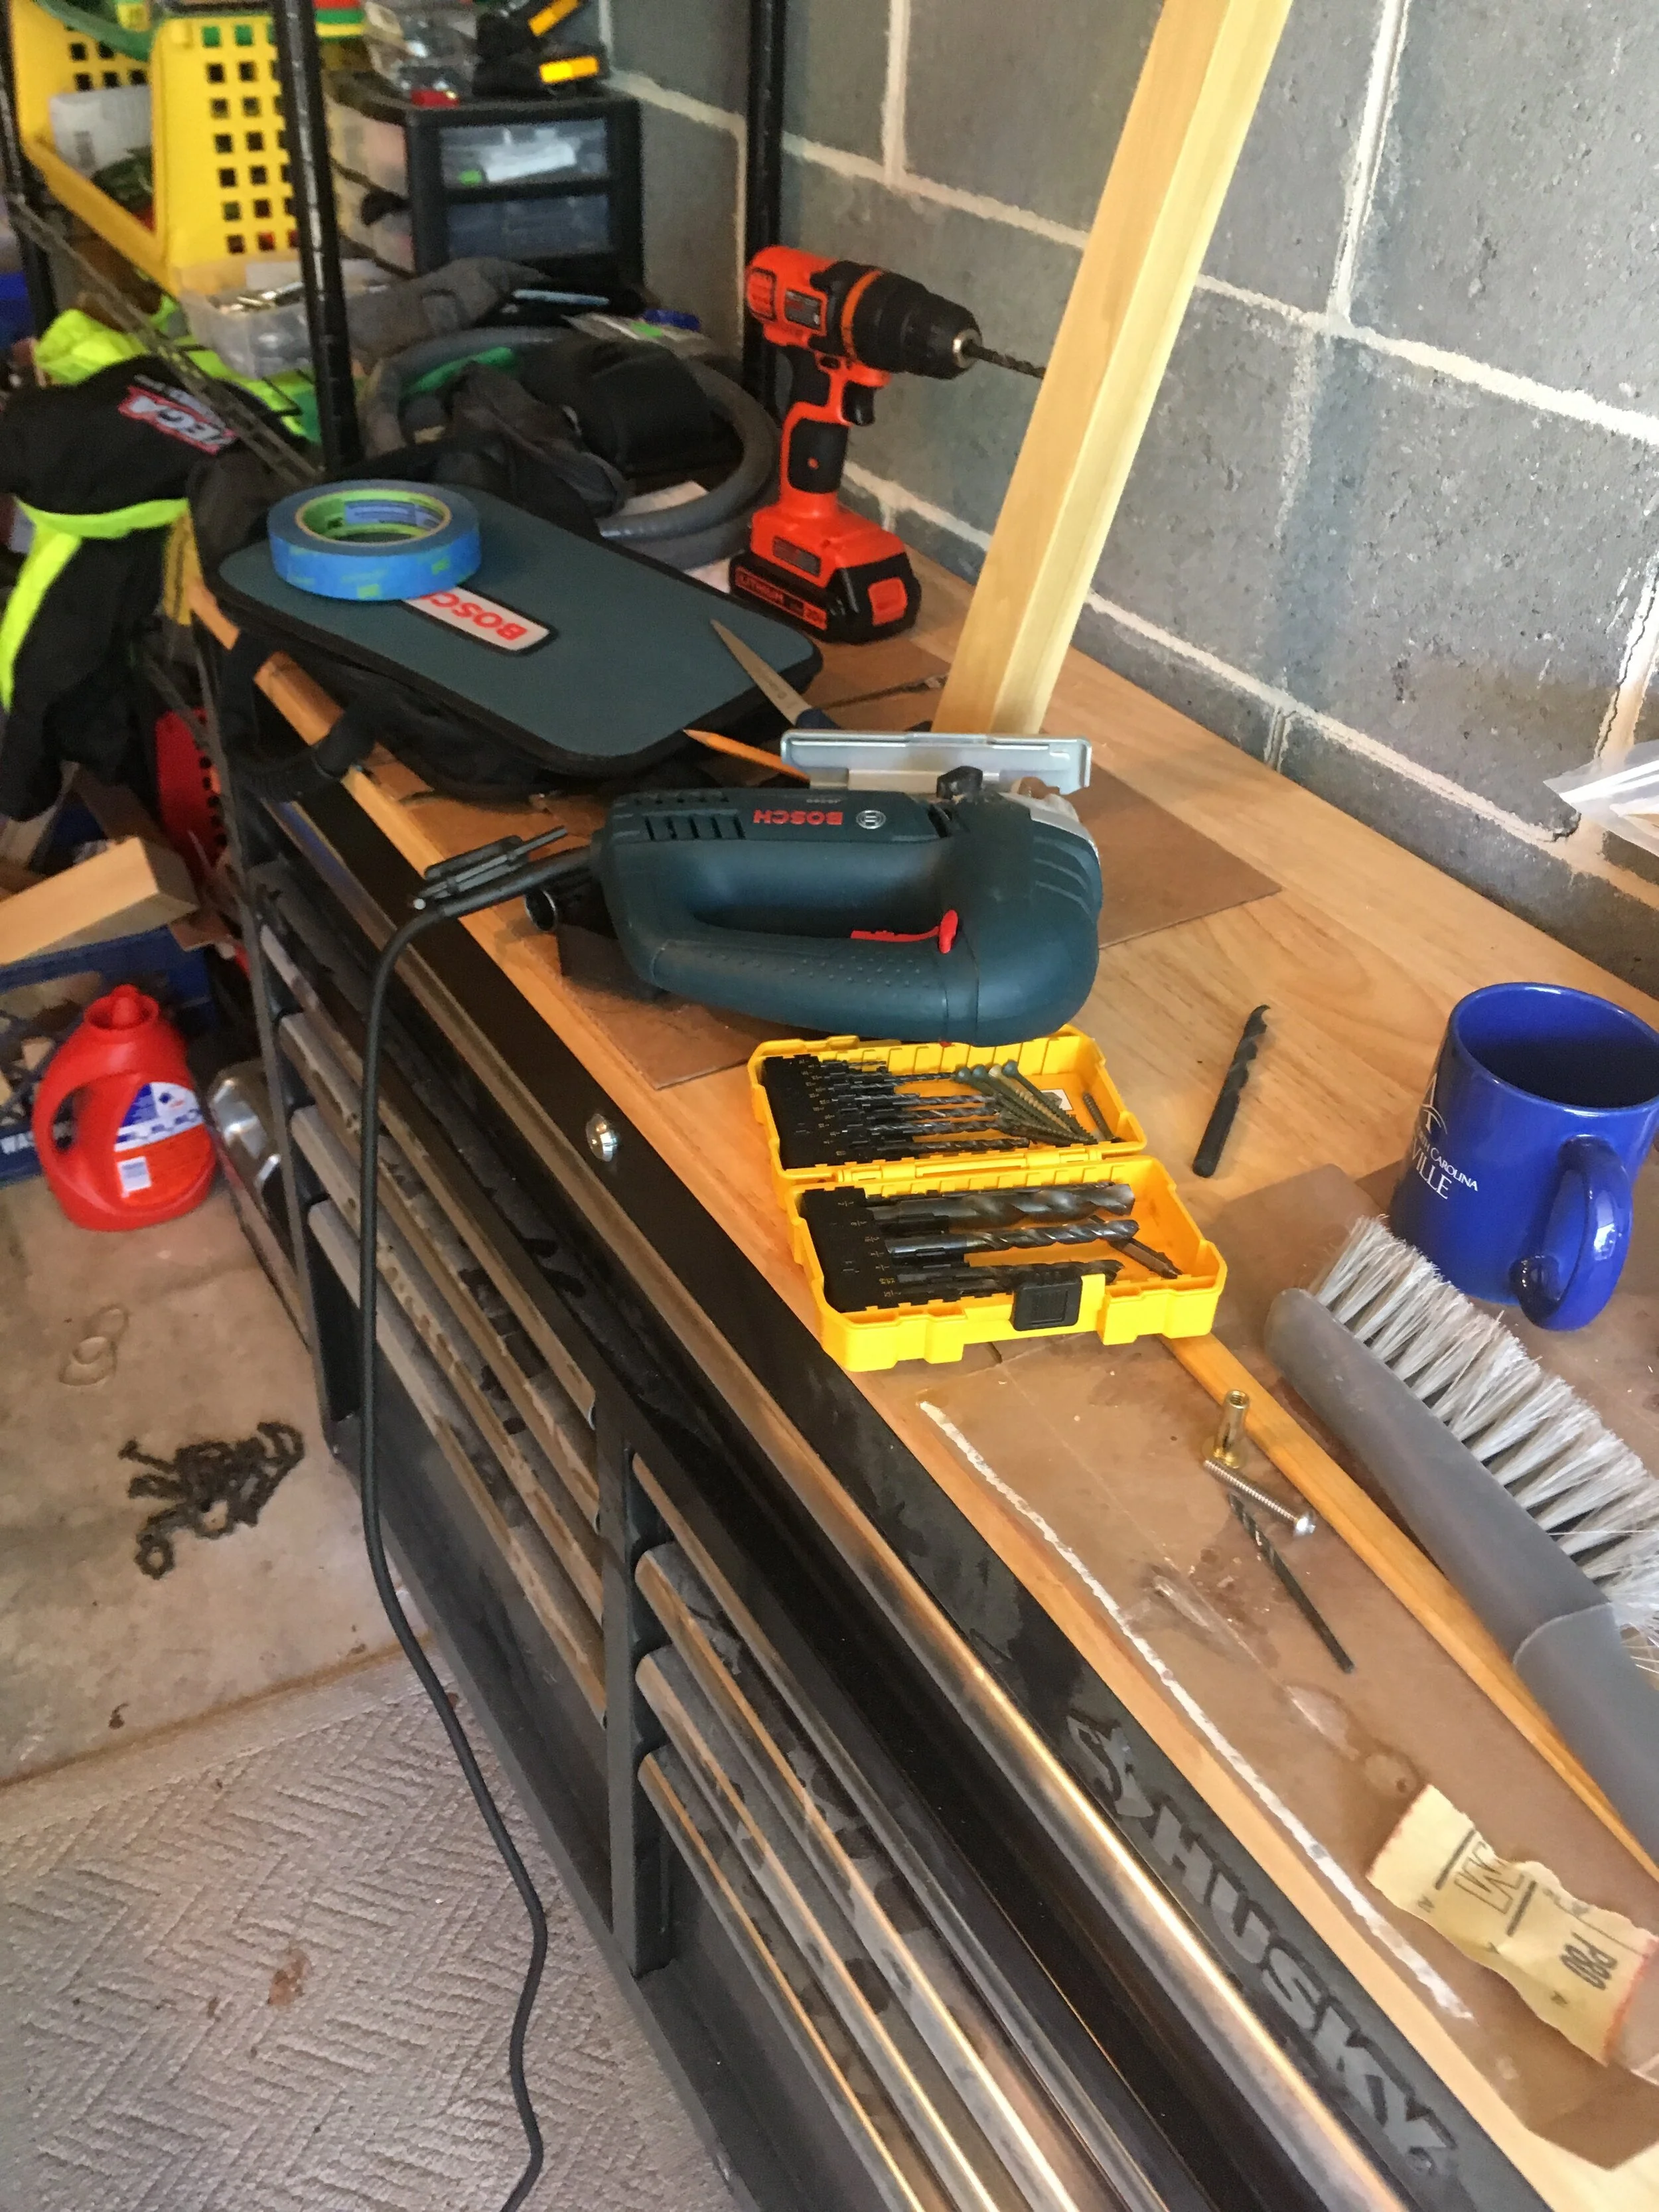
tools and workspace

Let’s start with a list of tools you can expect to use. For the sake of brevity, I’m going to omit really basic stuff, like screwdrivers/pliers/clamps/hammers.

Just a couple tools of the trade.

Just a couple tools of the trade.

  • Miter saw (for straight cuts)

  • Jigsaw (for freeform cuts)

    • Doug notes: I could’ve made long, square cuts with a table saw, but I found ways to use the jigsaw to do that. And the reason I didn’t use the table saw is because I was working in limited space. I had a table saw, but every time I would’ve wanted to use that, I would have had to drag it out to the center of the driveway, and fuck that.

  • A good drill (in Doug’s words, “The drill was my sidearm”)

  • Router (for carving channels in wood)

  • Palm sander

  • Ratchet screwdriver (to give your wrist a break)

  • Speed handle (to get into hard-to-reach places)

  • Crossnuts, aka anchor nuts (1/4-20 x .020-.280 is the size for the Ford Transit)

I’d never heard about cross/anchor nuts, but man, Doug turned me into a believer. I didn’t know it was possible to love a tool as much as much as Doug loves anchor nuts (and I’ve loved some tools in the past — hiyo!!)

You know what, I’m gonna let Doug take the wheel here. Tell em about anchor nuts, babe:

Screen Shot 2020-09-15 at 3.14.25 PM.png

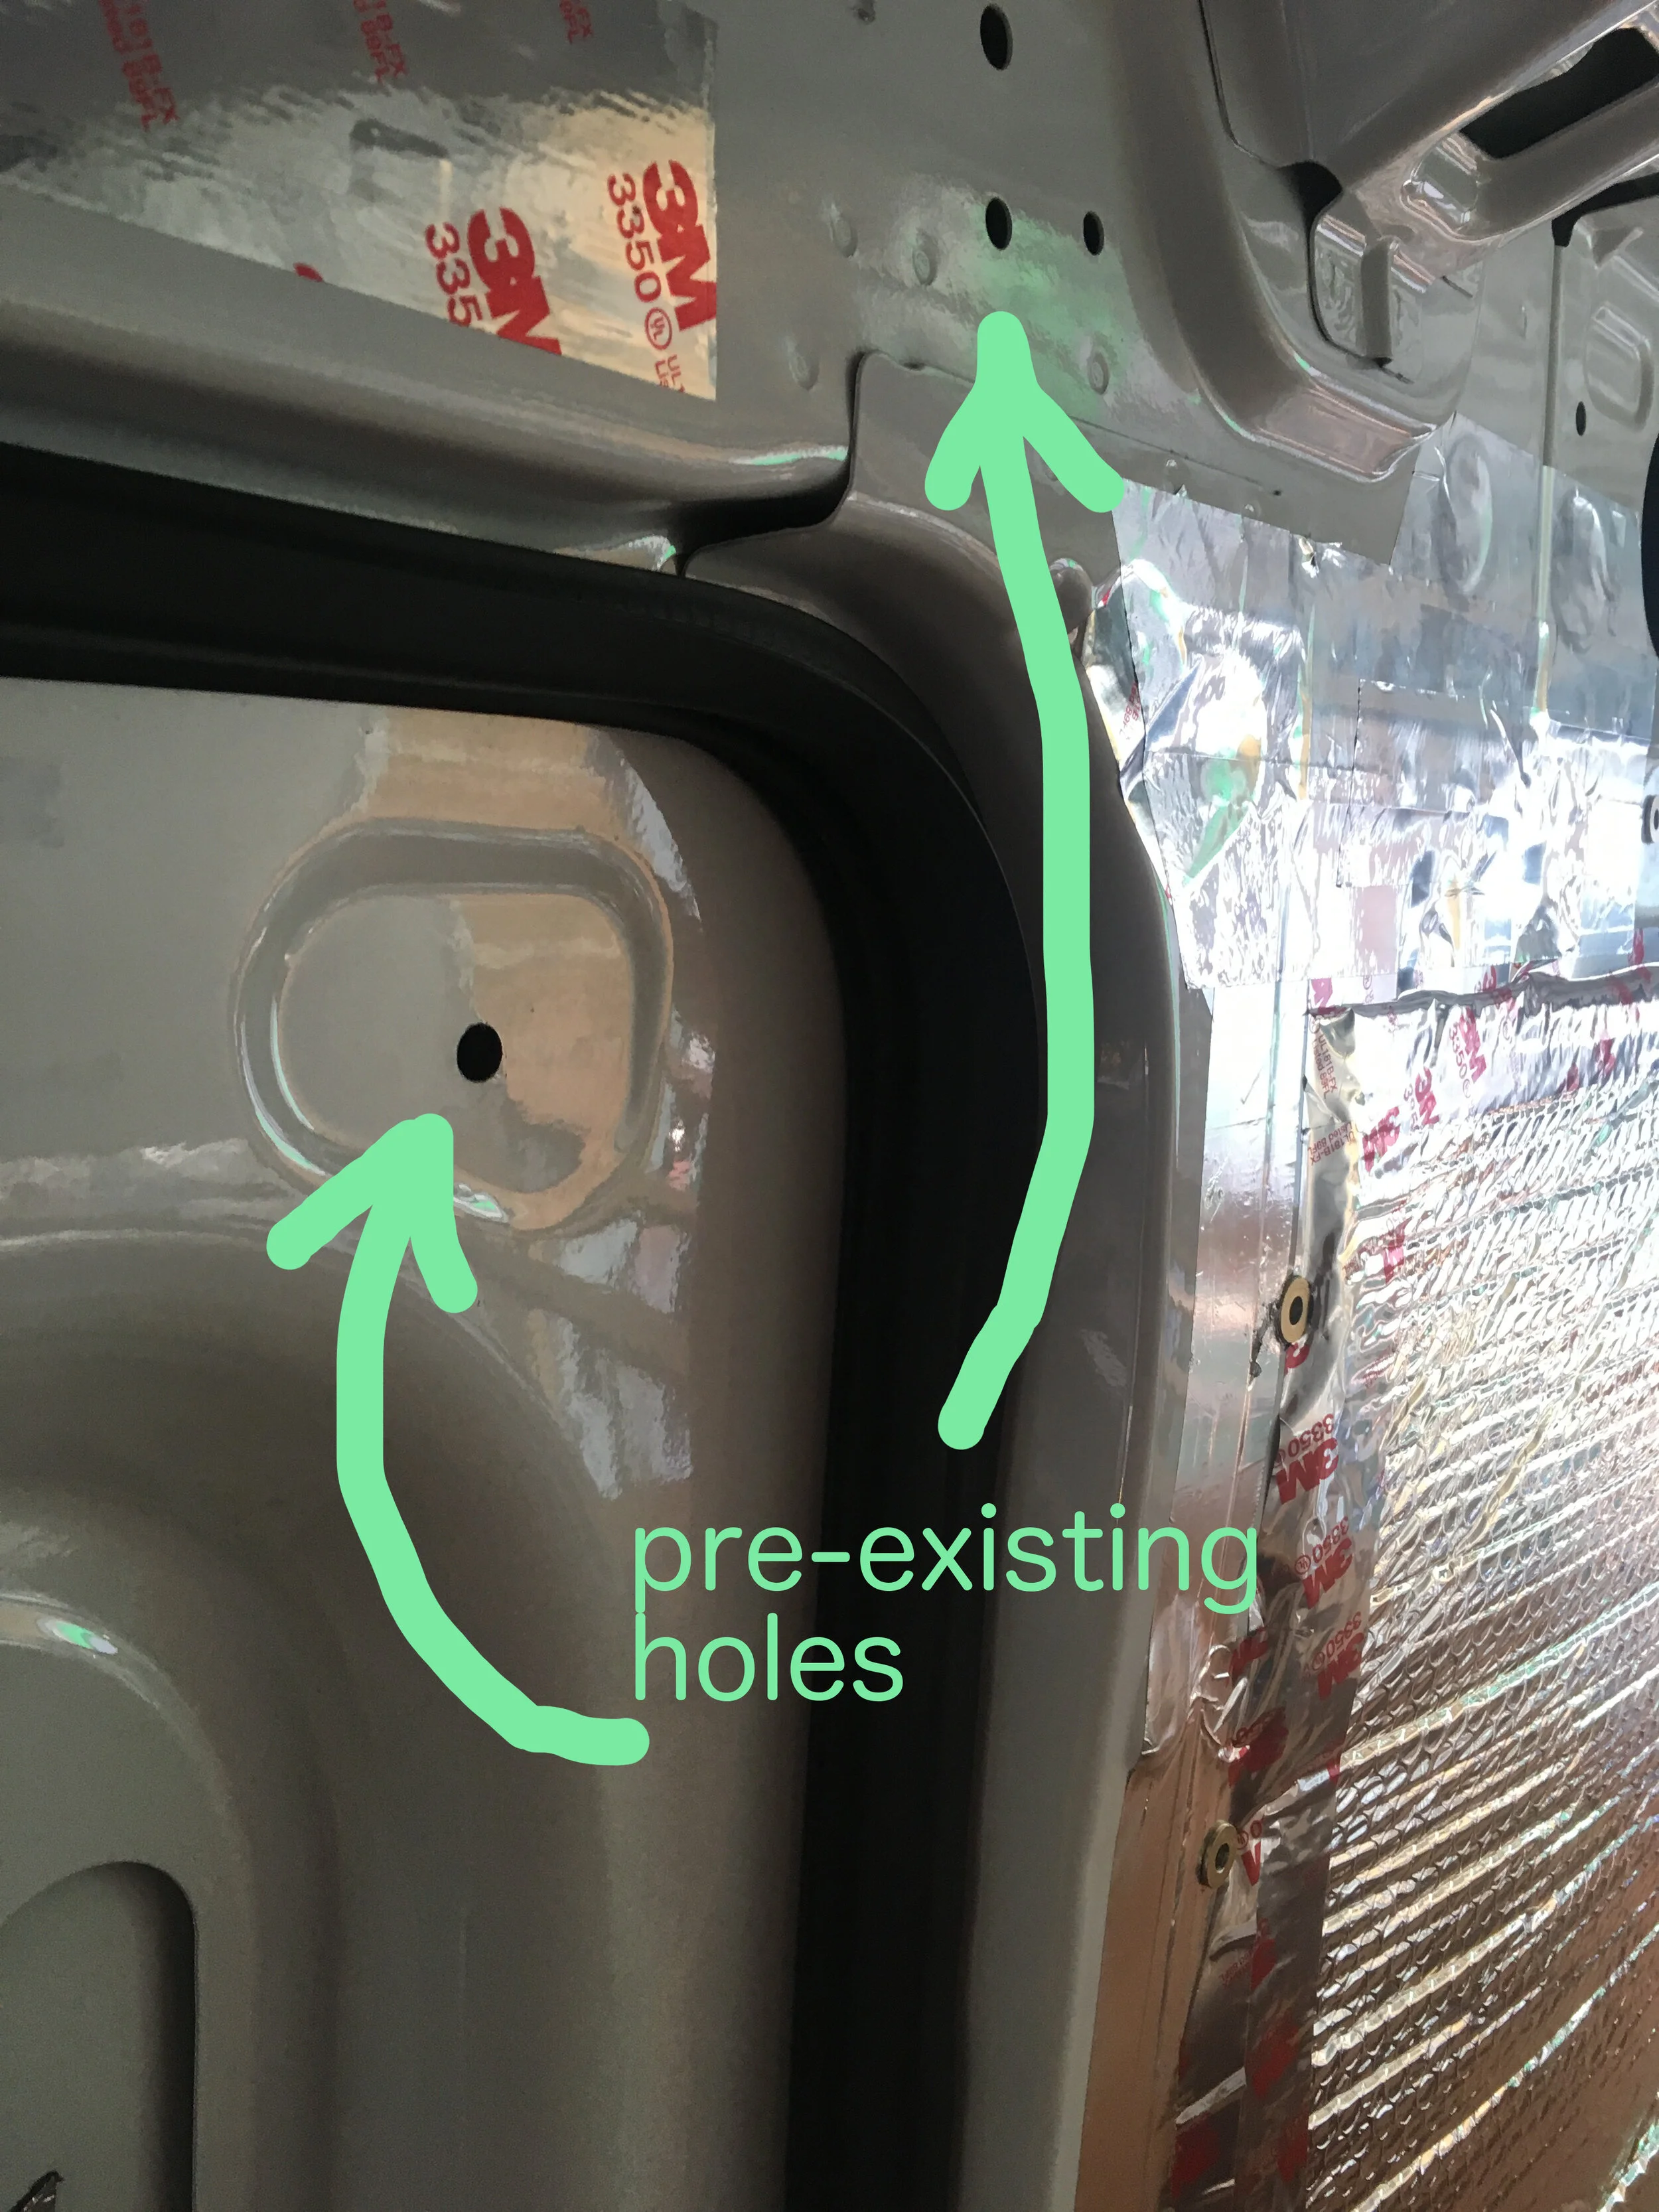
Doug says: I call them anchor nuts, ‘cause that’s what they were on jets. Basically, they’re an adaptor that turns any hole into a threaded anchor, so you can put a bolt in.

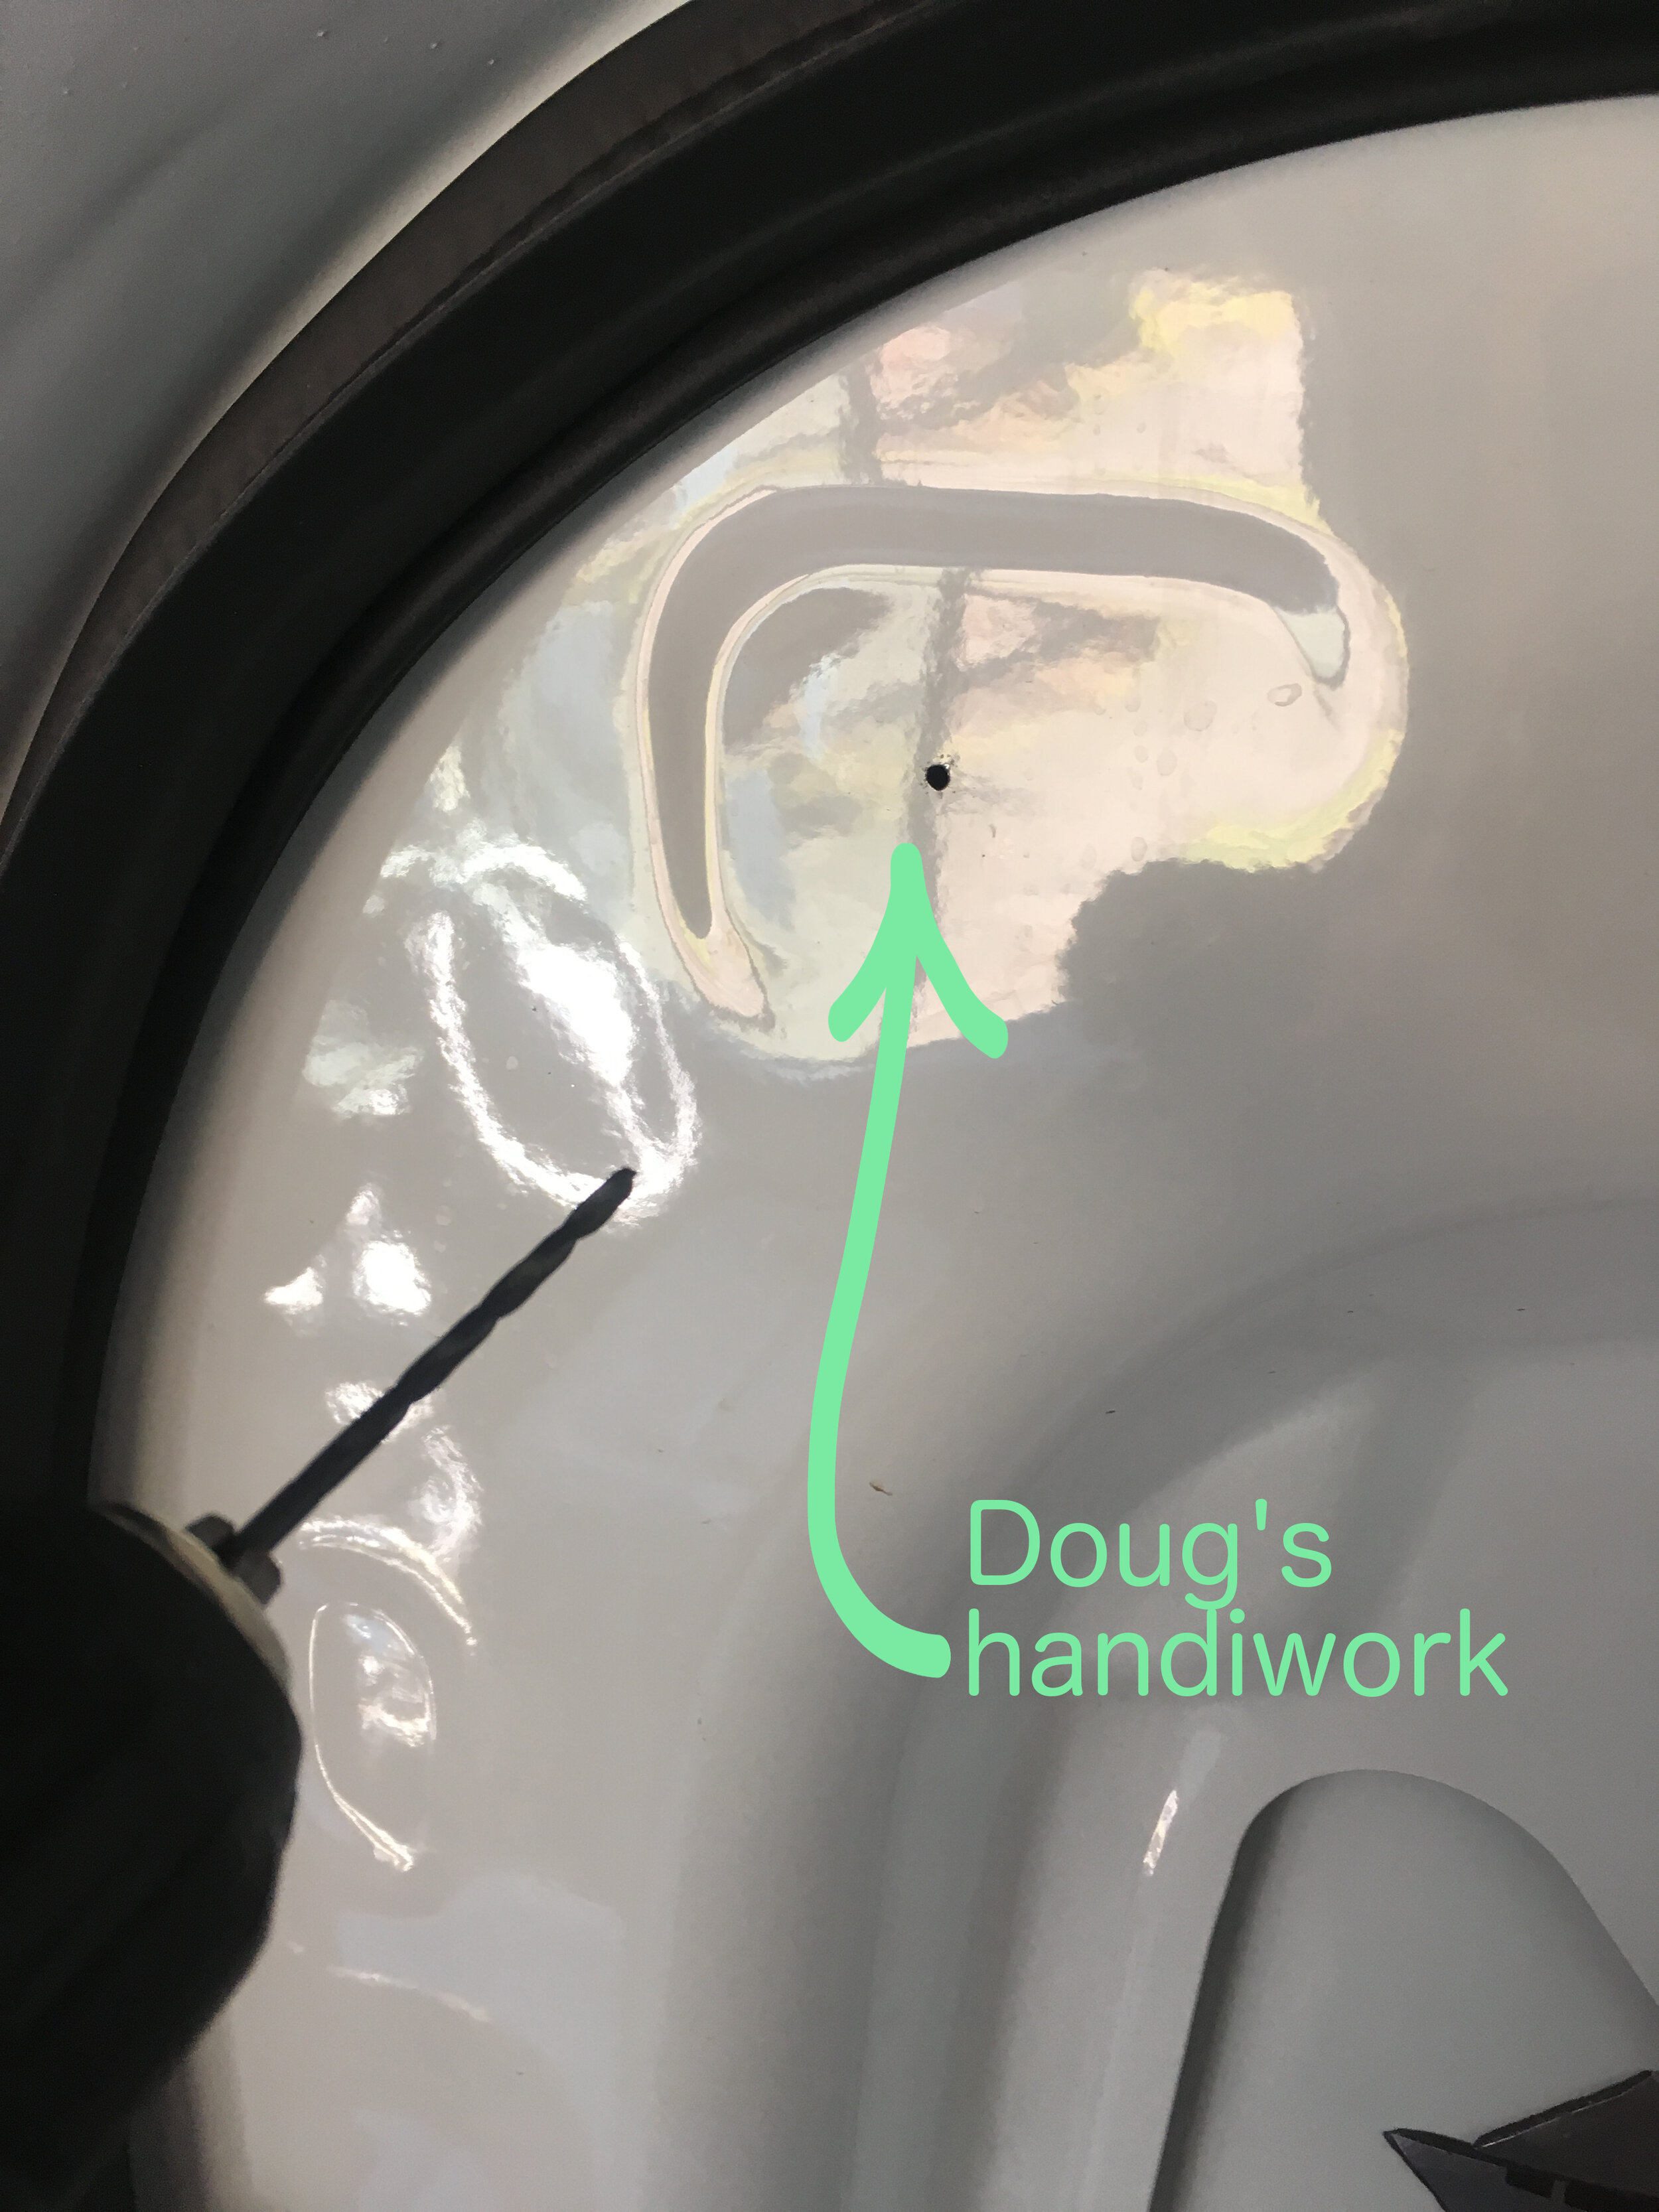
The Ford Transit, and I bet the other vans, have countless frickin’ holes all over the walls and ceiling. Some of them have threads, but when I got these anchor nuts, I was able to strategically make any of these holes into anchor points, which is how I put up the wall and many other things. If you need an anchor point somewhere and there’s no hole, you can make one.

They’re essential. If I were to recommend one thing for a build project, it would be these. And also, buy the anchor nut installer. The alternative is using two crescent wrenches and hurting your wrist a whole lot.


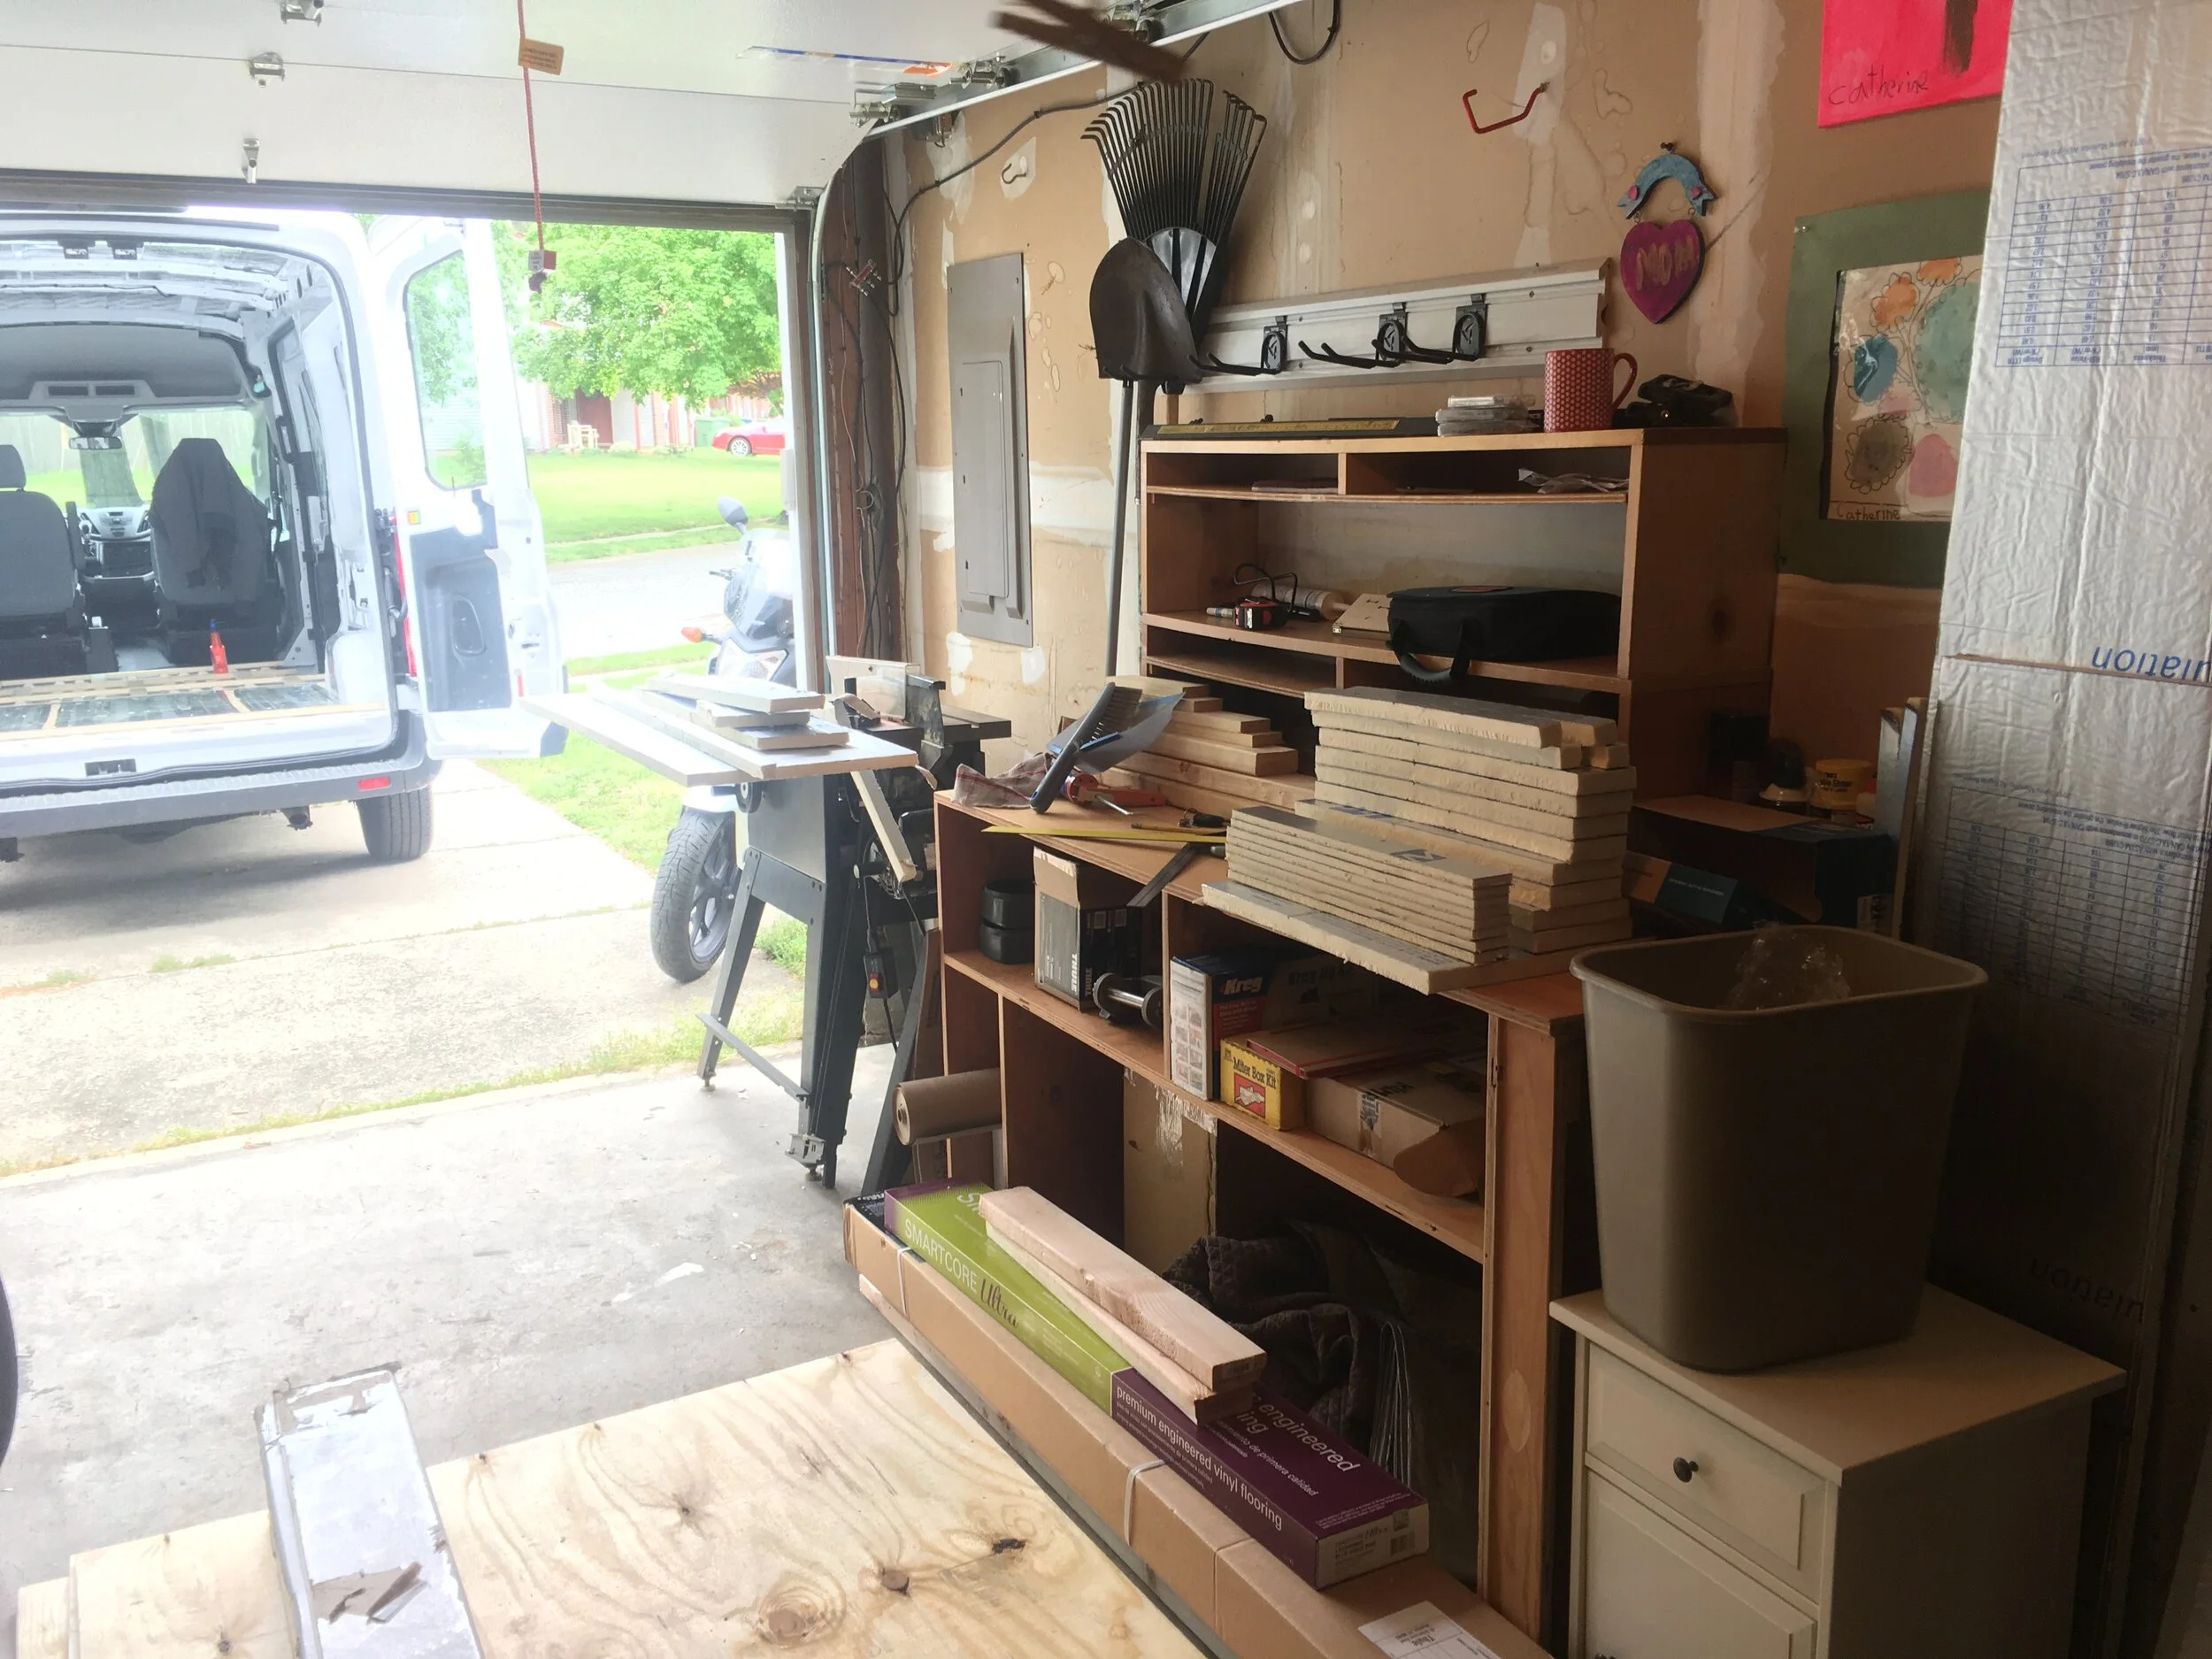
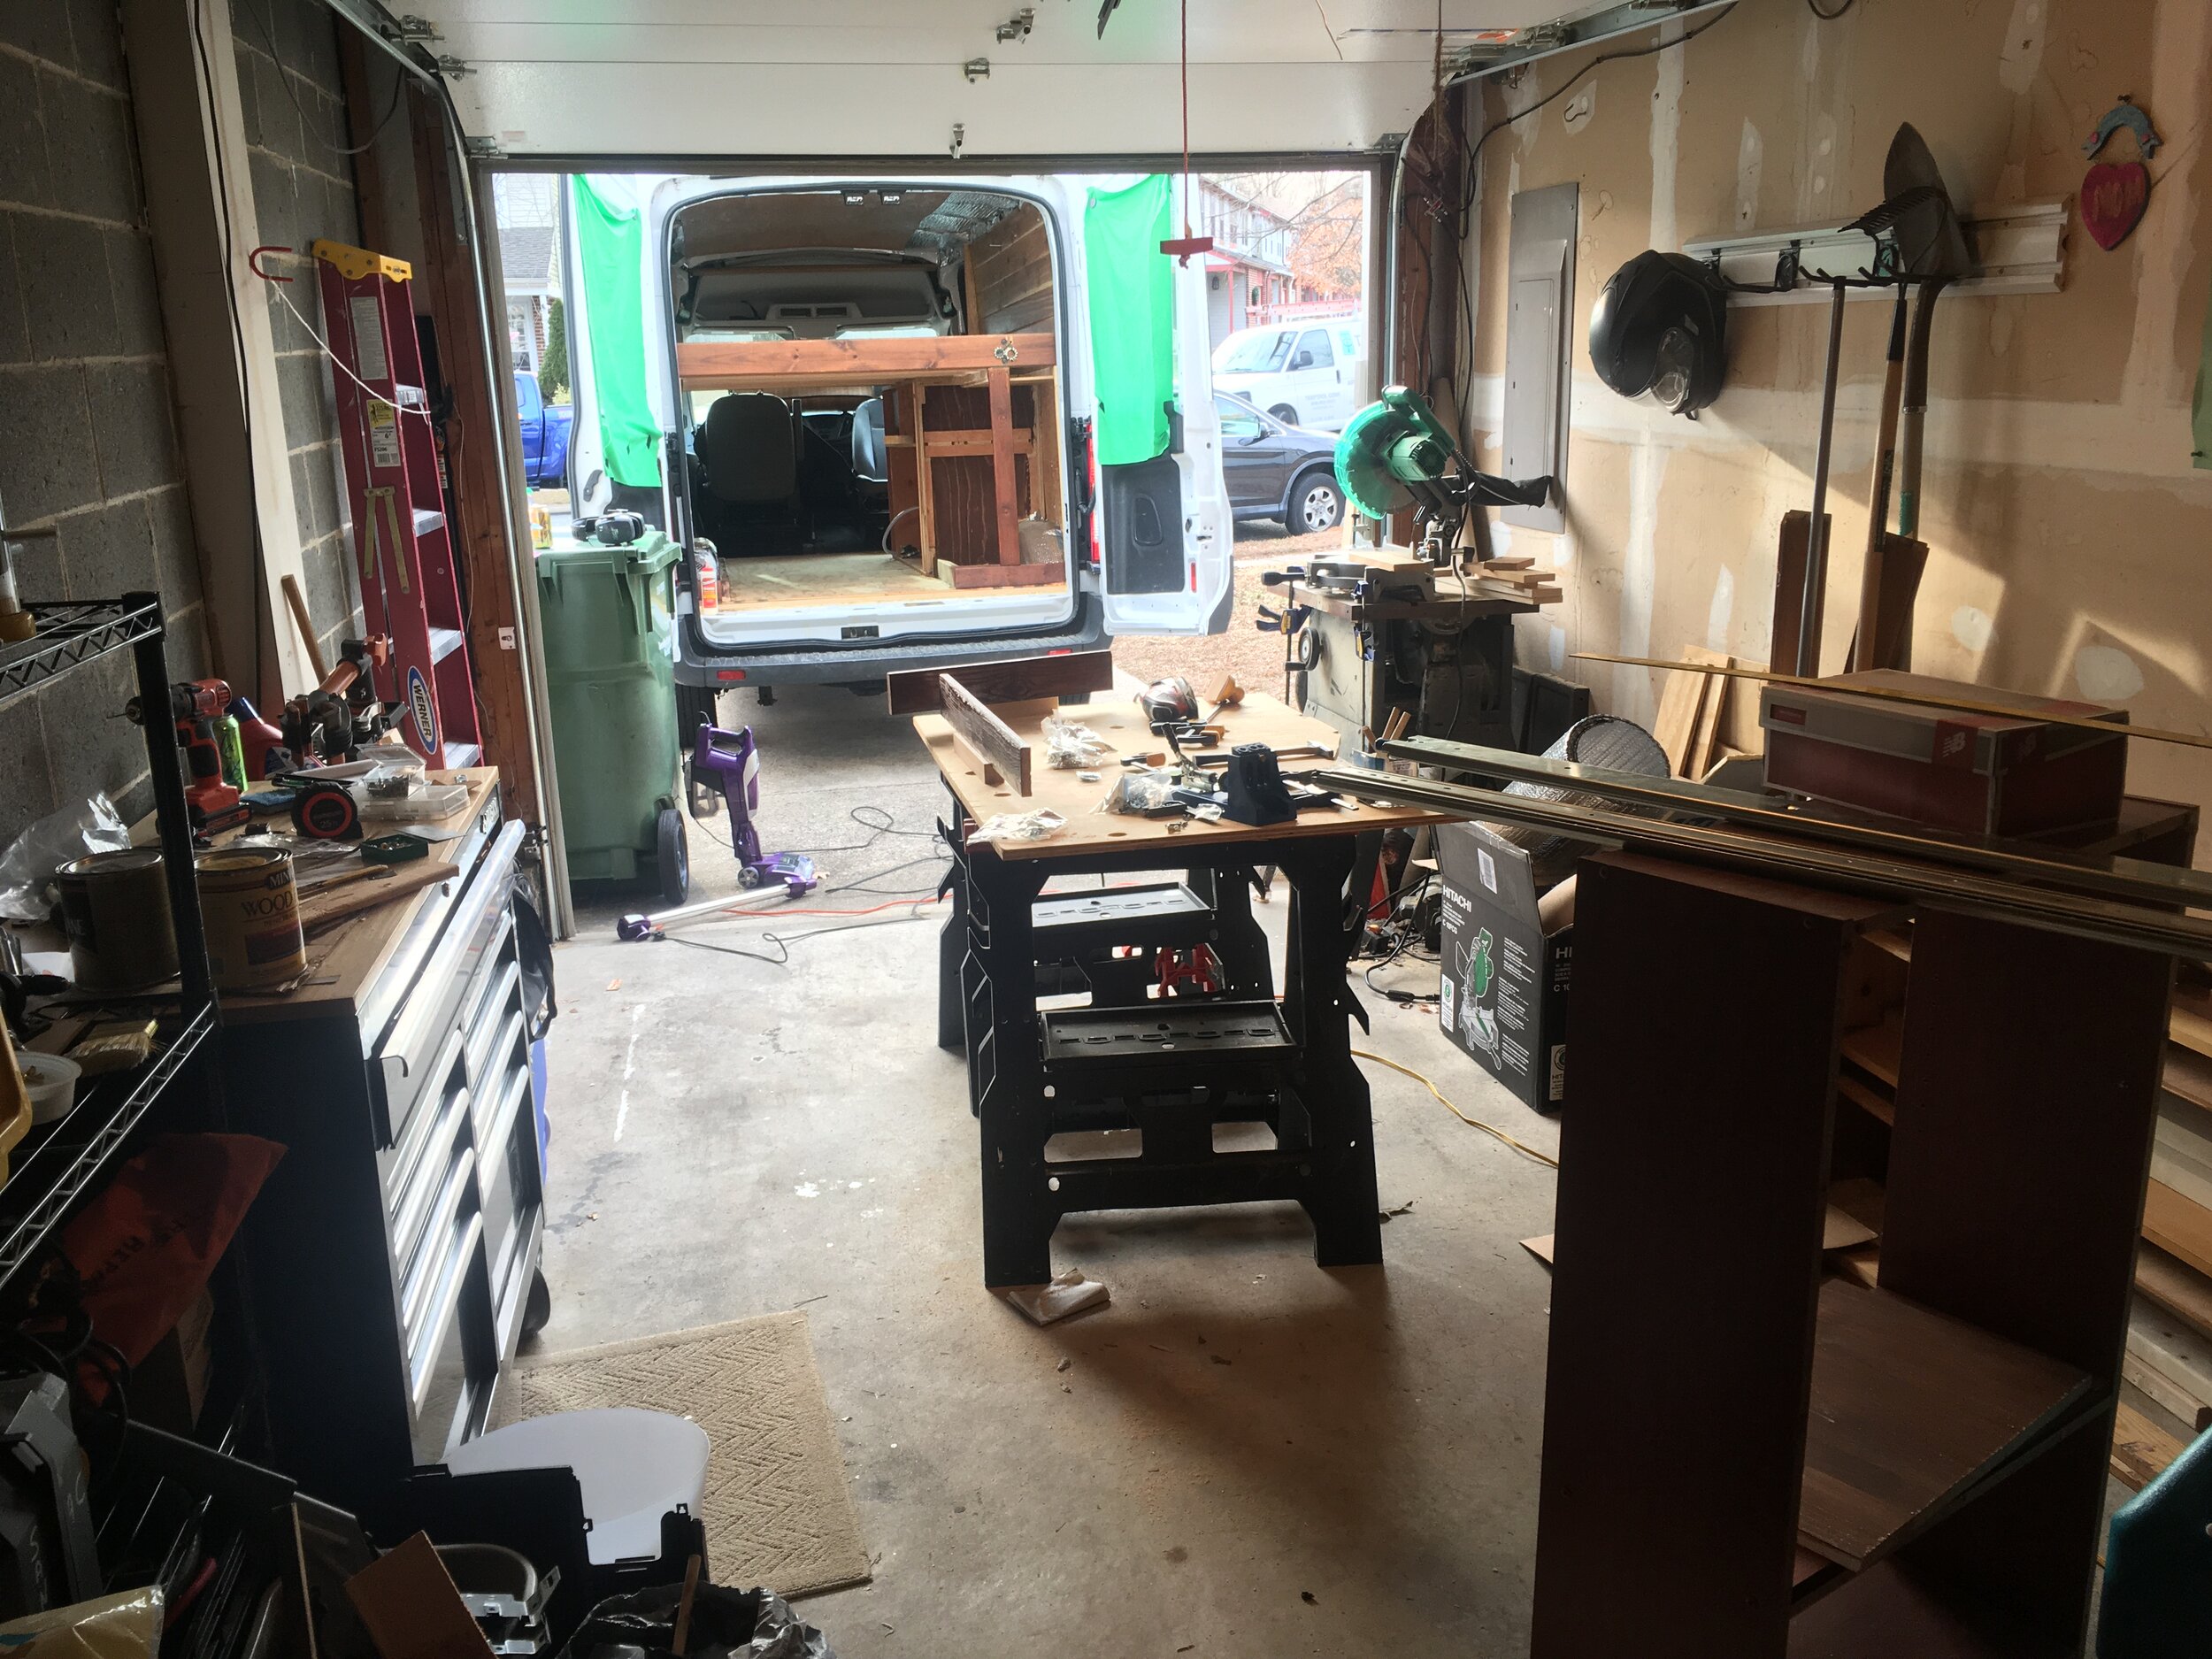
Thanks Doug! Now, let’s talk about your workspace. Don’t be fooled by some of the YouTubers out there — you don’t need a giant workshop or a barn to build out a van. Doug was able to do it in his mom’s garage and driveway.

Part of making a small space work for you is staying organized and tidy. It also helps if you can look for potential in found objects. Doug has a good story about that:

9.15.20 workbench.JPG

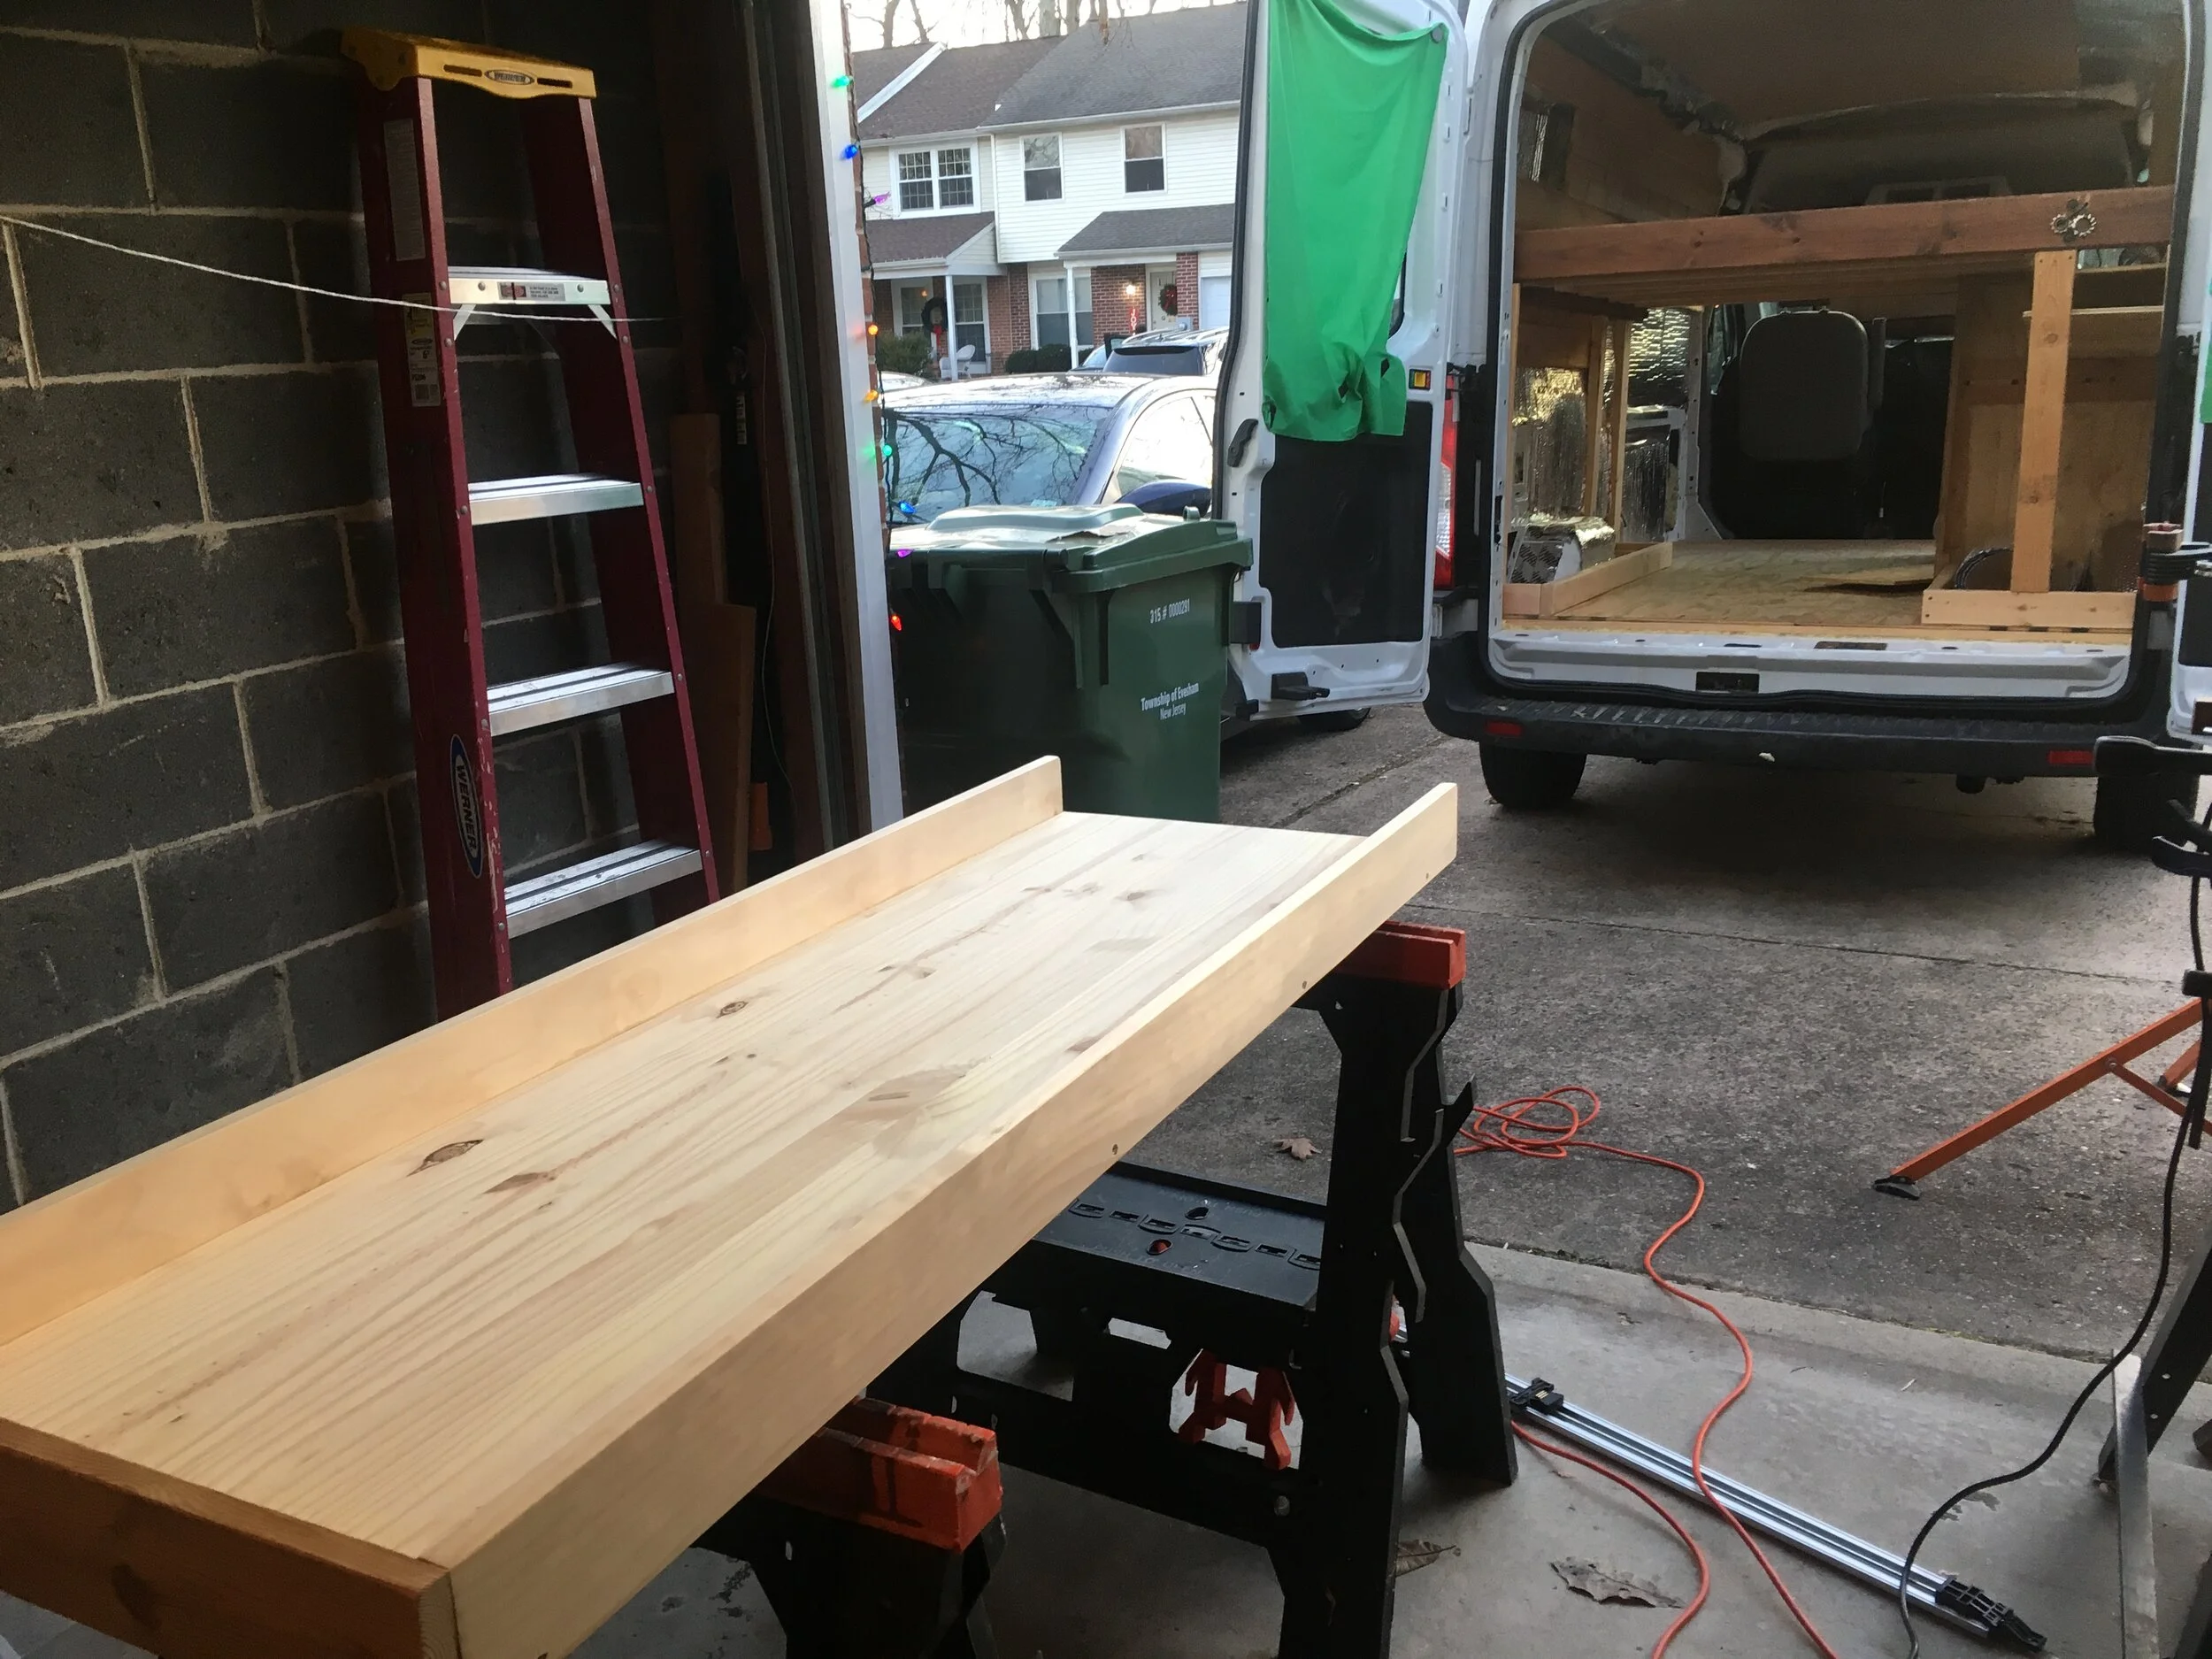
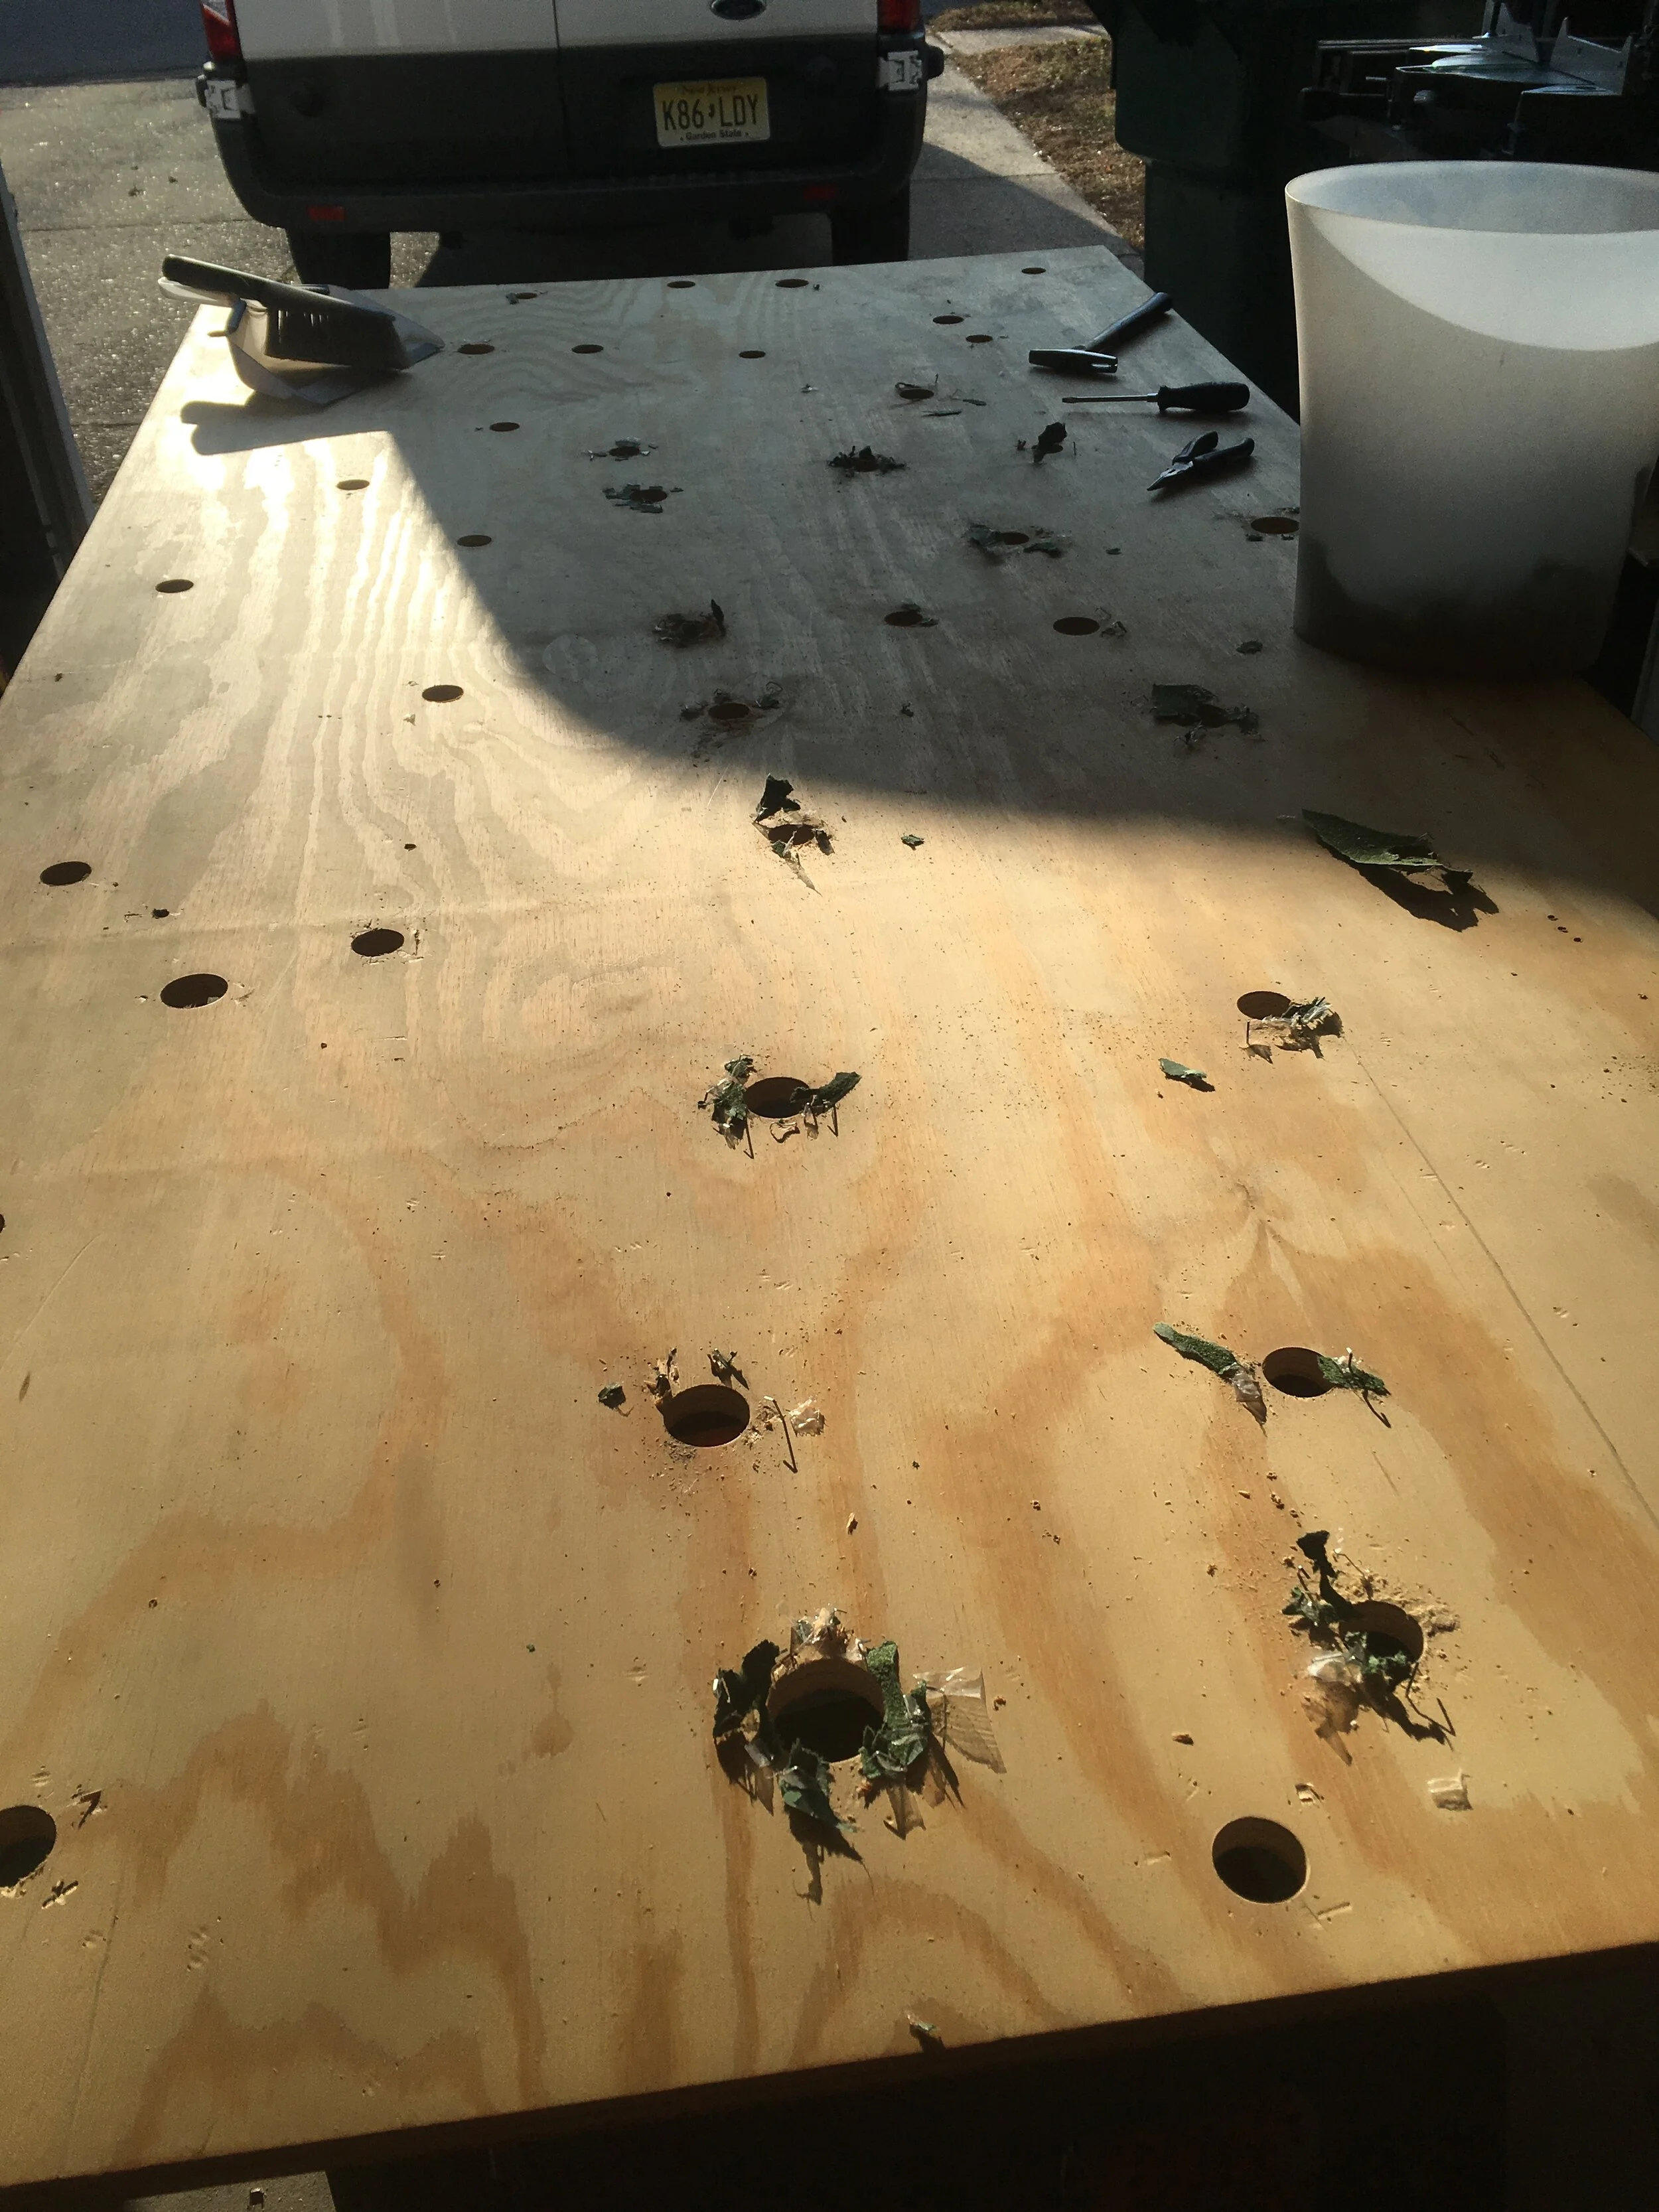
Doug says: So, it took me roughly 15 months to build the van, and I did it in my mother’s driveway. More than a couple times, neighbors would approach me with odd jobs, seeing as how I was handy with woodworking. This was the last thing my next-door neighbor was trying to get rid of before moving out. It’s the base of an old train set he had since he was a kid.

The neighbor probably just expected Doug to cut it up and throw it away. Naturally, Doug started thinking of ways to repurpose it.   

Doug continues: Obviously it’s riddled with holes, so I couldn’t use it for building purposes. However, whilst cutting it into pieces to dispose of it for him, I realized it could be another workbench.

9.15.20 workbench in use.JPG

I had my toolbox top, but that was pretty narrow. And then I had the table saw top, but that had the miter saw on it. So this was a perfect work surface for bigger projects. I took a third of it and just stuck it on sawhorses, which was great because I could set it up and take it down in a minute. I could easily store it up against the wall, and it took up next to no room. And when you’ve got a piece of wood like this that you don’t care about, you can just drill into it.

Brooke adds: At times during its evolution, the van itself turns into a workspace.

Doug says: It starts as a shell, and then it starts to look like a home, but then becomes an active construction site.

9.15.20 van as workspace.JPG

diy bug netting

Trust me, you need it.

Trust me, you need it.

Sure, you could buy custom bug netting, but what’s the fun in that? One AdVANture at a Time and Vantastic Media were invaluable resources when I made our bug netting. Here’s how I did it:

I could have bought bug netting, Velcro, and magnets, but based on what AdVANture and Vantastic said, it seemed easier to just buy premade bug netting and cut it to size.

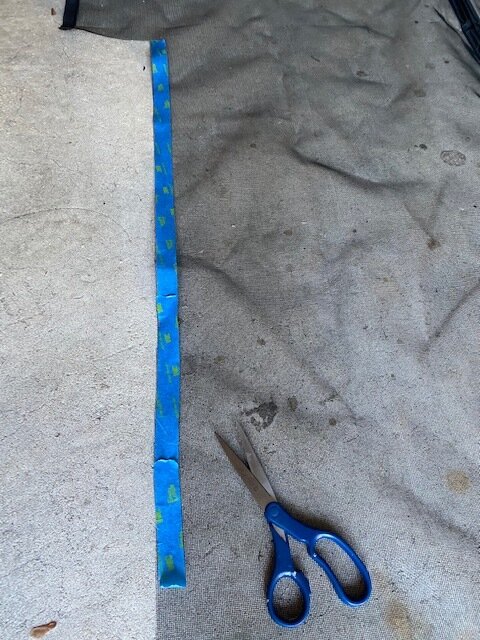
I held it up to the doorways and used painter’s tape to mark where to cut. If I did it again, I’d use chalk; the painter’s tape didn’t stick well and it was hard to be exact with the curves.  

9.8.20 painters tape.jpeg

Trimming the netting is a multi-step process, especially getting all the curves right. There was a lot of cutting, then running back to the van to hold it up and see how it looked, then cutting it a little more. Save everything you cut off, especially the Velcro and plastic edging — it’ll all come in handy later. 

Not gonna lie to you, the corners were a pain in the ass.

Not gonna lie to you, the corners were a pain in the ass.

The sliding door was easier, because the bug netting was wide enough to span the entire opening. All I had to do was cut it to fit the shape of the door and then trim off the excess from the bottom.

9.8.20 handle.jpeg

Cutting the net to fit around this handle would have been really time-consuming, and since we needed to get on the road, I just left it like this. It’s actually worked fine so far, but I’ll probably try to improve upon it for Season 2.

Once the net was the right shape and size, I sewed the Velcro and plastic back around the edges.

9.8.20 side netting.jpeg

The back door was wider than the netting I bought, so I used the excess length to make up the difference. I figured when the netting was up we wouldn’t need to get into the back, so I removed the magnetic strips from the middle and sewed it all together to one solid piece. I reused the magnets at the bottom of the netting so it would sit flush against the floor of the opening. If I had it to do over again, I’d keep the magnetic strip down the middle — we’ve totally had to get into the back while the bug netting was up.

9.8.20 back netting.jpeg

I sewed the netting by hand, and it took 100 years. If you know how to use a sewing machine, I bet it’s a lot easier. I also reinforced the edges with an iron-on hem adhesive.

9.8.20 sewing.jpeg

The final step is to apply the other side of the Velcro to the inside of the door. I only did this on the sides and the top of the doorways. The magnets on the bottom of the back netting work great. For the sliding door, i sewed some weights into the bottom that work well enough, but for Season 2, I’ll probably sew some magnets into that one too. Surprisingly, even in the blistering heat of the deserts we’ve been through, the adhesive on the Velcro has held up.

9.8.20 applying velcro.jpeg

Voila! DIY bug netting!

One last note: You have to be careful when you’re closing the doors with bug netting up. You could cut really carefully around everything that protrudes along the doorway… or just move the netting out of the way when you close the doors.

planning vs. improvisation

Brooke asks: Did you have a plan for the van layout?

Doug says: I made a very early layout sketch…

9.5.20 layout.JPG

Doug continues: … and changed it around. I never went with concrete plans for the van because ever since the beginning, it was just like a puzzle. If had a concrete plan, when stuff didn’t jive with it, it would have been frustrating. Instead, I got to express myself artistically with the van. It’s like, how can we work with the constraints of the materials at hand?  

So rather than strictly adhering to a plan, he built around what he knew was necessary: bikes.

Doug says: Right from the jump, the bed needed to be high because it allows us to have the bikes inside.

Plans courtesy of the always amazing Far Out Ride.

Plans courtesy of the always amazing Far Out Ride.

Doug again: From there it was like, how do I build the bed? And then that REI piece fell into place.

He’s referring, of course, to an old display from REI that they were just going to throw away — until Doug’s boss joked that he could use it in the van. Doug figured he could at least use it as a workbench in his garage.

5.19.2020 garage.JPG

Doug says: But one night I was laying in bed, and I was thinking, what it I turned it on its side?”

Sure enough, it ended up being the exact right height, and now it’s home to our water system and a ton of storage.

Doug says: It was just a really nice coincidence that it happened to be the right dimensions I needed.

That’s the great thing about keeping things flexible with your build plan. Sure, it’s easy to work on stuff when you have raw materials and can shape them however you want. But it’s also more expensive and time-consuming, and you might miss out on the tremendous potential of trash-picked treasures or stuff that’s gathering dust in the attic. Why let good wood go to the landfill? And finding something that fits so perfectly in your home that it seems almost like it was meant to be… I mean, when you’re chasing a dream as crazy as van life, it’s nice to feel like the universe is on your side.

how to find a place to sleep

Let me tell you what sucks: Hearing a knock on the window after midnight and some uniformed stooge telling you to leave. Sometimes they’re nice and tell you where you can find parking a few miles down the road; other times (as in with the sheriff at Cougar Mountain outside Bellevue, Washington), they’ll just tell you, “I dunno.” Like, dude, you just woke me up out of a dead sleep and now you expect me to drive a 7,500-lb. vehicle? Isn’t that more dangerous than whatever threat I posed as an unconscious person in your parking lot?

Ugh. Don’t get me up on my soapbox about wasted parking spots and unwarranted discrimination against travelers. Instead, here’s a concise list of places you can reliably stay for free:

  • iOverlander is essential.

  • Any Bureau of Land Management land, like National Forests, is fair game

  • City parks and churches — but usually only in small towns

  • Kind of uncomfortable but gets the job done: rest areas, casinos, truck stops, big box stores (Wal-Mart in particular), malls

  • Kind of a gamble, but if you find a good one, you’re golden: trailheads, park and rides, and quiet side streets. Google Maps satellite view is a godsend.

And here are a few golden nuggets of wisdom:

  • Pay attention to signs. If they say no overnight parking, they mean it.

  • Look for other vans/RVers.

  • You’re gonna want a flat spot. This tends to be an issue with on-street parking, since roads are usually crowned.

  • Heat can be a problem, even with fans and mosquito netting… hence why we’re posting up in Seattle for the next few weeks.

A note about state and national parks: Sometimes you get lucky, but usually it’s not worth the gamble. State parks have been pretty much a no-go in our experience. With national parks, on the other hand, there’s been some flexibility. We had no problems at all parking overnight in day-use areas in the Great Smoky Mountains, but we were also there during quarantine. At Yellowstone, we stealth-camped in the parking lot for a hotel. The thing about stealth camping is that you gotta get in late and get out early.

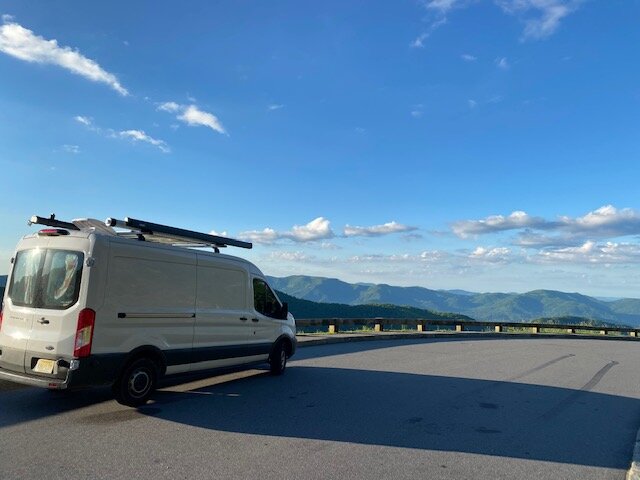
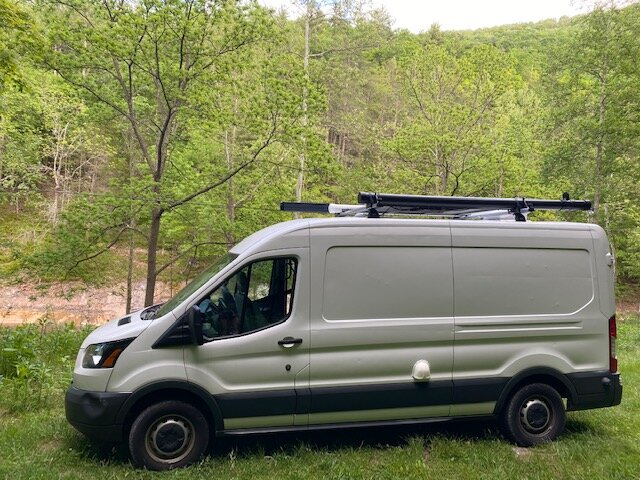
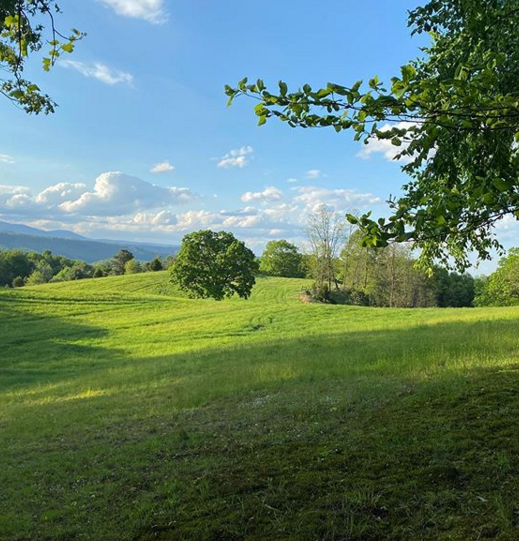
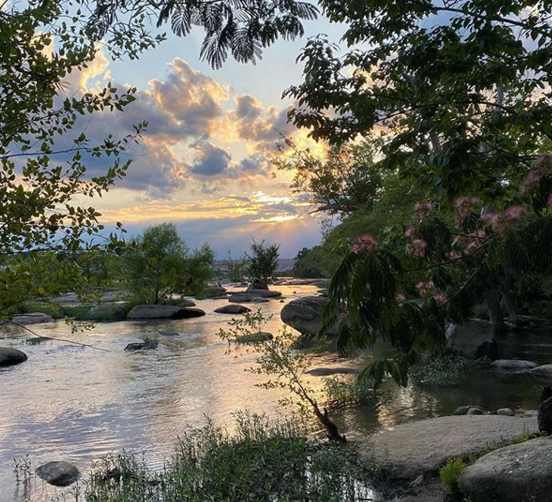
I think when we got started, we thought all our spots were gonna be like these:

But in reality, sometimes you just gotta park and sleep. It’s just like anything else — you have to be grateful when it goes well and optimistic when it doesn’t.

how to stop rattling

Way back this spring, we’d spent a solid few weeks working on the van and decided to actually, you know, take it out for a drive. Within a few blocks, we were appalled at how loud it was inside.

“Is this gonna be our life?” I yelled over the rattling din.

We did some research and overwhelmingly the answer seemed to be: “Yeah, just turn up the radio!” Forget that — here’s what we’ve found that works:

Secure everything. Doors and drawers especially. And shelves — anything wood has to be firmly attached.

Drawer liners. We used Con-Tact. They’re holding up pretty well, except the one under our stove; the little rubber feet things are slowly disintegrating the liner. C’est la vie.

Muffling silverware/plates. Plastic plates and silverware are another option, but that isn’t our aesthetic. And so, we layer bandanas between anything metal that might rattle. The stove was one of the main culprits, but layering a couple of microfiber towels over the grill did the trick. Hot tip: You can’t have too many microfiber towels when you live in a van. They’re just so useful.

Organization. Buffer stuff that might rattle with stuff that doesn’t. Making everyday objects pull double-duty is key for van life.

keeping it fun

Brooke asks: We’ve been on the road for almost seven weeks now?

Doug says: Yeah.

Brooke asks: Is it still fun?

Doug says: Absolutely.

Brooke asks: What’s fun about it?

Doug says: Seeing new places and climbing and always having that new aspect in life. Nothing’s ever boring. There’s always stuff to do.

Brooke says: It’s a pain in the ass, but I like the problem-solving aspect too. And having goals, like doing yoga every day, getting better at climbing, and stuff… The thing about fun is, you kinda gotta work to make it happen.

Doug says: The good kinda fun requires work.

Brooke says: Or not even work, per se, but prioritizing it. Putting it in your path.

Here are some of our ways we put fun in our path:

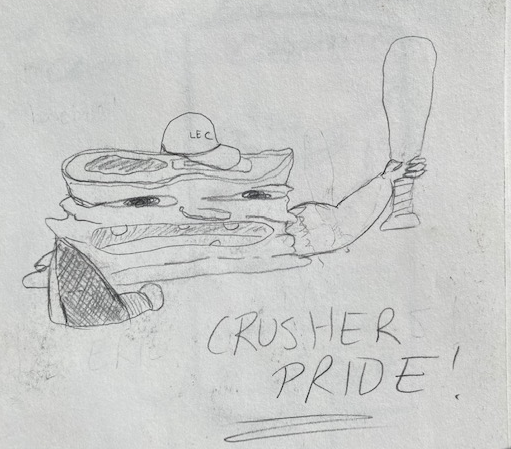
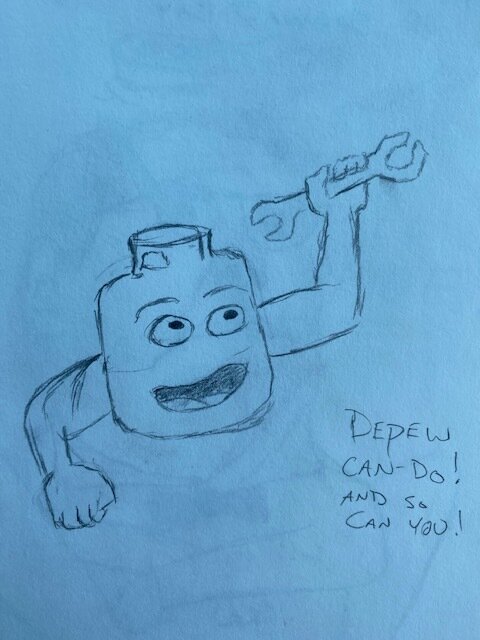
Our babies: We keep a sketchbook on the dashboard so the navigator can draw dumb, funny pictures, usually inspired by wonky logos on billboards or weird stuff (or, in the case of the sex instructor, weird people) we see.

Spanish flashcards — the best way to keep your mind occupied on long stretches of boring highway. (I’m looking at you, western New York.) Mucho gusto!

Making it easy to work out — like keeping my yoga gear and Doug’s Perfect Pushups readily accessible in the garage.

6.27.20 garage.jpeg

Art shelf, as I’ve mentioned before, means we have no excuse to not do art.

Atlas Obscura is great for finding weird places.

And Mountain Project is ESSENTIAL for climbing!

Meeting people, to whatever degree seems appropriate. (We are in a pandemic, after all.) We’ve climbed with other van lifers, met up with old friends, and showed countless curious people our sweet setup.

our solar shower

Straight up, we’re still getting the hang of this.

image0.jpeg

Originally, we were just going to get memberships at Planet Fitness and shower there. But then there was a pandemic… so we built a solar shower. We took the design from this REI video. You can find complete instructions here.

A few pointers from our experience:

Doug says: Be sure to properly score and seal the edges. Use rubber cement liberally.

Brooke says: Yeah, remember the first time we used it, when we only had like 2 gallons of water in it?

Doug says: There was just air pissing out from every possible spot.

Brooke says: You were standing on top of the van, just pumping and pumping, and I’m trying to get clean on a trickle of water while also being swarmed with mosquitos.

Doug shakes his head.

Fortunately, coating all the leaky parts with rubber cement fixed that problem. The other issue we’ve had is with our hose kinking.

Brooke says: I’d recommend a 4-foot hose.

Doug says: They probably make kink-free hoses.

A few other things:

  • Our PVC pipe has started to bow. It doesn’t seem to be causing any issues, but if you try a similar setup, you might find a way to prop it up in the middle.

  • For extra water pressure, it helps to park on an incline or to prop up the front of the shower. (We used one of my yoga blocks.) Of course, if your shower isn’t leaking, this isn’t really an issue.

  • Believe it or not, 5 gallons of water is more than enough for both of us.

  • We open the back doors to shower, and string up two tarps. One of them keeps the inside of the van dry, and the other one provides some privacy. The outside one is staked to keep it from flying up or folding in on us (take it from us, a hug from a wet tarp is not a pleasant experience), and we use clips on one side for a doorway.

our water system

Meet our water system:

It’s simple, and we’re really happy with it.

How does it work?

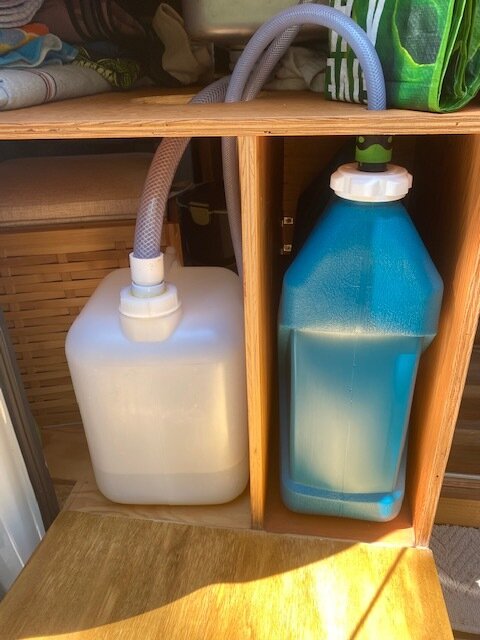
In the back, we’ve got two 5-gallon tanks of drinking water. On top of our van is our 5-gallon solar shower. But what I want to talk about in detail is what we’ve got going on under the sink. There’s a 7-gallon tank for clean water and a 5-gallon one for gray water. We use a Whale foot pump to bring the water up. It’s a minor pain in the ass (nothing new for anyone who’s washed their hands at the McMurdo galley sink though!) but the trade-off is that we can completely control how much water we use. If we had an electric pump and could just leave the water running, we’d use a lot more. (I recently talked to an RVer with a 60-gallon system, and he said he runs through it in three days. It would take us twice as long to use that much water!)

Our foot pump also doubles as a musical instrument.

How’s your water system put together?

Brooke asks: What was the first step?

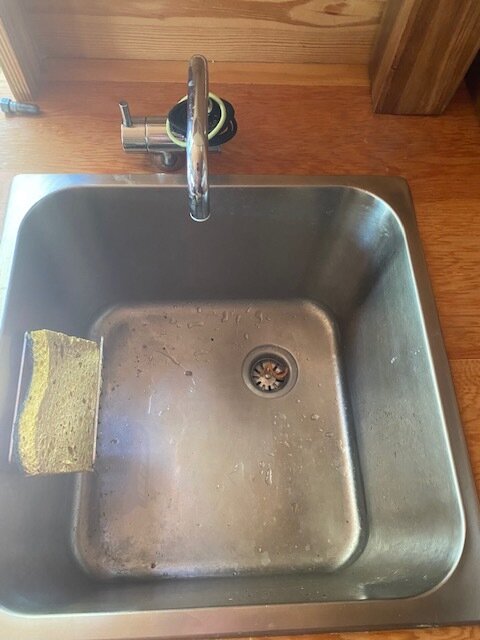
Doug says: Putting in the sink for sure. I wanted a deep-basin sink that I think’s been working well so far. And then just bought a faucet.

Doug continues: Then I got the foot pump, and then sized the jugs and modified the caps.

Brooke asks: How did you modify them?

Doug says: The blue one had a spigot that I took off and replaced with a half-inch female garden hose quick-connect coupling. There was already a hole there, so I was able to get a lot of the threads into the cap, and I super-glued around the opening. I used half-inch braided vinyl tubing to connect that to the foot pump. The male end of the quick-connect goes on the end of the tubing so they fit together. Inside the blue tank is the tube from an Osprey water bladder. It’s attached to the cover with epoxy. We had an issue where it would float to the top of the tank, so we anchored it with a pretty rock.

8.1.20 blue tank cover.jpeg

Brooke adds: And then there’s another hose that runs from the foot pump to the faucet.

Doug says: Mmm-hmm. Attached to the faucet, there’s a barb — a ribbed brass piece that screws on — and that hose pushes onto the barb.

8.1.20 barb.jpeg

For the wastewater tank, I drilled a hole in the cap and put in a PVC coupling that I rigged up for the braided hosing.

7.21.20 wastewater tank.jpeg

Doug continues: The vinyl tubing comes off of the blue water tank and goes to the foot pump where it’s attached with push-on couplings.

7.21.20 foot pump.jpeg

Brooke desires clarification: Is that what it sounds like? It’s basically just as easy as pushing the tubing in?

Doug nods wisely: Mmm-hmm. The pump creates a vacuum and the outtake goes to the faucet. The instruction manual that came with the foot pump was really helpful.

Sidebar: What kind of tubing should you use?

Definitely don’t use a garden hose for drinking water — they’re full of chemicals. (Isn’t that cool, that you spray them on your lawn so they can leach into the soil and the groundwater!) Copper tubing is heavy, inflexible, and requires soldering to install. Pex tubing tends to be the gold standard because it’s flexible and durable, but you need expensive tools to install it. However, you should limit the amount of time it’s in sunlight; direct exposure to UV light can degrade the materials and cause it to leach potentially carcinogenic chemicals into your drinking water.

As for the gray water tank, it works on simple gravity. We try to empty it every couple of days. Also, hot tip, try to keep food particles from going into your gray water tank, unless you like the idea of driving around with a 5-gallon petri dish. Of course, you should practice Leave No Trace, so if you’re camping at a place where you don’t want to attract wildlife, we recommend keeping a jar for dumping food scraps until you can dispose of them properly.

Why is your drinking water separate?

When we first got started, we were going to try to use just the 7-gallon tank for drinking and washing water. How naïve we were… It just wasn’t enough. So we bought a 5-gallon jug of drinking water, named him Juggy, and stuck him in the back. I admit, it was a pain in the ass at first to fill our Nalgenes with a 5-gallon jug, but now we’re both really strong. We loved Juggy so much that we bought another one and called her Mrs. Juggy. This will do for now, but we’re brainstorming different ways we can store these badboys so they’re not just floating around the back of our van.  

Where do you get water?

  • Friends!

  • Town/state/national parks usually have spigots

  • Grocery stores/Wal-Mart have those machines where you can fill a 5-gallon jug for $2-3

  • Campgrounds will charge you anywhere from $5-10 to fill up your tanks. They usually deal with RVs that hold 75-100 gallons of water, so for a system like ours that only holds 23 gallons, you can try to haggle.

Tell me about your shower!

That, my darlings, is a whole other post. Tune in next week!

how to keep stuff from flying everywhere when your house is a vehicle

Drawers and cabinets, right?

See, I thought so too. But there are two issues: They’re heavy, and if you don’t maximize space, a van gets cramped pretty quickly. Can your chassis handle the weight of your construction materials? Will you have to contort yourself to get into that drawer? Are you gonna smack your head on that cabinet door if you leave it open?

Makes sense.

Totally! That being the case, we used a variety of different ways to keep our stuff in place:

Drawers

image2.jpeg

I know I just said drawers aren’t the solution but… they sometimes are! Also, check out this cool desk.

Doug says: It meant a lot to me to get to use this desk that my father gave to me when I was 7 and I’ve had all this time. And now it gets to be a part of the first home that I built.

We use drawers for silverware, plates/cups/bowls, pots and pans, and Tupperware. There’s also the obligatory junk drawer. Doug installed cabinet catches in the bottom three drawers to keep them from sliding open in transit, and that little chunk of mahogany keeps the top two drawers closed.

Cabinets

The vanity is secured with a clasp. It’s been pretty sturdy so far, but one particularly rough road made it fly open.

Doug trash-picked this door because it looked cool. This space has come in handy for miscellaneous everyday stuff that’s too bulky for the vanity or that might fall out of our shelves. (You only need to clean olive oil out from under a car seat once to never want to do it again.) We don’t have any special restraint system on the door; so far it just stays closed on its own.

Shelves

image6.jpeg

This eyelets-and-rope configuration has done a good job of keeping our food in place while also accessible (although occasionally a package of Ramen might make a daring escape). Bonus: It’s lightweight and looks nice.

Also, a note about the banana hammock (haha): We originally had it hanging from two hooks, but it was smashing against the wall and destroying all our fruit. Fortunately, we had an extra hook floating around. Doug anchored it from the bottom, and now our fruit is pristine.

IMG_8181.jpg

Lips are another simple restraint solution. It took a little trial and error to figure out the best way to fold our clothes to keep them from sliding out, but now it works like a charm.

Velcro

I thought we would use more of this, but the glue tends to melt after enough time in a hot van. Also, like… who spends 15 months doing a beautiful woodworking project and then puts Velcro all over it? It works for our hand soap at least.

Bungee cords

image7.jpeg

We wanted our art supplies to be easily accessible so there’s no excuse not to use them. As soon as we park, that ugly bungee net comes off and we can work on one of the like six projects we have going on at any given time!

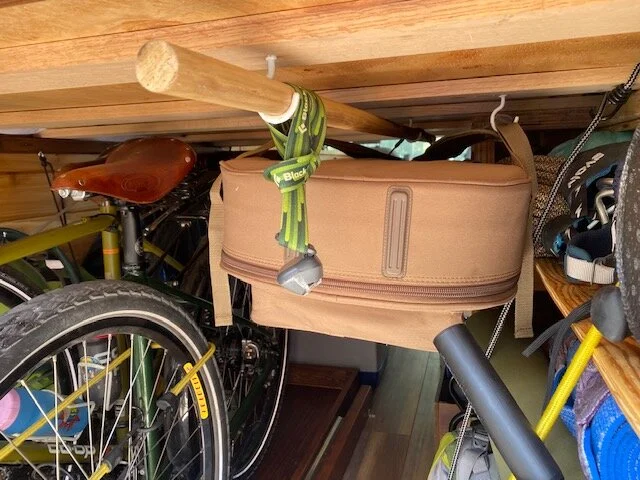
Eek, pardon our messy gear shelves! In the garage, the aesthetics don’t matter as much. We restrain our panniers, table, and tools with a combination of hooks and bungee cords. The ladder goes behind the fridge. All of our outdoor gear is (usually) carefully organized and restrained with two bungee cords. And of course, our auxiliary water tank is secured with an airplane seatbelt Doug stole when he was 14.

Hanging

6.27.20 dowel.jpeg

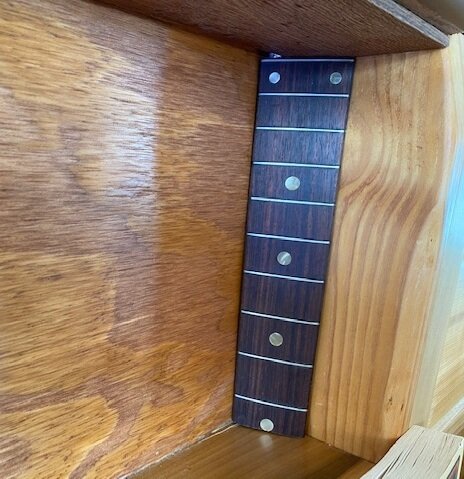
We’re not wild about this, honestly. It keeps the guitar in place (and provides extra restraint for pantry items), but it’s enough of a pain in the ass to get the guitar down that it discourages us from using it. We’ll keep experimenting with this space and figure out the best way to use it.

Pockets

image11.jpeg

God this thing is so convenient (and the least ugly hanging shoe rack we could find on Amazon). We cut off these excess two rows, installed some grommets, and then screwed it right into the plastic in the back door. It’s the perfect storage solution for tools and other little stuff that we want to access easily.

arb portable fridge freezer

Some of the best relationship advice I’ve ever gotten came from a couple who’d just spent a summer roadtripping around America.

“Whoa, I’m about to do the same thing!” I said. “Got any advice for me?”

“Lots of solo hikes,” Jess offered.

Al just leaned in and intoned, “Beware… of car bod.”

And so Doug and I bought a fridge: the ARB Portable Fridge Freezer 50 quart. (We also considered the 37 quart, but since the width and length were the same and it was only an extra $80, we figured we may as well GO BIG OR GO HOME.)

IMG_7848.jpg

Overall, we’re happy with it. Like a lot of the decisions we made during this build, this one came down to space. Each individual build is going to be different, so you might go with another brand that has dimensions that fit your specific floorplan. Other big players are Dometic and Engel.

Pros:

Efficiency: Because hot air naturally rises, a top-loading fridge lessens the rate at which cold air can escape. And unlike a side-loading fridge, hot air can’t move in from below and push the cold air out.

Durability: It’s built to handle vibration.

Cons:

Organization: The flip side of the top-loading fridge is that you have to develop a system of organization. This can mean the door is open longer while you dig around, but we’ve found that as long as we’re strategic about what food goes where, it’s fine.

Condensation: Another downside to keeping the door open longer is condensation buildup. Story time!

During our two-week trial run, we discovered a small leak coming from a drain on the bottom of the fridge. We rigged up a solid plug for the hole, and while we were at it, we took out the cage from the inside of the fridge to make it easier to clean. Pretty sure this was a mistake. With no drainage and our food pressed right up against the walls, condensation built up and made everything soggy. Our solution: Put the original plug back, accept that it leaks a little, and put a microfiber towel underneath to catch the moisture. We’ll report back on how well that works.

Doug says: Even if you live in a van with a mattress in the back, get a fridge. It’s worth it if you want to eat healthy at all. Car bod is definitely a thing, but only if you let it be one. The fridge is the game changer.

swivel seats

IMG_7925.JPG

Brooke says: I love the swivel seats. They open up this space and make it into a living room.

Doug says: It becomes not a car anymore. Without them, what, we’d sit cross-legged on the floor together? Or we’d have to find a space outdoors every time. I don’t want to say they’re necessary, but they’re definitely excellent.

The passenger side is from Van Upgrades. It’s sturdy, but walls off the space under the passenger seat, and the lever is a metal plate that sometimes gets stuck and bites you. But it’s half the price of a Scopema swivel seat adaptor, which we have on the driver’s side. The Scopema lever is a plastic handle, and the design allows you to access the underside of the seat easily.

The installation directions are straightforward, but it’s definitely a two-person job.

This time we had to truss up our seat while we figured out a workaround for the misaligned bolt holes.

This time we had to truss up our seat while we figured out a workaround for the misaligned bolt holes.

We ran into an issue with the Scopema seat that turned out to be fairly common: The base plate of the swivel seat attaches to the seat pedestal with four bolts, but the holes for the bolts didn’t line up. We tried hitting the seat pedestal with a hammer (old mechanic’s trick, according to Doug) but couldn’t force it into place. After a bit more trial and error, we discovered that just one of the holes was wonky. We lined the other three up, used a thinner bolt in the wonky hole, and secured it with a washer and a nut. Simple fix and it works perfectly. 

IMG_7530.jpg

One more note on the swivel seats: They sound like they’re breaking every time you use them. When you turn the seat, the bolts that hold the seat rails to the swivel knock against the bolts that hold the swivel base to the seat. You could try using washers to back the top bolts out, but as far as we can tell, it doesn’t cause damage.

Doug says: Seriously, they’re a pain in the ass, but we really love them. I wouldn’t have pictured our setup without them.

Brooke says: Yeah, when you first told me about them, I was like, “That doesn’t sound necessary.” I was dead wrong; they’re essential.

how to be tall in a van

image2.jpeg

Hi. I’m Brooke. I can’t fit in my own house. But tall people gotsta adventure too, so here’s some of my hot tips:

get a stool

… which is also a dirty laundry hamper and can be used as a table. We put felt on the bottom to make sure it doesn’t scuff up the floor. Good for kneeling and sitting.

image1.jpeg

do yoga all the time

It definitely helps to move with fluidity. Also, chair pose. If you press down and out with your heels like you’re trying to slide them apart, it puts all the work into your booty.

accept that you will hit your head

The good news is, it only takes one good smack to teach you to give that one evil shelf a wide berth.

go outside

You know what’s funny? You put all this work into a van so you can mostly not be in it. Who cares if we sleep in 80 square feet? Our living room is the entire world.

trial period

So! Before we fully committed to van life, we decided to do a two-week trip just to see how everything works. We took the Stratoship down to Great Smoky Mountains National Park so Doug could do fieldwork for an ongoing research project about breeding bird populations and hemlock death caused by the hemlock woody adelgid. And then we slowly made our way back up the East Coast!

Along the way, we compiled a big-ass to-do list and when we got back to Jersey, we methodically whittled it down.

Iterations of our to-do list.

Iterations of our to-do list.

Brooke says: Was the two-week trial period part of your original plan, or did it just kinda work out that way?

Doug says: Yeah, it was. Definitely wanted to get on the road and test things out a little bit, cause figuring out what you need is something that you can only really gain a sense for by living out of the van.

Brooke says: How do you think it went?

Doug says: Excellent. We’ve only been back for 12 days now, and we’ve gotten everything we wanted to do done. We’ve had a lot of good breakthroughs and adjustments.

Brooke says: Yeah dude, we got it done!

Here are some of the things we fixed:

Huge victories:

  • We are two people who live in a cargo van with everything we need and we have room to spare.

  • Simple solutions, like the drawer and vanity restraints.

  • Finding ways to make items pull double duty, like hanging the headlamp so it can also serve as the garage light, or using our panniers and backpacks as storage.

  • Functional storage — I’m thinking in particular of the detachable desk that fits unobtrusively in the kitchenette area while also protecting against messy spills.

  • Dude, there’s barely any rattling!

Things we just had to accept:

  • Inevitably, things will fall off shelves when you drive. When it’s ramen or a t-shirt, you laugh and keep driving. When it is a bottle of olive oil, you pull over and clean it up. Such is van life.

  • There’s always gonna be one more project you might want to do.

Doug says: We originally wanted to get outta here two months ago. We wouldn’t have had the vanity, the countertop, the bug netting, the garage shelves, the pillars. That’s what those two weeks were for. Not everything that coulda gone wrong went wrong, but like you said, I’m really confident about getting on the road now.

waterproofing and sound deadening

The first big consideration is sound deadening.

“Kilmat is used in cars for sound systems, but you have to use it in a van because if you don’t, when it rains, it’s basically like sleeping in a tin shed,” Doug explained to me. “So that was the first thing I did, was cover as much as I could with Kilmat.”
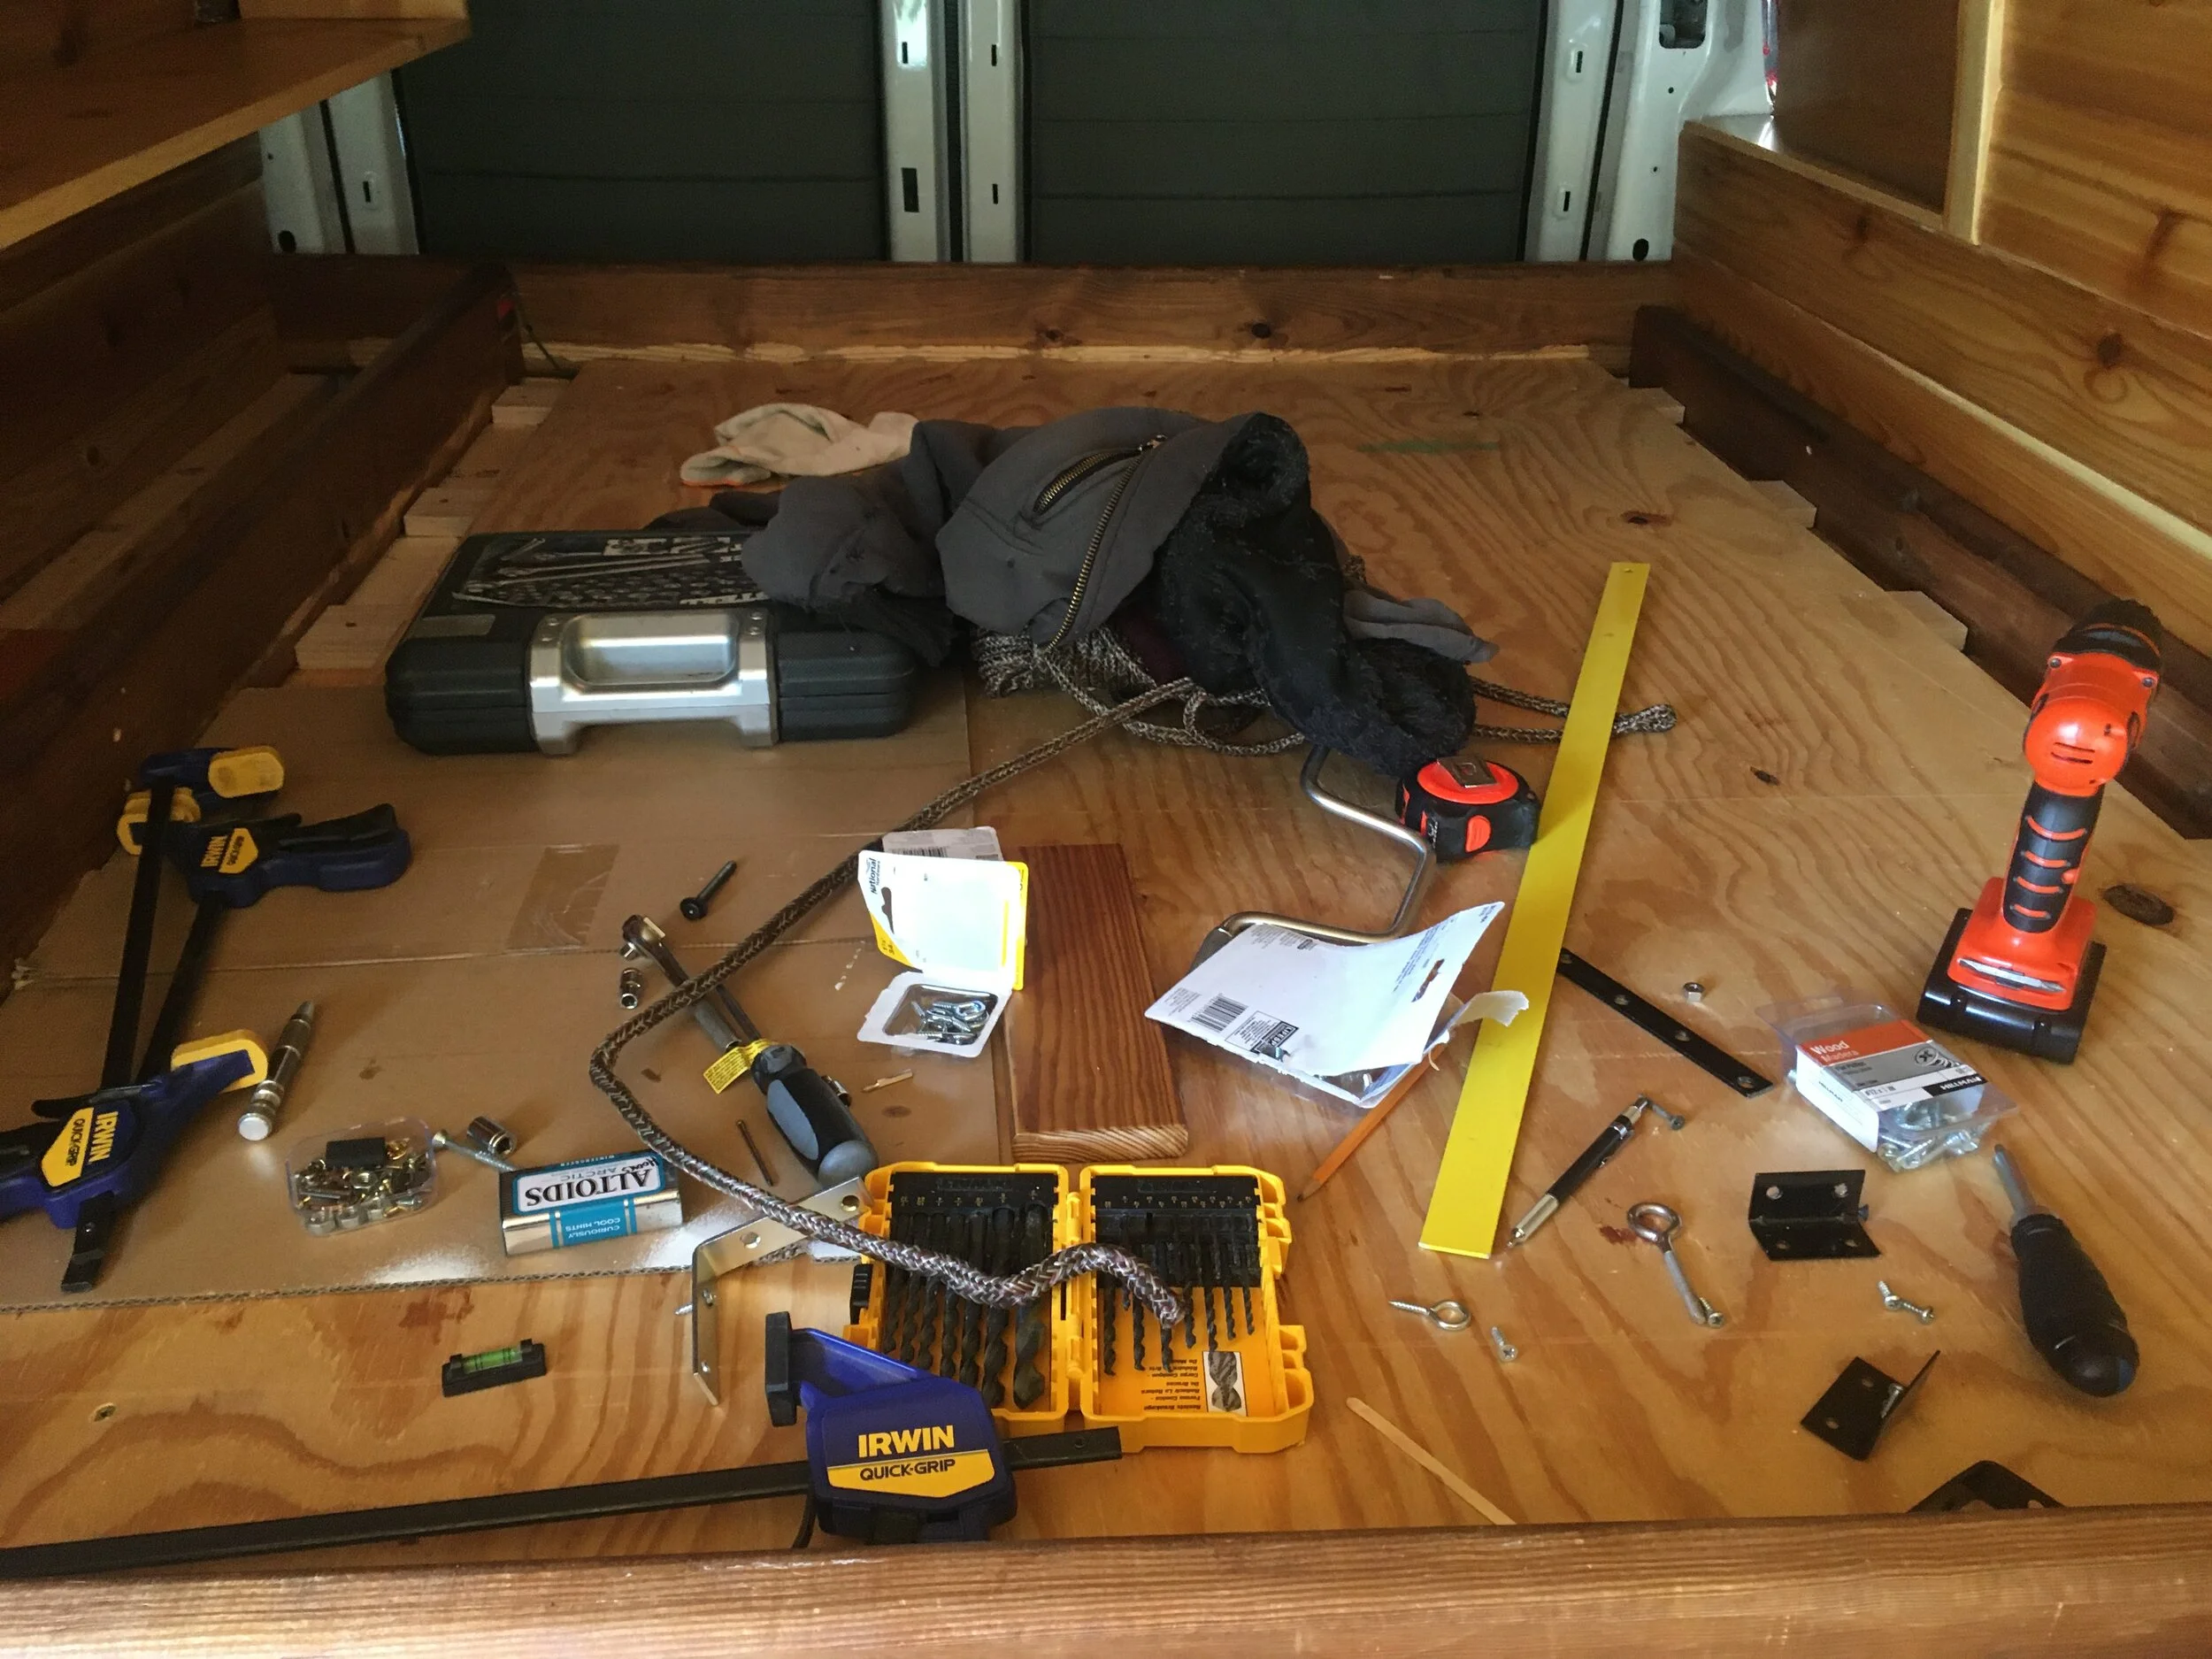
Building out a van yourself gives you the creative freedom to put down Kilmat shaped like Pyramid Head

Building out a van yourself gives you the creative freedom to put down Kilmat shaped like Pyramid Head

An added bonus to the solar panels is that they cover most of the roof and absorb the rain noise.
The other big consideration is preventing leaks.

  • These Van Upgrades air vent inserts let you crack the window without letting in rain (or bugs)

  • This clamshell vent cover prevents water from running into the exhaust fan for our composting toilet (you really, really don’t want that fan to stop working)

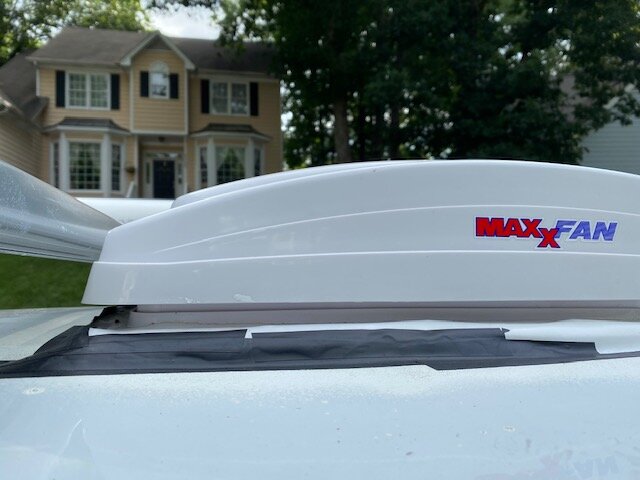
  • The MaxxFan has a built-in rain shield; their main competition, Fan-Tastic, requires you to buy the shield separately. (I hate to malign them because their website is really cute, but MaxxFan is the industry leader for a reason.)

And then there’s Flex Seal.

I’m pretty sure I’m the last person in the world to hear about this stuff, but just in case you actually live under a rock (and not just in Antarctica like some of us), Flex Seal is basically spray-on rubber sold by the reincarnated ghost of Billy Mays.

Screen Shot 2020-06-11 at 6.38.26 AM.png

Turns out getting yelled at by an avuncular maniac with a chainsaw is effective marketing, so Doug and I bought a bunch of Flex Seal — and its brother, Flex Tape — to waterproof the hole for the MaxxFan.

The MaxxFan is designed for the flat roof of an RV, but the roof of our Transit is concave. Doug used some slivers of leftover vinyl flooring to bridge the gap, and then covered the whole mess with Flex Seal. It held up fine when the van was sitting in the driveway in Jersey, but after an intense rainstorm outside of Gatlinburg, Tennessee, we discovered a small leak. Upon closer inspection, the Flex Seal spray had developed a series of small holes and cracks. Doug patched it up with electrical tape until we could cover it with Flex Tape.

IMG_7678.jpg

Brooke: What are your thoughts on Flex Tape and the Flex Seal family of products?

Doug: Your stepdad said yesterday that the marketing is great. It got us. Flex Tape seems to be okay, but the Flex Seal failed —

Brooke: — but only on one side.

Doug: Yeah, and a lot of that has to do with the concave of the roof. It’s a lot more complicated than sealing a little gap —

Brooke: Ceiling?

Doug stares blankly at Brooke.

Brooke: Get it?

Doug continues to stare blankly at Brooke.

Brooke: Sorry, please go on.

Doug: The Flex Seal deteriorated. Lee was saying if you read the fine print, it says you gotta reapply it every six months.

And now we know. We’d recommend using Flex Tape to seal cracks and just keeping an eye on it.

how's it goin?

image5.jpeg

Written collaboratively — taking turns typing each other’s responses — at Cosby Campground, Tennessee.

Brooke: What’s been the most surprising thing about van life?

Doug: This has been a big fucking surprise today, [gesturing toward the MaxxFan — we hit a violent rainstorm heading out of Gatlinburg and some of the water had leaked from the fairing around it] and not in a good way.

Brooke: Yeah…

Doug: But no, everything’s going as expected. Those feelings of… sorry, I see some birdies… of oh my god, we’re almost out of water, or we need food. We knew those all were coming.

Brooke: Did we though?

Doug: There’s a difference between knowing and experiencing. Like on your bike tour or the Appalachian Trail. You knew what you had to do —

Brooke: — in theory —

Doug: — but until you’re in it you don’t appreciate the gravity of it. Which you could say about any big undertaking. There’s been a lot of big satisfaction, but as far as surprises go, nothing’s blown me away.

Brooke: For me, it was getting water.

Doug: Yea, once you’re immersed in van life, you’re like, “Oh shit, water goes pretty fast.” I think most people can’t even comprehend not having enough water. Yea, well you know better than anybody.

Brooke: Yeah, in Malawi, I used to have three buckets of water. And lugging that water from the borehole to my house, even though it was like 25 steps away, still made me appreciate that that water wasn’t free. Especially during dry season. It’s such a satisfaction to have all of your jugs full. It makes you feel safe, like, at least you have that.

Getting water in Malawi during dry season.

Getting water in Malawi during dry season.

And then we talked awhile about water:

  • how we need to get an auxiliary water tank

  • how paying $10 for 10 gallons of water at an RV park taught us the importance of filling up our water tanks when it’s free

  • bodies of water that we’ve had strong relationships with.

    • Brooke: This pond in the White Mountains of NH, Lake Malawi, and the pond in the woods in our backyard growing up

    • Doug: The Pacific Ocean, the Puget Sound

Doug (sipping his Rolling Rock and gazing up at the MaxxFan): I love our van. I don’t want it to leak.

Brooke: What’s been the best part of van life?

Doug: Waking up next to you every morning in someplace new.

Brooke: Gross, I can’t put that in the blog, people will barf. For me, it’s seeing new places! Especially after quarantine, and seeing the same places and having the same routine every day.

Doug: It’s all the best parts of camping, but we have all of our stuff with us. I’m not missing a single thing, except a hot shower, and that’s okay.

Brooke: What’s working well?

Doug: The fridge is excellent. The only problem with the MaxxFan is that it’s not built for a convex roof. [Author’s note: Hence the leak] This fan I’m very happy about. You paid $110 for it or something — it was worth every penny.

Brooke: Cause it just works well.

Doug: You can literally point it anywhere, and when we’re cooking, this was blowing it exactly out the exhaust fan, which is why we bought it. It worked fabulously in this area. All I had to do was cut away this.

image1.jpeg

Brooke: Yeah, that was a win. And fuckin Cyrix dude?

Doug: Yeah, that’s a great peace of mind. Ultimate win goes to the battery monitor for the peace of mind.

Brooke: Bam! I got something to add. And you have to write it word for word — that’s journalistic integrity. Fart fan [our clever nickname for the exhaust fan for our composting toilet ] is a win. And the shroud vent kicks ass.

Doug: The clamshell, you mean. The shroud is on the inside. [Author’s note: It took a lot of searching to find the right size clamshell vent cover for fart fan; this thing really was a lifesaver.]

Brooke: Oh shit, can you correct that? I’ll pay you money. Make me sound smart and sexy. Tibetan prayer flags, fairy lights, pins, and bumper stickers are all wins.

Doug: We don’t have bumper stickers.

Brooke (flicks the stickers on the visor): Oh, wait, those aren’t on the bumper. Would you say anything sucks yet?

Doug: There’s stuff I’m displeased with, recent leak notwithstanding.

Brooke: Nah, but I mean like, does anything suck?

Doug: Umm… no. The only thing that sucks is not being able to take a shower [Author’s note: We forgot the showerhead back in Jersey], and we do that by bathing in the river, which is actually a really cool experience.

Brooke: Bathing in a river with Dr. Bronhammy, it just makes you feel wild and free. [She takes the computer from Doug to find that he has written “Dr. Bronhammy” and not “Dr. Bronner’s,” as she said.] Bronhammy??

Doug: I know!

Brooke: You can’t do that!

Doug: I’m slighting journalism everywhere with that kinda move.

Brooke (musing): What sucks…

Doug: I don’t think anything sucks, to be honest. … I’m not blown away by anything; it’s nothing I wasn’t expecting. Just being immersed in the situation is just like, okay, we knew we were gonna be sharing a tiny space together, we knew we were gonna be making a bunch of noise in the middle of the night, we knew water was gonna be an issue, we knew, I mean… shitting isn’t really an issue, it’s pretty fun. [Author’s note: He is referring to shitting into our $1100 Airhead composting toilet that lives in our kitchen.]

image2.jpeg

Brooke and Doug laugh.

Doug: Your whole life, you shit and then it’s gone. There’s a certain like… attachment of shame to taking a shit, you know? Where it’s just like no, every single living creature has to do it.

Brooke: Can I go off the record? It’s pretty ironic that you got so pissed at your ex two years ago for taking a shit 10 feet away from your campsite, but now you shit IN OUR HOUSE.

Doug (laughs): You should put that in the blog! Life’s funny like that. Comes at ya fast. Brooke, what do you think sucks about van life?

Brooke (laughs): Nothing. Like you said, petty inconveniences. Last night I woke up at 2 a.m. and I had to pee and I had to walk like, what, 200 yards to the bathroom and I was like “mñweeeeeehhhh.”

Doug: And that just speaks to how much everybody’s addicted to convenience in our society. Because what are our problems right now? We have to go outdoors to take a piss, we have to find water, and doesn’t that just make us more grateful? Everything, say at my mom’s house, is really easy, and when it becomes routine you start taking the best things in life for granted. Like that meal we had the other night —

Brooke: Dude it was so tasty! We had a Knorr pasta side and scrambled eggs with peppers.

Doug: And considering everything that had happened up until then — [Author’s note: He’s referencing, of course, us realizing our propane tank didn’t fit our hose. We ended up buying a small canister of Coleman fuel until we can find an adapter for the propane tank or a different hose.]

Brooke: Yah dude, total win.  

we're outta here!

First stop, the Great Smokey Mountains!