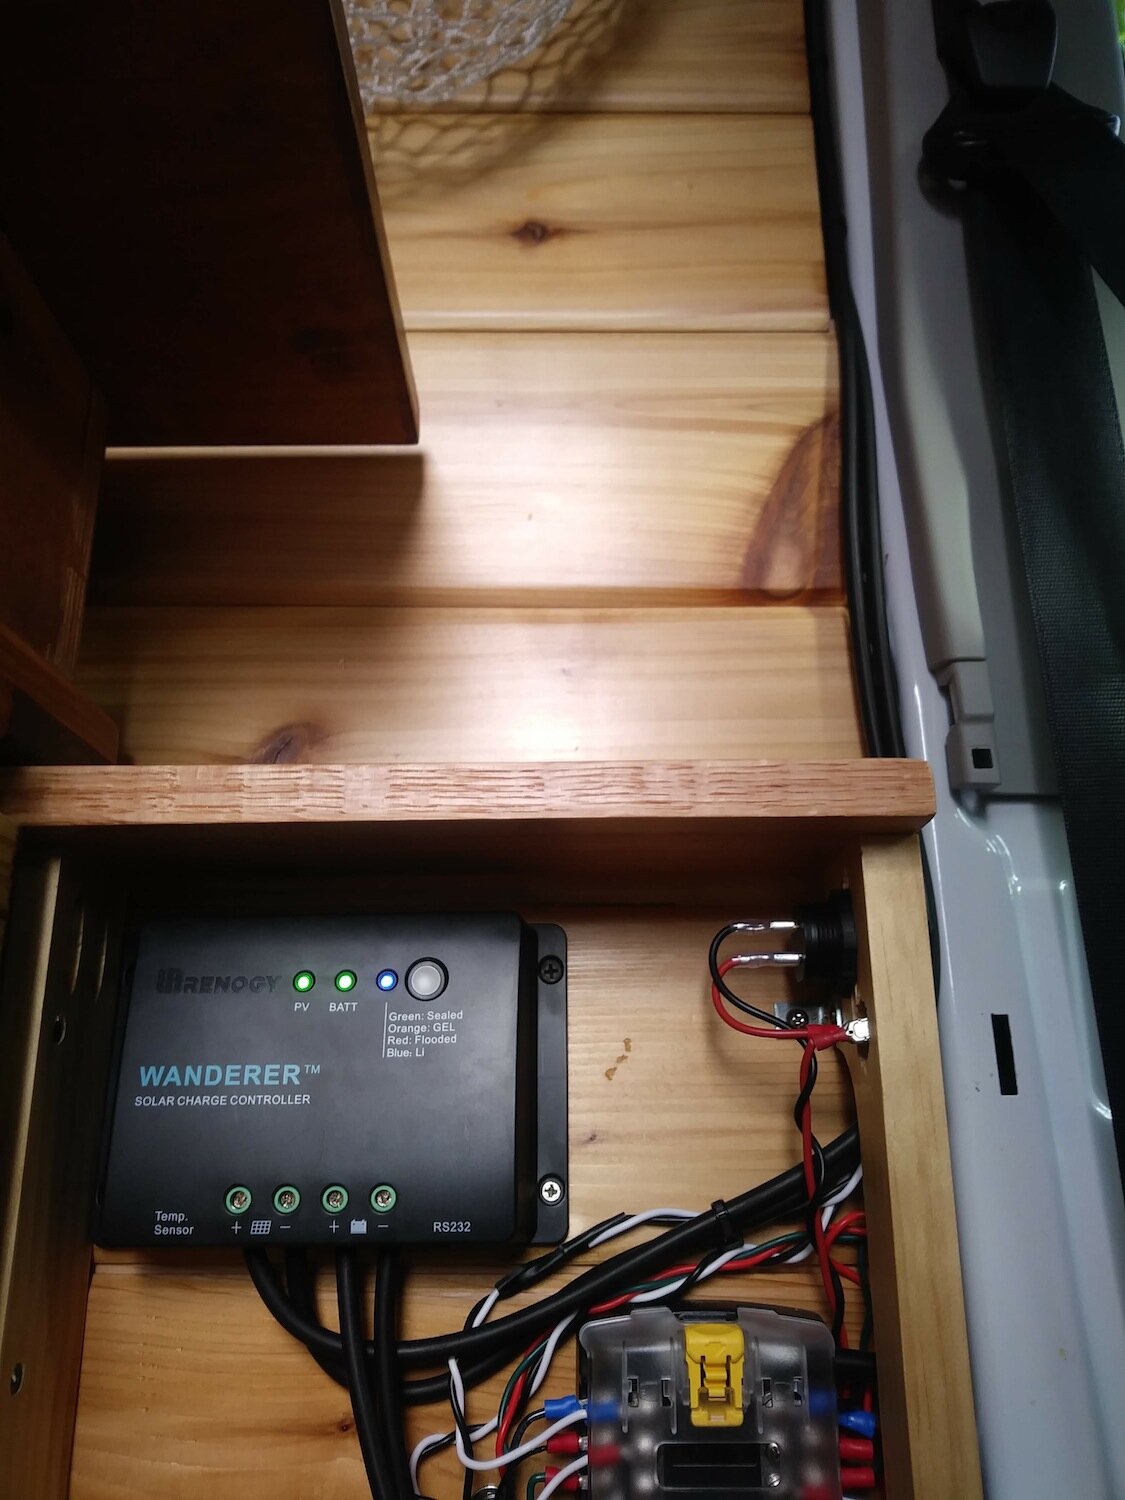
There are four cables coming off the positive terminal and going to the…
And there are four cables coming off the negative terminal and going to the…
solar charge controller
negative fuse block terminal
shunt for the battery monitor
nearby metal surface on the van (this is called the grounding wire)
The terminals on our battery used simple bolts. Connecting the cables was as simple as unscrewing the battery terminal bolts, stacking the wire terminals over the hole, reinserting the bolt, and screwing it back in.
How do I not die when I’m working with the battery?
Don’t cross exposed wires
Don’t bridge the terminals with anything (especially your hand)
Ground your battery. In the simplest terms, this is connecting the negative wire to the metal part of the van to dissipate extra energy.
Always connect the negative terminal last.
How do I not kill all this expensive stuff?
Before you connect your solar panels, don’t leave them in direct sunlight for prolonged periods of time.
Consider investing in a battery monitor.
If you use a lithium ion battery, don’t let it get below 32 degrees.
Really, seriously, don’t bridge the terminals.
How do I wire my appliances to the fuse block?
It’s safest to disconnect the battery from the fuse block before you wire in your appliances, especially ones with big amp draws.
Some of your DC appliances might have a couple of short wires hanging off them. “How’s this gonna reach all the way to my fuse block?” you might be asking. The answer is: You gotta solder on more wire!
Using the most direct path possible, measure how far the wire needs to run from the appliance to the fuse block. Braid the negative and positive wires together to keep things neat*. Hot tip: You can use a drill to braid wires together**! Just cinch two ends of the wire into the drill, clamp down the other end, and then run the drill.
*Again, only do this with insulated wires, not exposed ones. That probably goes without saying.
**I also hope it goes without saying that you shouldn’t do this with live wires.
Solder on the extra wire and the ring terminals. Then attach the ring terminals to the fuse block. You’ll designate a positive and negative terminal for each appliance, insert a fuse with a matching amp draw into the corresponding slot, and then screw in the ring terminals.
If that sounds complicated, don’t worry; it’s all explained really clearly in the instruction manual for the fuse block.
Do I need a wiring diagram?
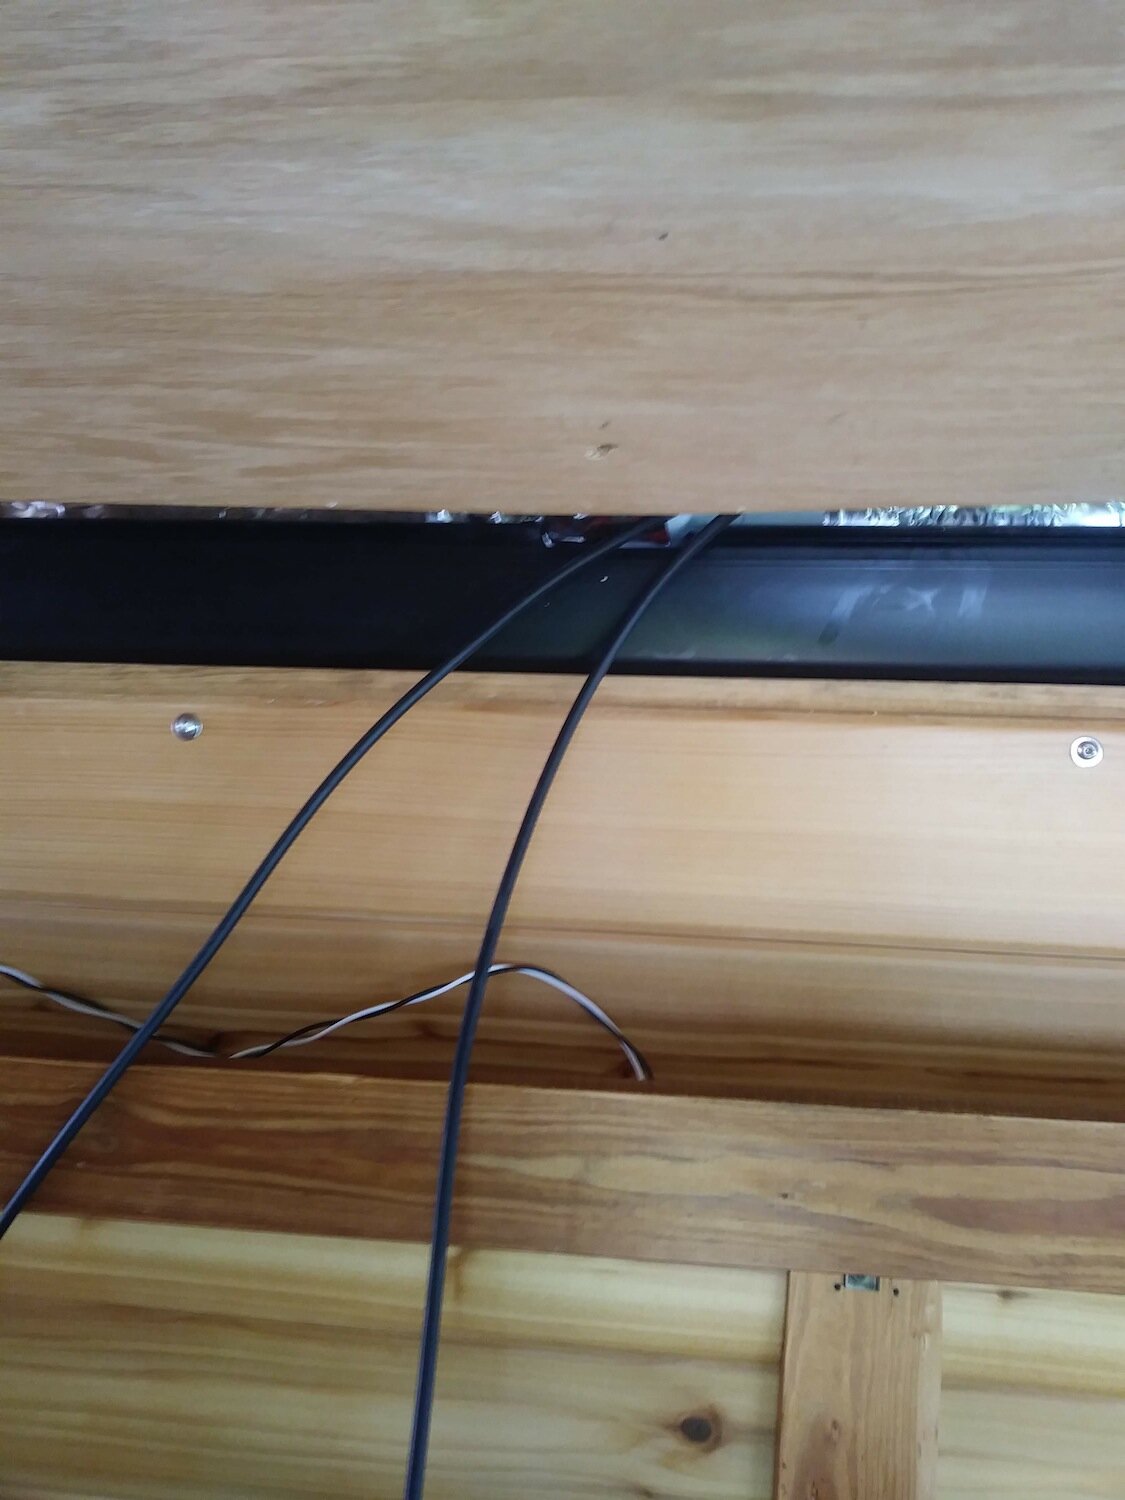
Doug: You don’t have to have a compressive wiring diagram before you start building. I’m sure for some people that would give them peace of mind, but we’re just here to serve as proof that you can take it as it comes. I would make sure to have an idea about how you’re going to run your wires from different parts of your van to the fuse block area before you construct walls and/or the ceiling. I ran a conduit through the voids on the left side of the van earlier on because I knew I would be running wires later on in the build. I don’t know how other builds go, but part of how this was even possible was that I didn’t have plans and it was constantly evolving.
Brooke: It’s like writing a book. I didn’t know how my book was going to end when I started. It’s okay to piece it together like a jigsaw puzzle or a quilt.
Doug: I’ve definitely gotten frustrated plenty of times — you’ve seen me plenty of times running into an issue that I didn’t see coming. … But if I was trying to follow my plans, there’d be a lot of wasted time trying to constantly modify the plans. If I would give advice to anyone, just take your time with it. I’ve had fun with it.
Brooke: Yeah, trust that things will work out as they should.


