diy bug netting

Trust me, you need it.

Trust me, you need it.

Sure, you could buy custom bug netting, but what’s the fun in that? One AdVANture at a Time and Vantastic Media were invaluable resources when I made our bug netting. Here’s how I did it:

I could have bought bug netting, Velcro, and magnets, but based on what AdVANture and Vantastic said, it seemed easier to just buy premade bug netting and cut it to size.

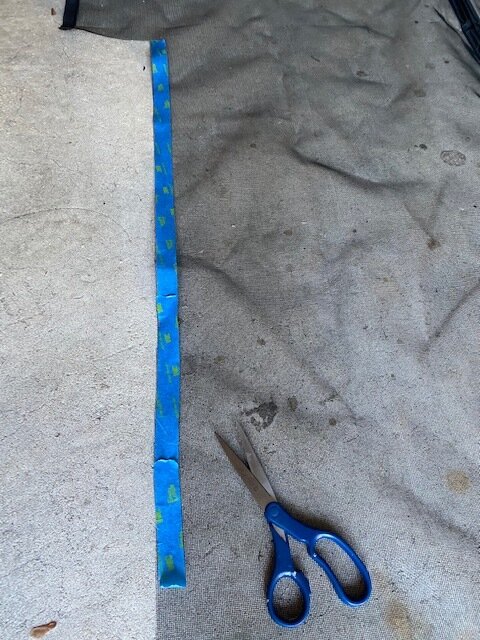
I held it up to the doorways and used painter’s tape to mark where to cut. If I did it again, I’d use chalk; the painter’s tape didn’t stick well and it was hard to be exact with the curves.  

9.8.20 painters tape.jpeg

Trimming the netting is a multi-step process, especially getting all the curves right. There was a lot of cutting, then running back to the van to hold it up and see how it looked, then cutting it a little more. Save everything you cut off, especially the Velcro and plastic edging — it’ll all come in handy later. 

Not gonna lie to you, the corners were a pain in the ass.

Not gonna lie to you, the corners were a pain in the ass.

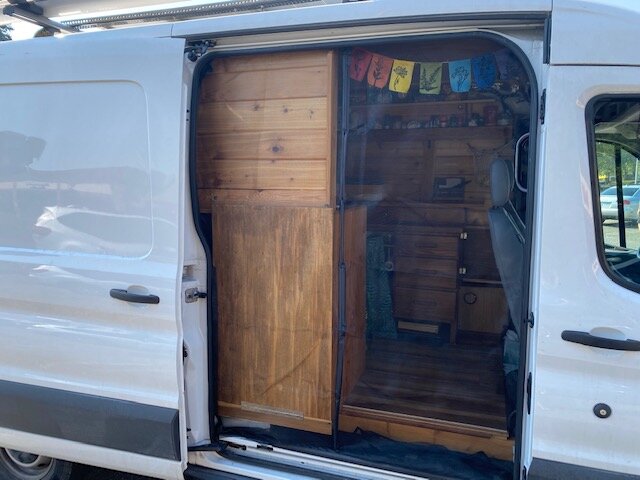
The sliding door was easier, because the bug netting was wide enough to span the entire opening. All I had to do was cut it to fit the shape of the door and then trim off the excess from the bottom.

9.8.20 handle.jpeg

Cutting the net to fit around this handle would have been really time-consuming, and since we needed to get on the road, I just left it like this. It’s actually worked fine so far, but I’ll probably try to improve upon it for Season 2.

Once the net was the right shape and size, I sewed the Velcro and plastic back around the edges.

9.8.20 side netting.jpeg

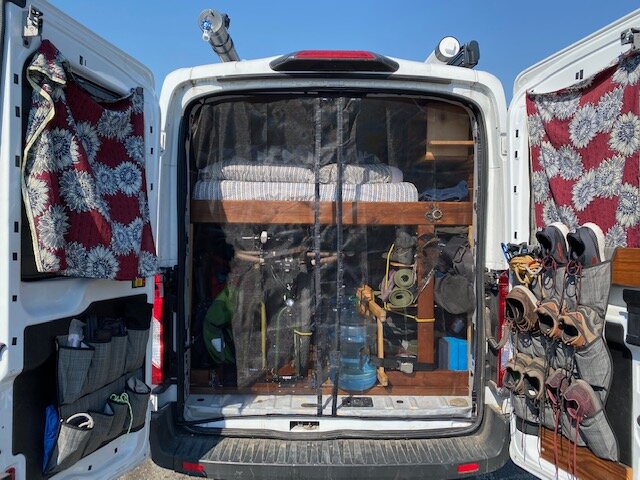
The back door was wider than the netting I bought, so I used the excess length to make up the difference. I figured when the netting was up we wouldn’t need to get into the back, so I removed the magnetic strips from the middle and sewed it all together to one solid piece. I reused the magnets at the bottom of the netting so it would sit flush against the floor of the opening. If I had it to do over again, I’d keep the magnetic strip down the middle — we’ve totally had to get into the back while the bug netting was up.

9.8.20 back netting.jpeg

I sewed the netting by hand, and it took 100 years. If you know how to use a sewing machine, I bet it’s a lot easier. I also reinforced the edges with an iron-on hem adhesive.

9.8.20 sewing.jpeg

The final step is to apply the other side of the Velcro to the inside of the door. I only did this on the sides and the top of the doorways. The magnets on the bottom of the back netting work great. For the sliding door, i sewed some weights into the bottom that work well enough, but for Season 2, I’ll probably sew some magnets into that one too. Surprisingly, even in the blistering heat of the deserts we’ve been through, the adhesive on the Velcro has held up.

9.8.20 applying velcro.jpeg

Voila! DIY bug netting!

One last note: You have to be careful when you’re closing the doors with bug netting up. You could cut really carefully around everything that protrudes along the doorway… or just move the netting out of the way when you close the doors.

arb portable fridge freezer

Some of the best relationship advice I’ve ever gotten came from a couple who’d just spent a summer roadtripping around America.

“Whoa, I’m about to do the same thing!” I said. “Got any advice for me?”

“Lots of solo hikes,” Jess offered.

Al just leaned in and intoned, “Beware… of car bod.”

And so Doug and I bought a fridge: the ARB Portable Fridge Freezer 50 quart. (We also considered the 37 quart, but since the width and length were the same and it was only an extra $80, we figured we may as well GO BIG OR GO HOME.)

IMG_7848.jpg

Overall, we’re happy with it. Like a lot of the decisions we made during this build, this one came down to space. Each individual build is going to be different, so you might go with another brand that has dimensions that fit your specific floorplan. Other big players are Dometic and Engel.

Pros:

Efficiency: Because hot air naturally rises, a top-loading fridge lessens the rate at which cold air can escape. And unlike a side-loading fridge, hot air can’t move in from below and push the cold air out.

Durability: It’s built to handle vibration.

Cons:

Organization: The flip side of the top-loading fridge is that you have to develop a system of organization. This can mean the door is open longer while you dig around, but we’ve found that as long as we’re strategic about what food goes where, it’s fine.

Condensation: Another downside to keeping the door open longer is condensation buildup. Story time!

During our two-week trial run, we discovered a small leak coming from a drain on the bottom of the fridge. We rigged up a solid plug for the hole, and while we were at it, we took out the cage from the inside of the fridge to make it easier to clean. Pretty sure this was a mistake. With no drainage and our food pressed right up against the walls, condensation built up and made everything soggy. Our solution: Put the original plug back, accept that it leaks a little, and put a microfiber towel underneath to catch the moisture. We’ll report back on how well that works.

Doug says: Even if you live in a van with a mattress in the back, get a fridge. It’s worth it if you want to eat healthy at all. Car bod is definitely a thing, but only if you let it be one. The fridge is the game changer.

swivel seats

IMG_7925.JPG

Brooke says: I love the swivel seats. They open up this space and make it into a living room.

Doug says: It becomes not a car anymore. Without them, what, we’d sit cross-legged on the floor together? Or we’d have to find a space outdoors every time. I don’t want to say they’re necessary, but they’re definitely excellent.

The passenger side is from Van Upgrades. It’s sturdy, but walls off the space under the passenger seat, and the lever is a metal plate that sometimes gets stuck and bites you. But it’s half the price of a Scopema swivel seat adaptor, which we have on the driver’s side. The Scopema lever is a plastic handle, and the design allows you to access the underside of the seat easily.

The installation directions are straightforward, but it’s definitely a two-person job.

This time we had to truss up our seat while we figured out a workaround for the misaligned bolt holes.

This time we had to truss up our seat while we figured out a workaround for the misaligned bolt holes.

We ran into an issue with the Scopema seat that turned out to be fairly common: The base plate of the swivel seat attaches to the seat pedestal with four bolts, but the holes for the bolts didn’t line up. We tried hitting the seat pedestal with a hammer (old mechanic’s trick, according to Doug) but couldn’t force it into place. After a bit more trial and error, we discovered that just one of the holes was wonky. We lined the other three up, used a thinner bolt in the wonky hole, and secured it with a washer and a nut. Simple fix and it works perfectly. 

IMG_7530.jpg

One more note on the swivel seats: They sound like they’re breaking every time you use them. When you turn the seat, the bolts that hold the seat rails to the swivel knock against the bolts that hold the swivel base to the seat. You could try using washers to back the top bolts out, but as far as we can tell, it doesn’t cause damage.

Doug says: Seriously, they’re a pain in the ass, but we really love them. I wouldn’t have pictured our setup without them.

Brooke says: Yeah, when you first told me about them, I was like, “That doesn’t sound necessary.” I was dead wrong; they’re essential.